How to track the source of your leads in Avada forms
Learn how to track the source of your leads in Avada forms, so you know which marketing campaigns are generating them.
Are you struggling to figure out where all your leads are coming from?
Imagine if every time a new lead completed a form on your website, information on where that lead came from (I.e. Organic Search, Paid Search, Paid Social, etc) was automatically passed through with it.
And imagine if you could then see that information in your WordPress Dashboard, include it in the notifications emails, send it to your CRM, and more.
If this was possible, you'd know where all your leads are coming from and where to invest your marketing budget to get more of them.
Fortunately, this is all possible.
In this article, we'll show you how you can use a tool called Attributer to track the source of all your leads in Avada forms and send that data to your CRM and other tools.
3 simple steps to track the source of leads in Avada forms
With Attributer, you can easily see the source of every single lead that submits an Avada form on your website. These are the 3 simple steps you’ll need to follow:
1. Install Attributer and add hidden fields
To get started, make sure you register for a free 14-day trial of Attributer. Once you do, you’ll be given a small piece of code; install this on your website.
If you need a little extra guidance on installing the code on a WordPress site, read our complete guide here.
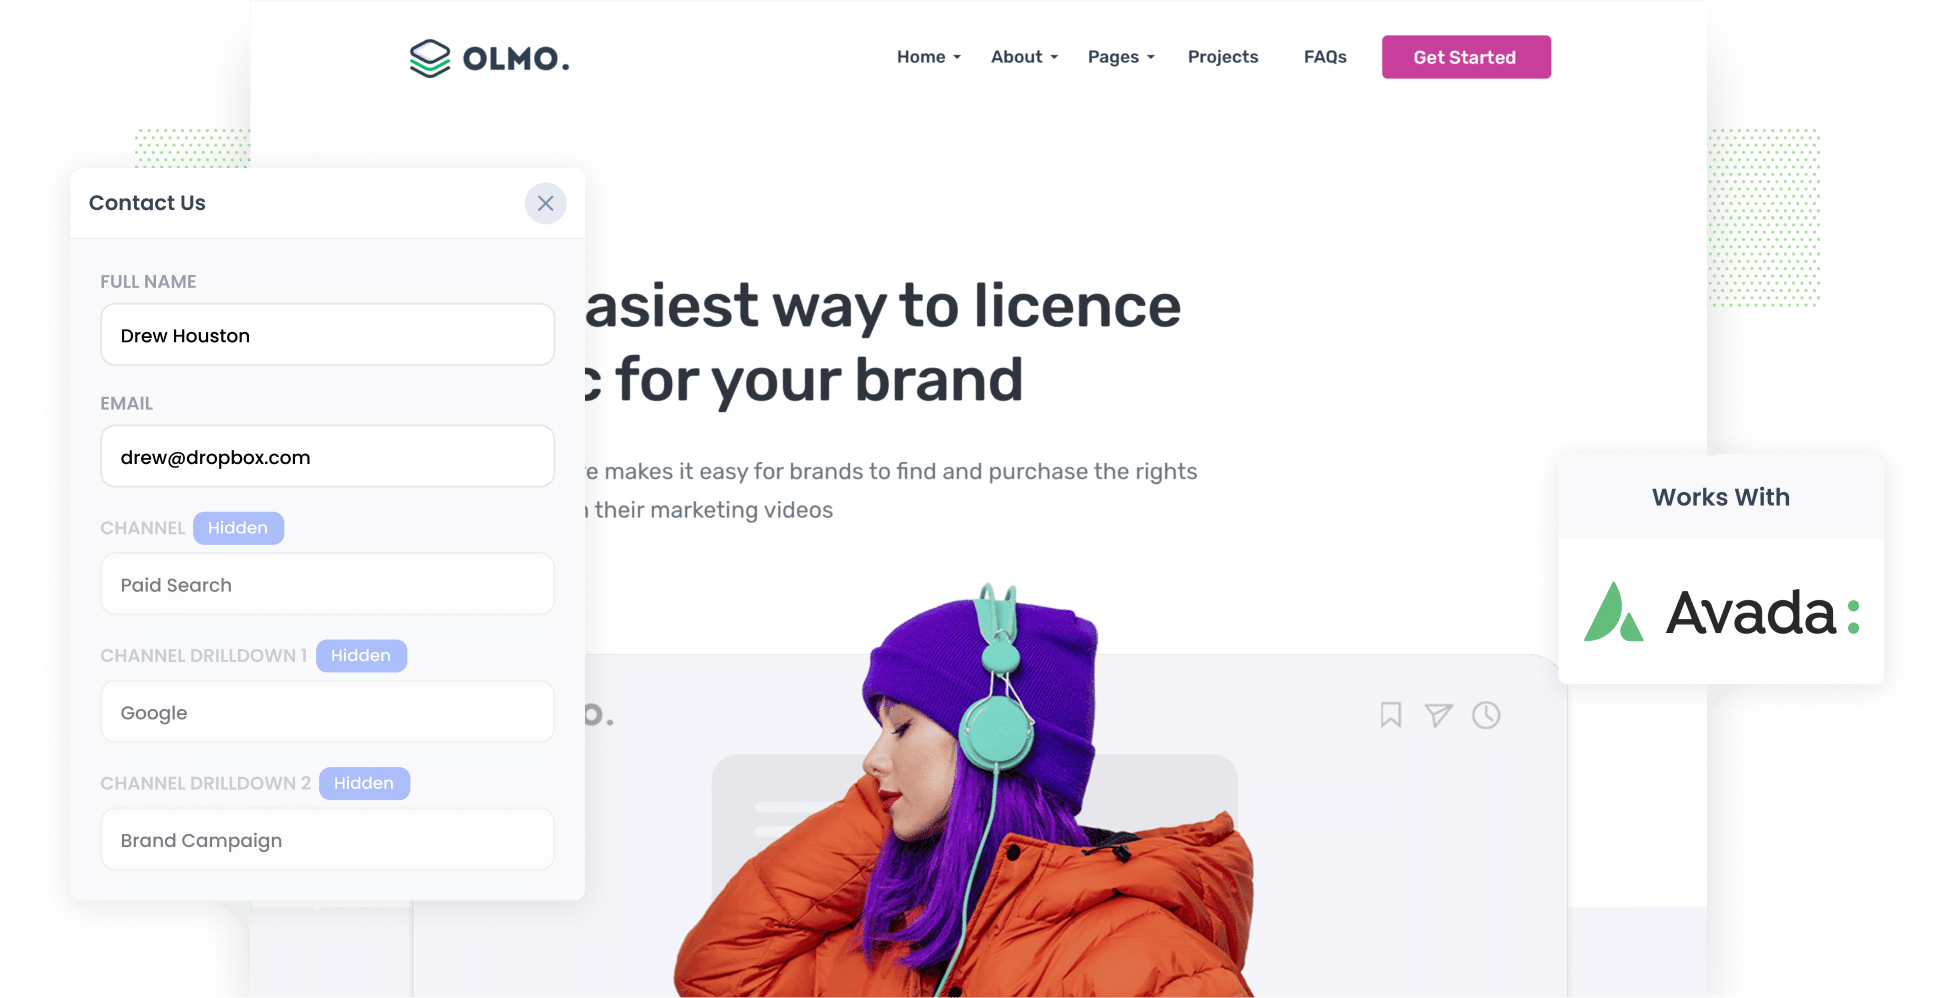
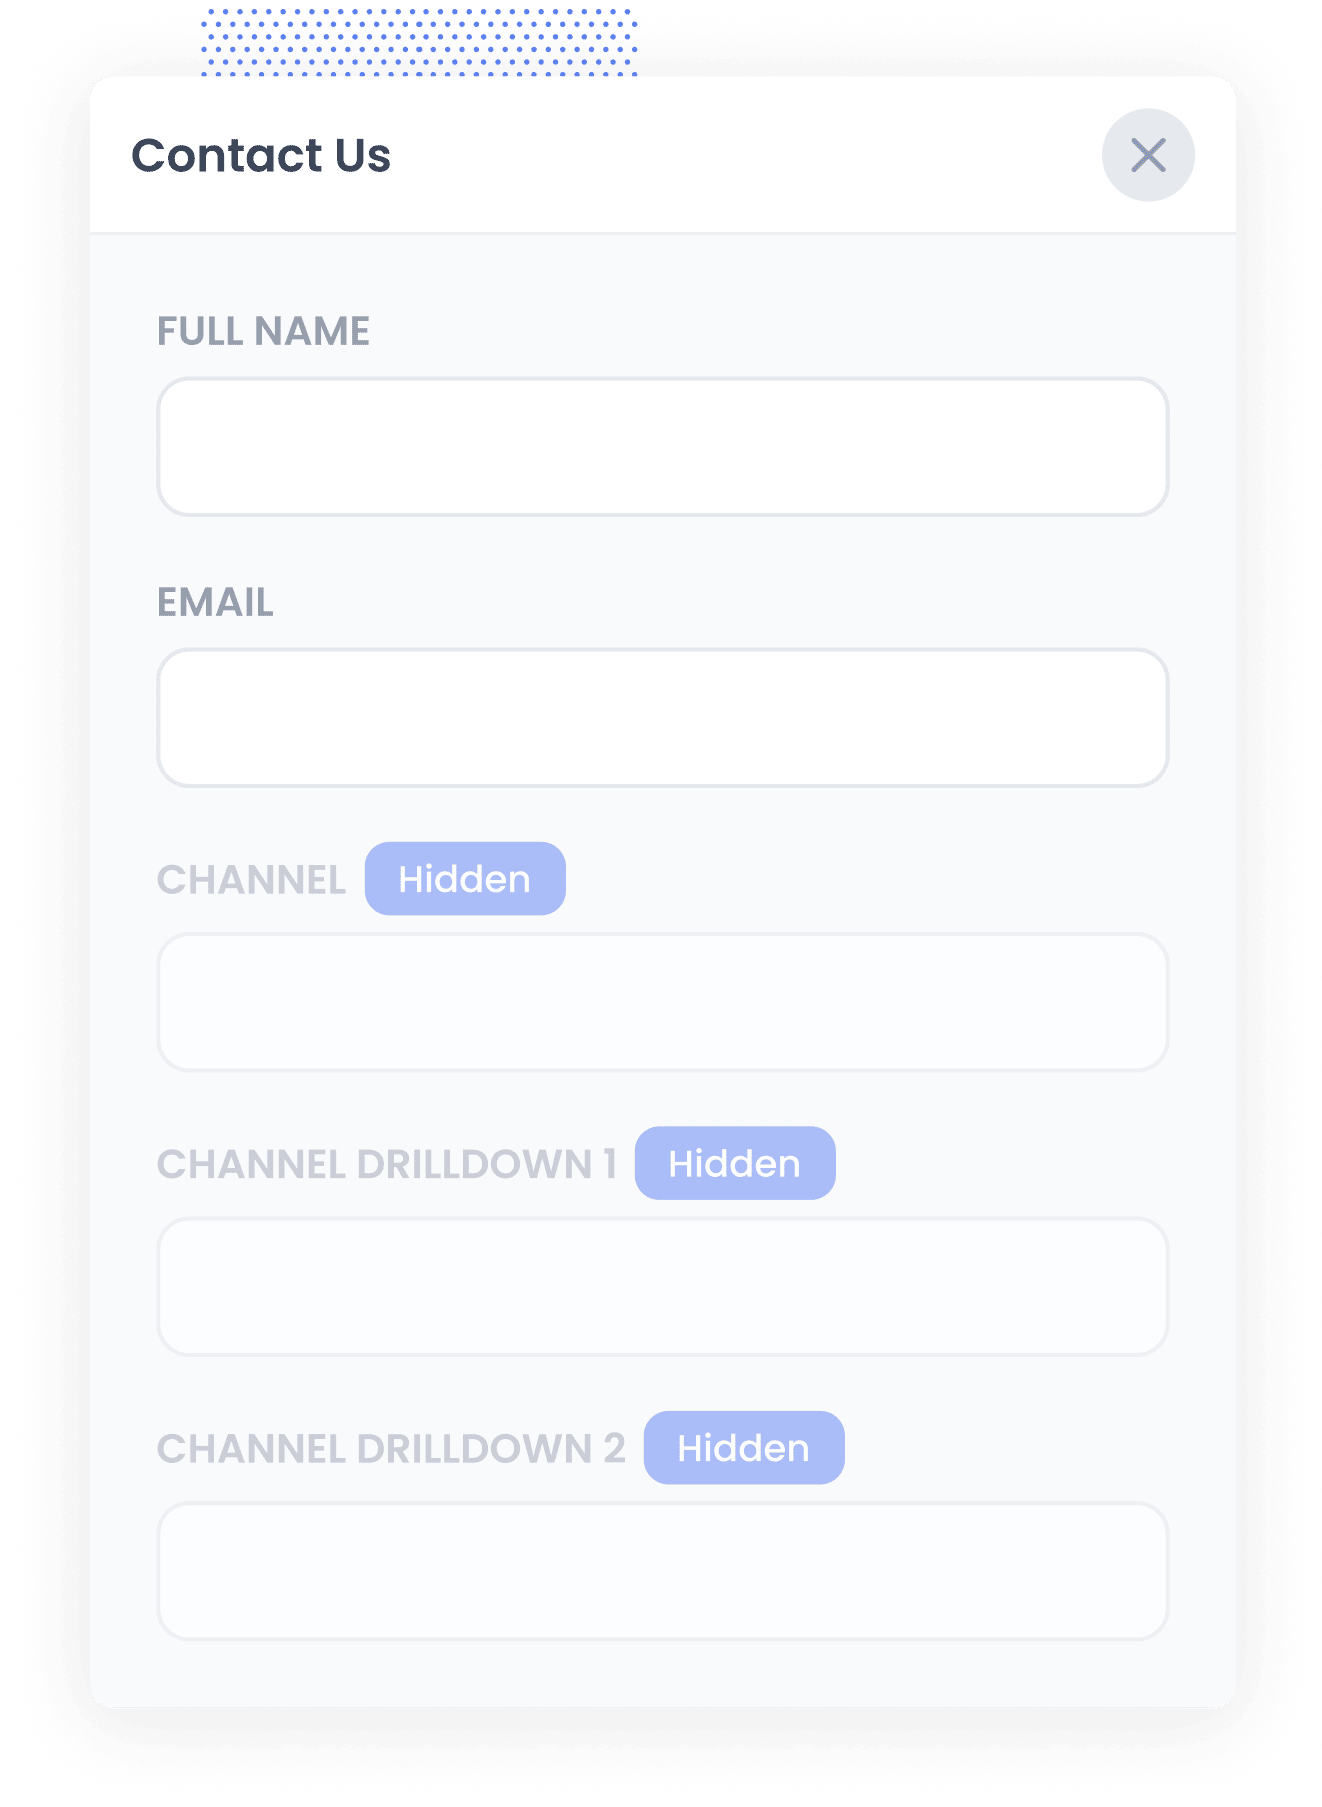
After you’ve set the code up, the next step is adding hidden fields to your forms. Here are the hidden fields you’ll need to add:
- Channel
- Channel Drilldown 1
- Channel Drilldown 2
- Channel Drilldown 3
- Channel Drilldown 4
Adding hidden fields in Avada Forms is extremely straightforward. However, if you want further instruction, we recommend checking out our step-by-step guide.
2. Attributer writes the lead source data into the hidden fields
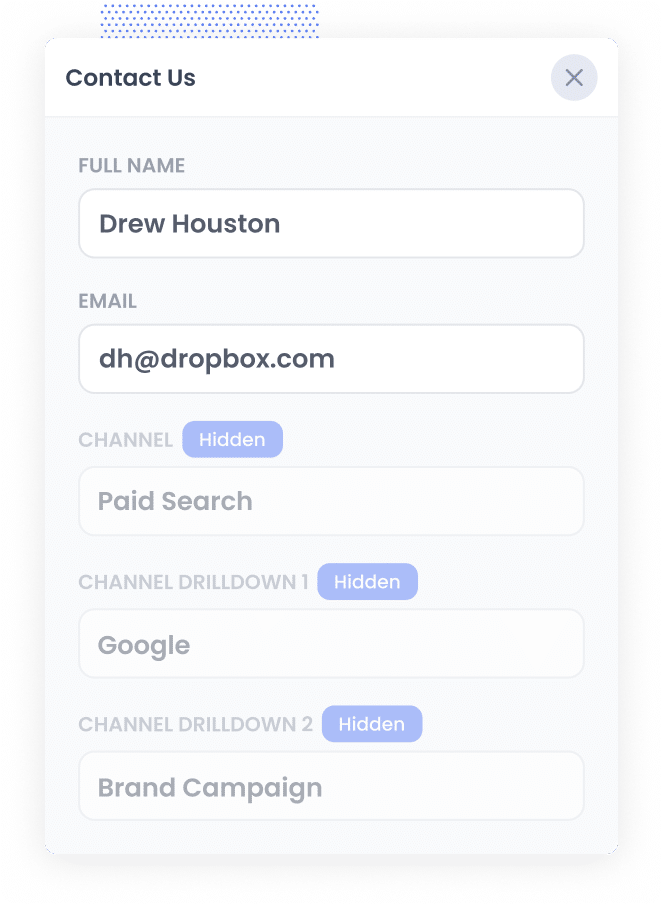
Now that those hidden fields are set up, Attributer can get to work. It will begin tracking where all of your site visitors are coming from and write this data into the hidden fields you’ve just added.
Because the fields are invisible to the user, they won’t have to take any extra steps in order for you to gain this information. In other words, the fields don’t impact the user experience or your site’s conversion rate.
3. Lead source data is captured by Avada forms
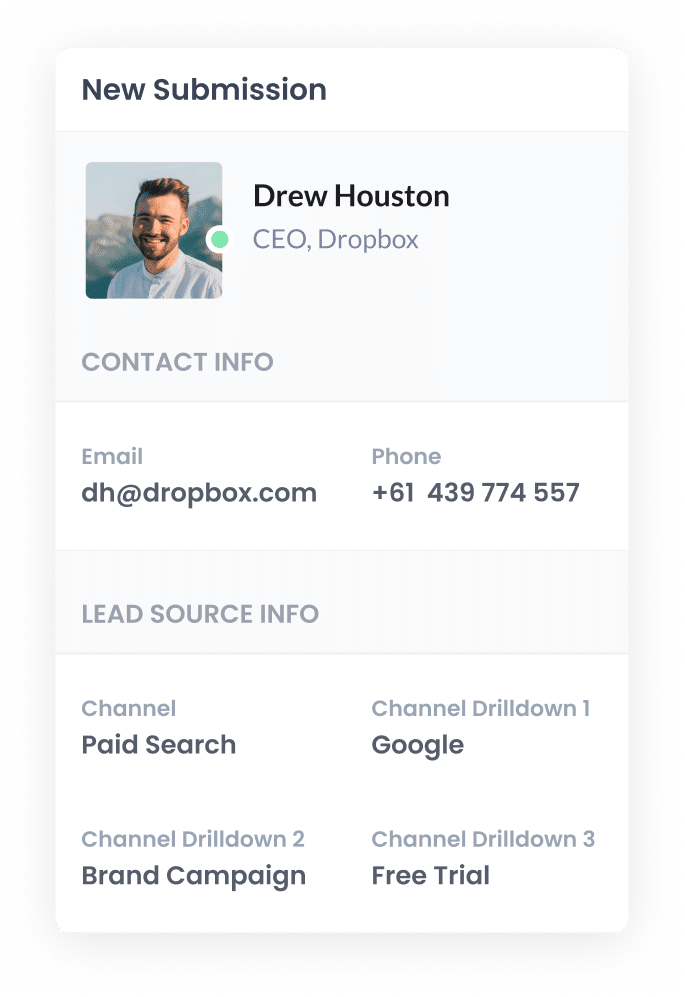
Once a visitor submits a form on your site, the lead source data that Attributer automatically added to the hidden fields gets captured by Avada Forms. This is in addition to the other details the lead added to the form themselves (such as their name, phone number, company name, etc.).
So, what can you do with this data? Here are a few ideas:
- View it in your WordPress Dashboard — To view all the form entries, head to your WordPress dashboard and navigate to Avada > Forms. Then, click the link to view submissions.
- Add it to your lead notification email — Want to see this data in your inbox? Add Attributer’s data to Avada Forms’ new lead notification email and it will be included with the email you get each time you receive a new lead.
- Transfer it to your CRM platform — Send it to your CRM (be it Salesforce, Pipedrive, Hubspot, or something else) and use it to run reports that show where your leads & customers are coming from..
- Send it to a spreadsheet — Transfer the data to a spreadsheet (Excel) or a Google Sheet, and run basic reports from there.
What data gets captured in Avada forms?
Now, let’s talk about the the exact information that will be captured by Attributer and Avada Forms once everything is set up.
1. Marketing Channel Data
This is information about the channel through which the user arrived at your site.
For instance, suppose I'm part of the marketing team at LegalEase Law Firm, and a user clicks on one of our Facebook Ads promoting our estate planning services. Attributer would capture the following details (depending on the UTM parameters used behind the ad):
- Channel: Paid Social
- Channel Drilldown 1: Facebook
- Channel Drilldown 2: Estate planning services (or any campaign name)
- Channel Drilldown 3: LegalEase law firm (or any specific keyword that triggered your ad to show)
Similarly, if a lead comes organically through a search on Google:
- Channel: Organic Search
- Channel Drilldown 1: Google
- Channel Drilldown 2: www.google.com (or the specific domain they used)
- Channel Drilldown 3: LegalEase law firm (or the specific keyword through which they discovered your site, if available)
2. Landing page data
Attributer doesn’t just focus on the channel that drove your leads to you — it also helps you understand what content attracted them.
To give you these insights, Attributer tracks the lead’s initial landing page (e.g. legaleaselawfirm.com.au/blog/what-is-estate-planning) as well as the group that the landing page belongs to (e.g. /blog).
Thanks to this data, you can easily see how many leads and customers are coming from various content sections (e.g. your blog) and pieces (e.g. your blog post on estate planning).
3 example reports you can run when you track the source of your leads in Avada forms
If you use Attributer to capture attribution data on your leads and send that data to your CRM, you can easily run reports to see what’s working and what isn’t.
Over my 15-year career in marketing, I’ve spent millions of dollars on advertising and built countless reports to track their performance.
Here are three of my favourites and how you can use them yourself:
1. Leads by channel
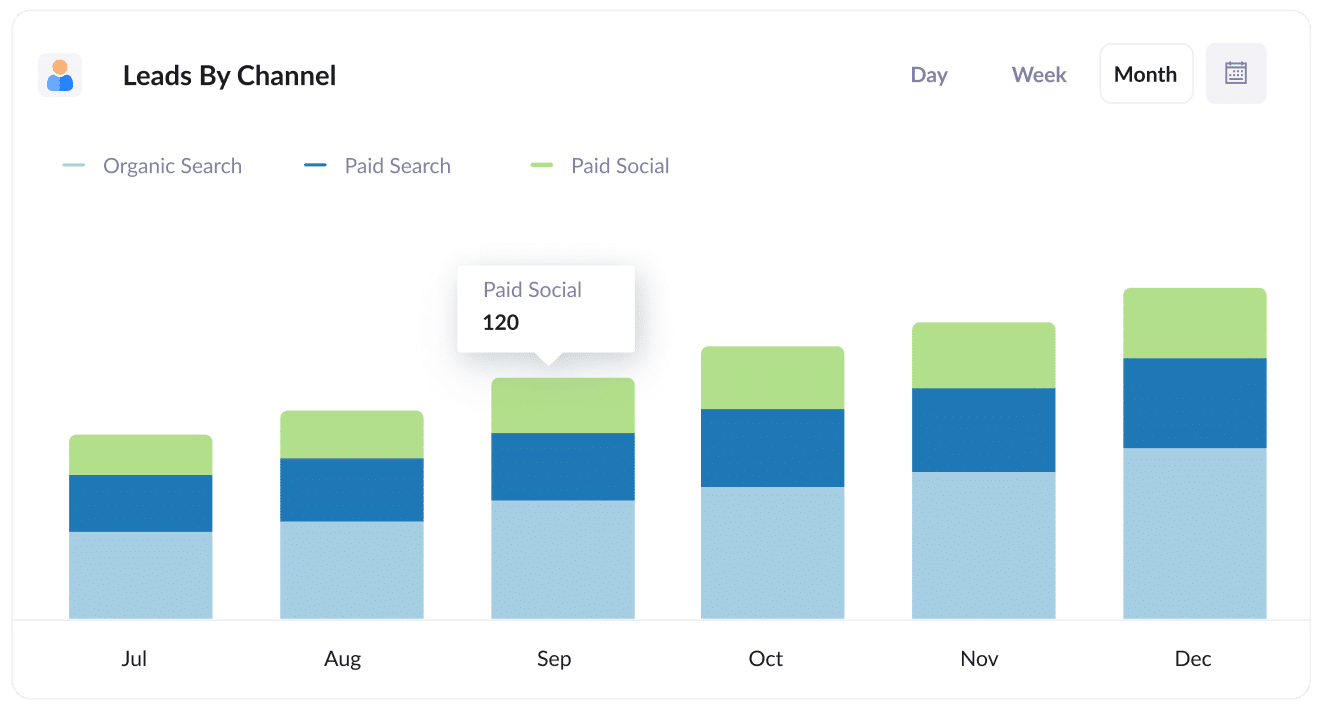
If you want to see which channels are generating the most leads, this is the report you need. This chart displays exactly how many leads are coming from each channel (in this case, Organic Search vs Paid Search vs Paid Social) every single month.
As a result, you can quickly see which channels are most effective for your business and where you should be directing your marketing budget.
2. Leads by Google Ads campaign
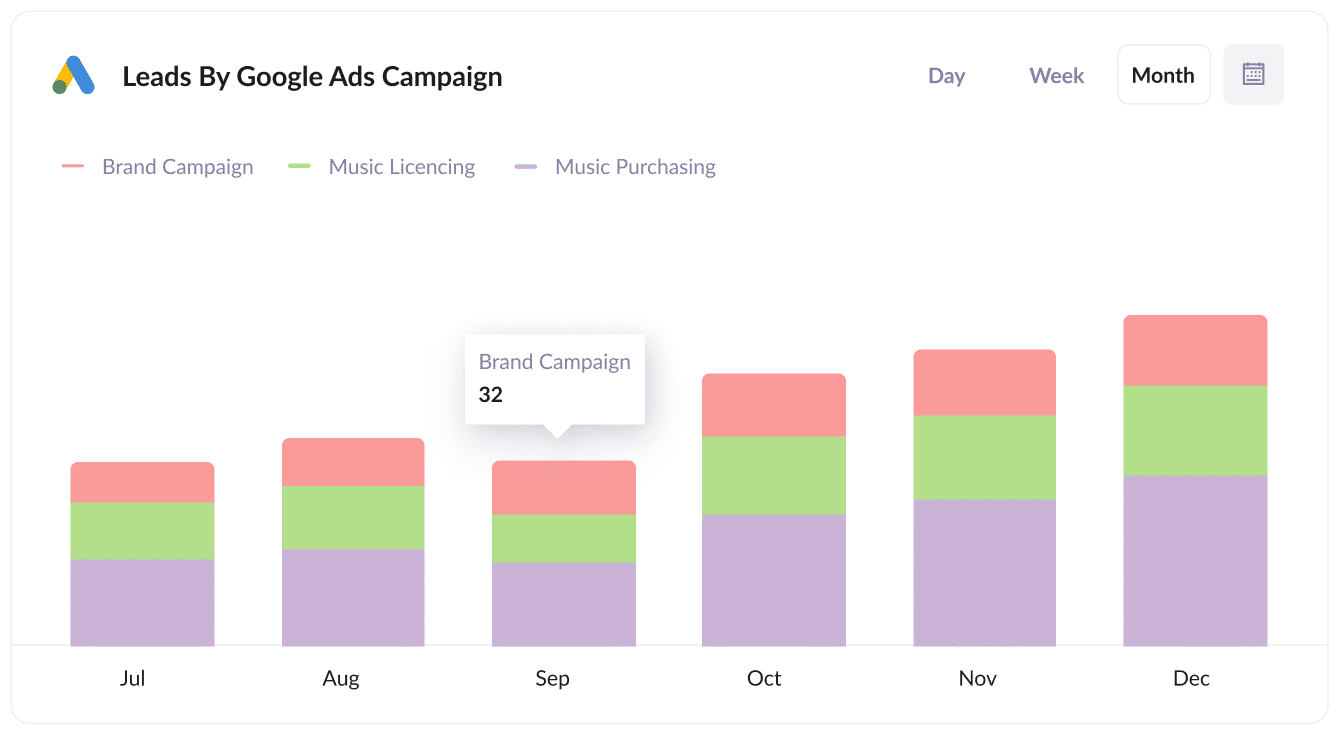
If you’re running multiple Google Ads campaigns, it’s crucial to know which ones are actually generating leads (as opposed to gaining clicks without converting).
A great way to gain these insights is through this style of report. As seen above, the chart breaks down how many leads you’ve gotten every month from your Google Ads, broken down by the campaign they interacted with.
3. Leads by social network
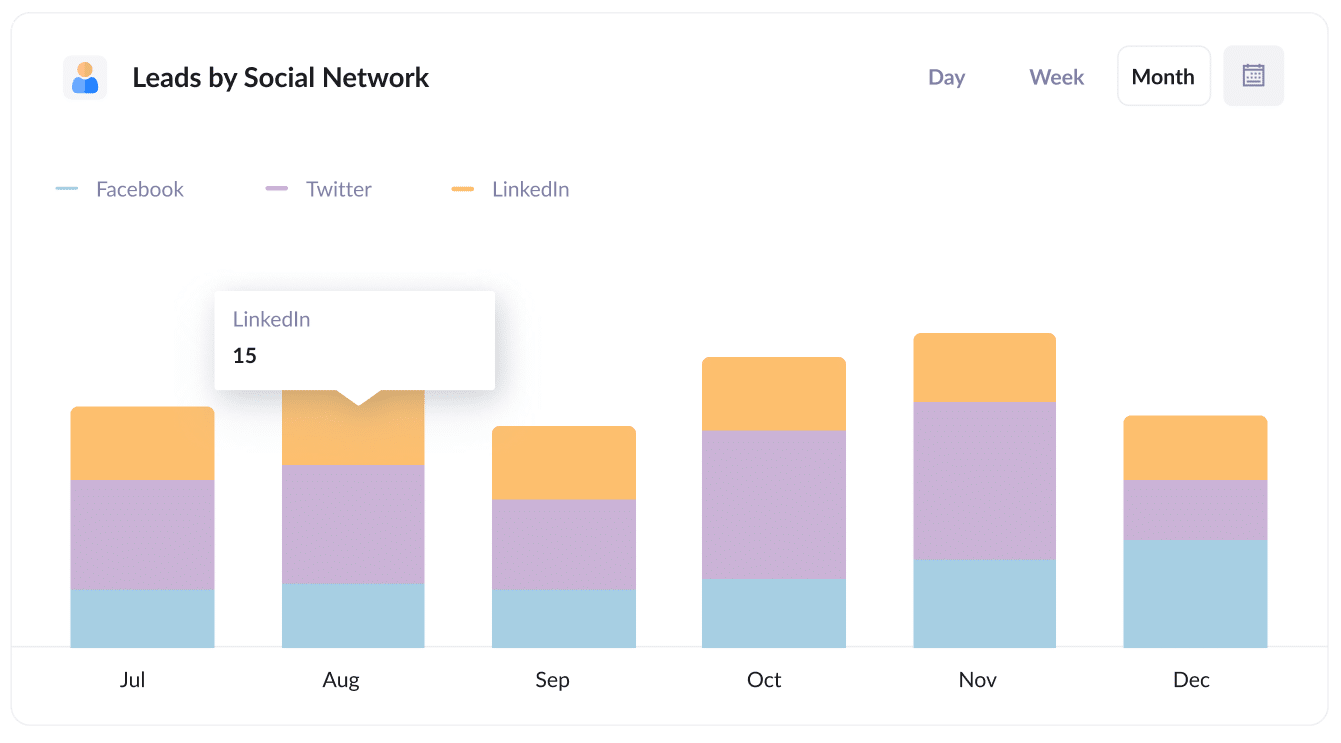
Similarly, if you’re promoting your business on various social media platforms, comparing your performance on each channel is important. Doing so will allow you to see which networks are most effective at driving leads for your company and, in turn, where you should be directing more of your marketing efforts.
The chart above helps you dive into this data, tracking how many leads came from each social media platform (in this case, Facebook, Twitter, and LinkedIn) per month.
Wrap up
If you’re looking for a better way to track your lead sources in Avada Forms, Attributer could be the answer.
It will pass through information on where each new lead came from, and you can see this information right there in Avada forms, include it in your notification emails, send it to your CRM, and more.
Best of all, it's free to get started and usually takes less than 10 minutes to set up, so start your 14-day free trial today and try it out!
Get Started For Free
Start your 14-day free trial of Attributer today!

About the Author
Aaron Beashel is the founder of Attributer and has over 15 years of experience in marketing & analytics. He is a recognized expert in the subject and has written articles for leading websites such as Hubspot, Zapier, Search Engine Journal, Buffer, Unbounce & more. Learn more about Aaron here.