How to capture Facebook Ads data in Acuity Scheduling
Learn how to capture Facebook Ads data in Acuity Scheduling, so you can easily track how many bookings, leads & customers your ads are driving.
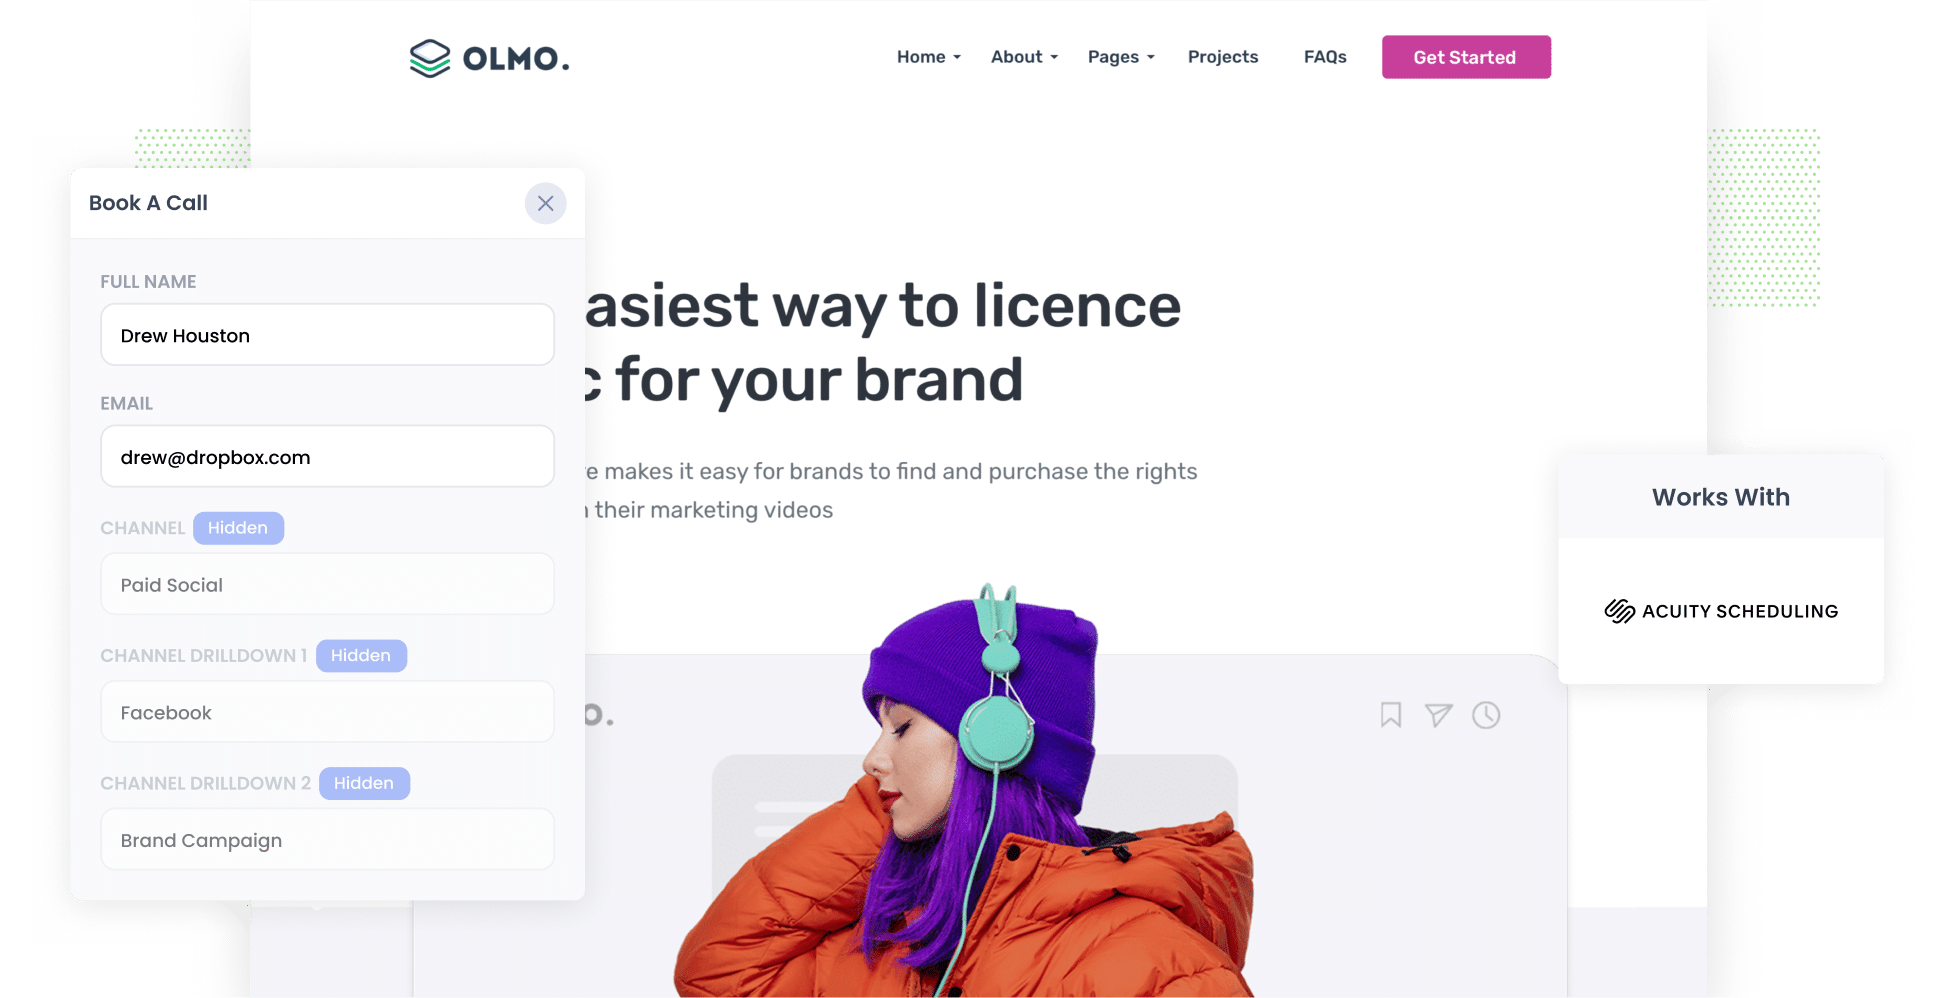
Did you know that more than 2 billion people use Facebook every single day? That’s a whole lot of people ready and waiting to engage with your Facebook Ads.
However, creating Facebook Ads and reaching this broad user base is one thing. Tracking how those ads are performing is another, particularly when it comes to tracking the really important metrics (like how many bookings, leads & customers you’re getting).
In this article, we’ll show you how to use a tool called Attributer to capture Facebook Ads data with each submission of your Acuity Scheduling widgets, so you can ultimately track how many bookings, leads & customers your Facebook Ads are generating.
4 simple steps to track your Facebook Ads in Acuity Scheduling
When you use Attributer, capturing Facebook Ads data in Acuity Scheduling is simple. Here’s how it works:
1. Add UTM parameters to your Facebook Ads
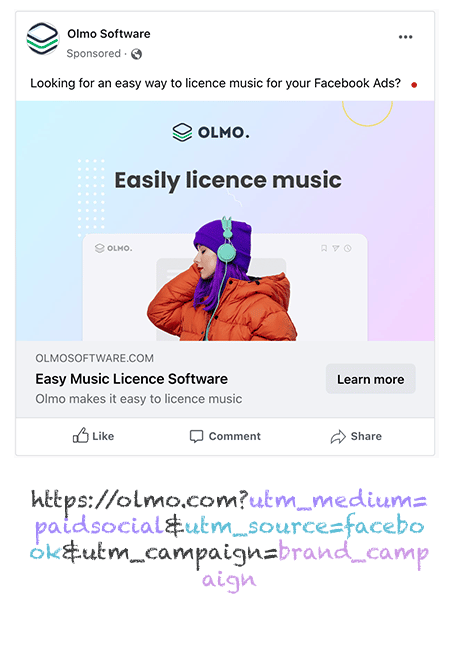
To get started, you’ll need to add UTM parameters to all the Facebook Ads you are running. UTM parameters are additional snippets of text that you add to the end of a URL attached to an ad.
For instance, let’s say your ad is directing people to this URL: attributer.io/integrations/acuity-scheduling.
With UTM parameters added to it, this is what it would look like:
attributer.io/integrations/acuity-scheduling?utm_medium=paidsocial&utm_source=facebook&utm_campaign=brand-campaign
In general, the best practice for formatting your UTM parameters for Facebook Ads is as follows:
- UTM Medium = Paid social
- UTM Source = Facebook
- UTM Campaign = The name of your campaign
- UTM Term = The name of the ad set the ad belongs to
- UTM Content = The specific ad
2. Install Attributer on your website
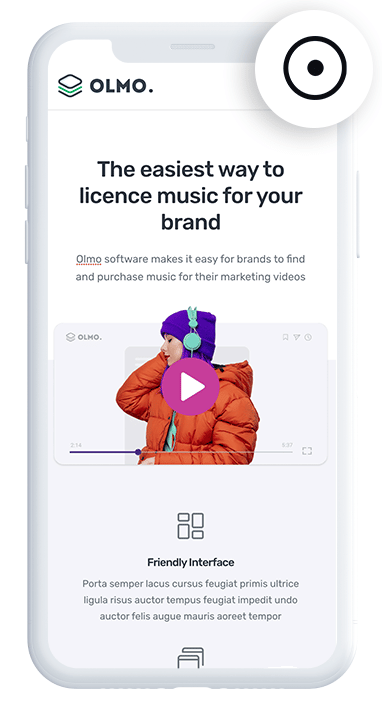
Next, you’ll need to set up Attributer on your website. If you’re not familiar already, Attributer is a small bit of code that you add to your site.
When a user visits your website, Attributer analyses various technical details about how the user got there (same things tool like Google Analytics analyse) and categorises them into a standard set of Channels (e.g. Paid Social, Paid Search, Organic Social, etc).
Then, when the visitor completes one of your Acuity Scheduling widgets, Attributer writes the information on where they came from into hidden fields (which you’ll add to your scheduling widgets in the next step). These details are then captured by Acuity Scheduling along with the lead’s name, email, and any other details they added to the form themselves.
Installing it on your website is easy and instructions for all the most popular website builders can be found here.
3. Add hidden fields to your booking widgets

The third step involves adding hidden fields to your lead capture forms; that way, you can gather even more valuable information from your site visitors.
These are the hidden fields you’ll need to add:
- Channel
- Channel Drilldown 1
- Channel Drilldown 2
- Channel Drilldown 3
- Channel Drilldown 4
- Landing Page
- Landing Page Group
Full step-by-step instructions on how to add hidden fields to Acuity Scheduling (with videos) can be found here.
4. Facebook Ads data is captured by Acuity Scheduling
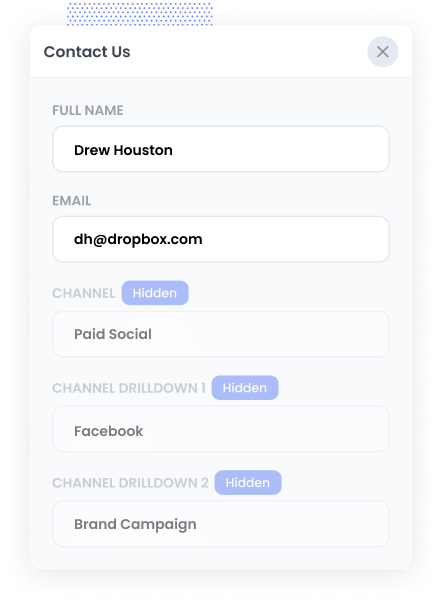
When a visitor lands on your website via your Facebook Ads, Attributer captures the UTM parameters and securely stores them in a cookie within the user’s browser. This helps to ensure that these parameters remain intact as the visitor browses your website (or if they leave and come back later).
Then, when the visitor completes one of the Acuity Scheduling widgets on your site, Attributer automatically writes the Facebook Ads data into hidden fields. Upon submission of the form, this information is captured in Acuity alongside the lead’s name, email address, and other essential details.
What you can do with the data
Once the information is captured in Acuity Scheduling, you have several options for what to do with it:
- Use it within your CRM — You can easily send the Facebook Ads info to CRM systems like Salesforce, Pipedrive, or Hubspot. This enables you to run reports that show how many leads you got from your ads, how many became customers, and how much money your ads made, etc.
- Put it in a spreadsheet — You can send the data to a Google Sheet or Excel using Zapier or similar platforms. Once it's in a spreadsheet, you can do basic analysis there or connect it to a more advanced reporting tool, such as Google Data Studio or Microsoft Power BI.
- Include it in your email notifications — If you don’t have a CRM, you can add the Facebook Ads information to the new booking emails that Acuity sends. This way, you know exactly where each lead/booking came from, right from your inbox.
- Use it with your billing platform — If you use billing platforms like Stripe or Square with Acuity Scheduling, you can send the Facebook Ads data to these platforms. This helps you clearly see how much money your ads are making.
Why use Attributer
Although there are other options for capturing Facebook Ads data in Acuity Scheduling, none measure up to Attributer. Here are four reasons why Attributer is the top tool available:
Captures other attribution information
In addition to capturing information on leads that come from your Facebook Ads, Attributer also captures data on leads who visit your site through various other channels.
Organic Search, Organic Social, Referral, Direct — you name it, Attributer tracks it.
This comprehensive approach allows you to see the sources of ALL your leads and customers, not just those from your Facebook Ads.
Remembers the data
Unlike other platforms, Attributer saves the UTM parameters in the user’s browser. So, if the user browses around your site or leaves and comes back later, the UTM parameters will always be passed through when they submit one of your Acuity Scheduling widgets. In turn, you'll receive more precise data on the number of leads and customers acquired from your Facebook Ads.
Cleans the data
Attributer was designed to expect formatting inconsistencies in UTM parameters (e.g. some campaigns may use “utm_source=facebook” while others use “utm_source=fb”). Regardless of these discrepancies, Attributer can still assign these leads to the correct channel (e.g. Paid Social).
Captures landing page data
On top of collecting Facebook Ads data, Attributer also records the URL of every user’s initial landing page and its corresponding category.
For example, it will capture both ‘attributer.io/blog/capture-utm-parameters-acuity-scheduling’ (the initial landing page) and ‘/blog’ (the landing page group). With this feature, you can assess how effective your content (such as your blog posts) is at driving leads.
3 example reports you can run to understand the performance of your Facebook Ads campaigns
If you capture Facebook Ads data with each submission of your Acuity Scheduling widgets, and you send that data to your CRM or other reporting tools, then you’re able to easily build reports & dashboards that show how your ads are performing.
Throughout my 15-year marketing career, I’ve run hundreds of these analytics reports. Below are three of my favourites that I recommend you start with:
1. Leads by channel
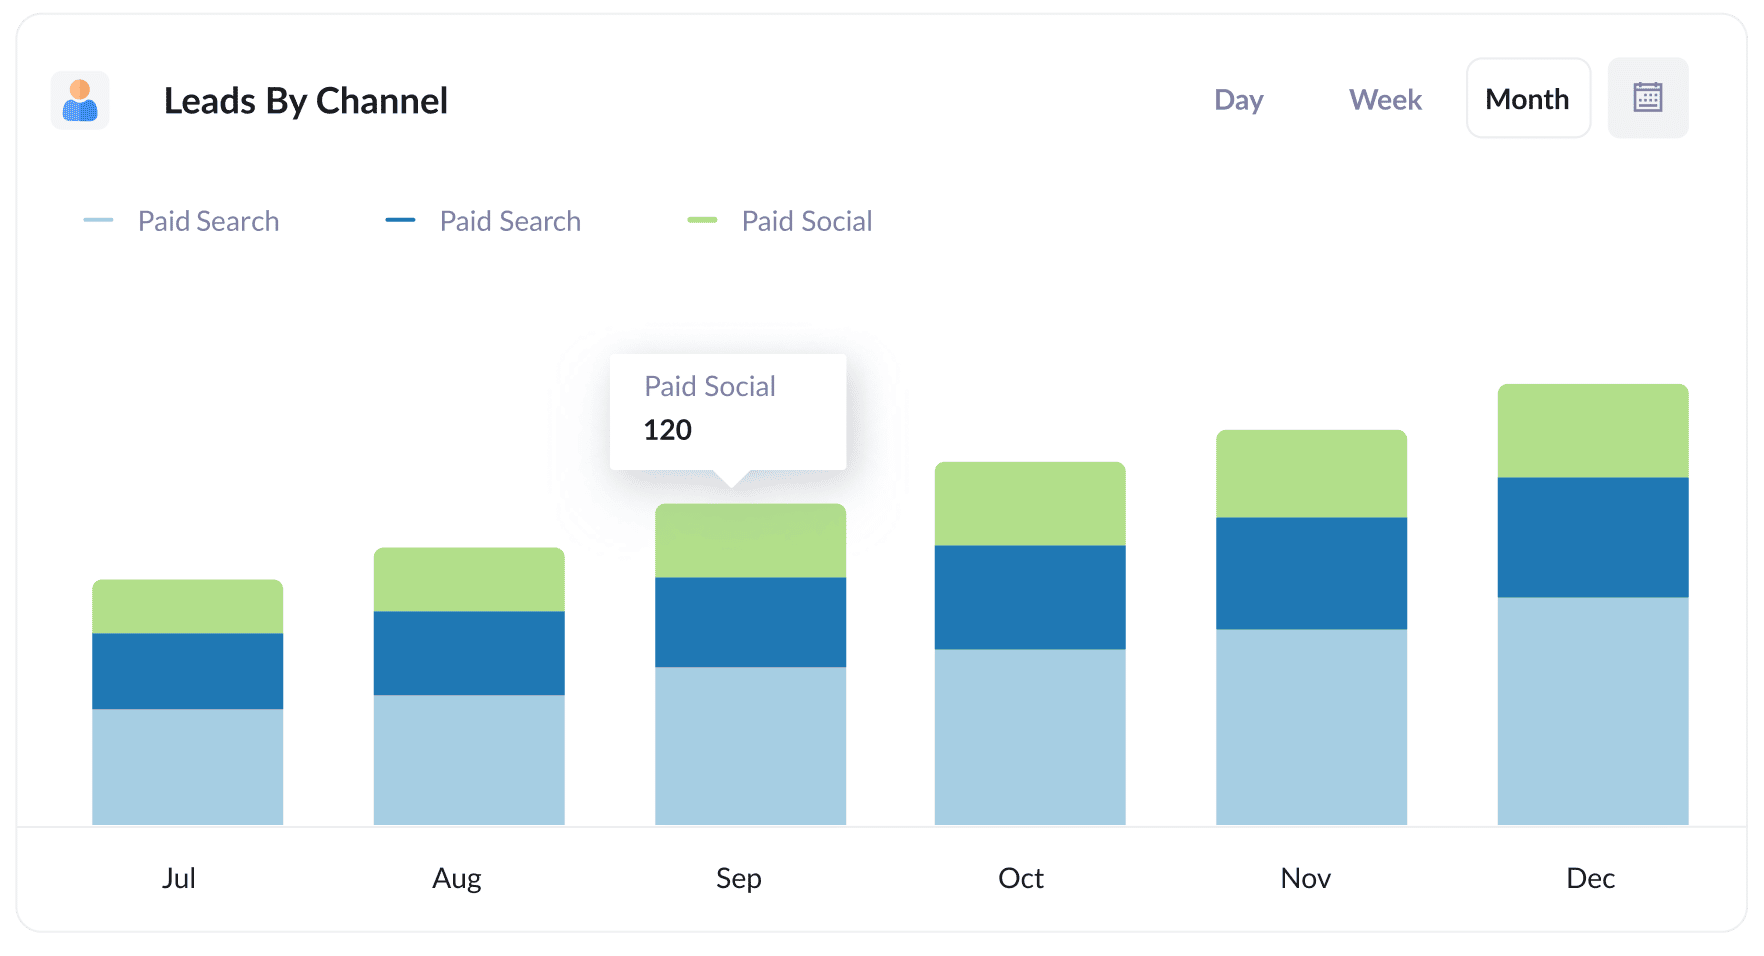
Because Attributer captures the source of all your leads — not just those from your Facebook Ads — you can generate reports similar to the one shown above, which shows your lead count categorised by channel.
Thanks to this chart, you can easily see the relative performance of your Facebook Ads compared to other channels. From here, you can make more informed decisions about how to allocate your marketing resources. For example, if Google Ads yields better results than Facebook Ads, you may opt to direct more of your budget there.
2. Leads by Network
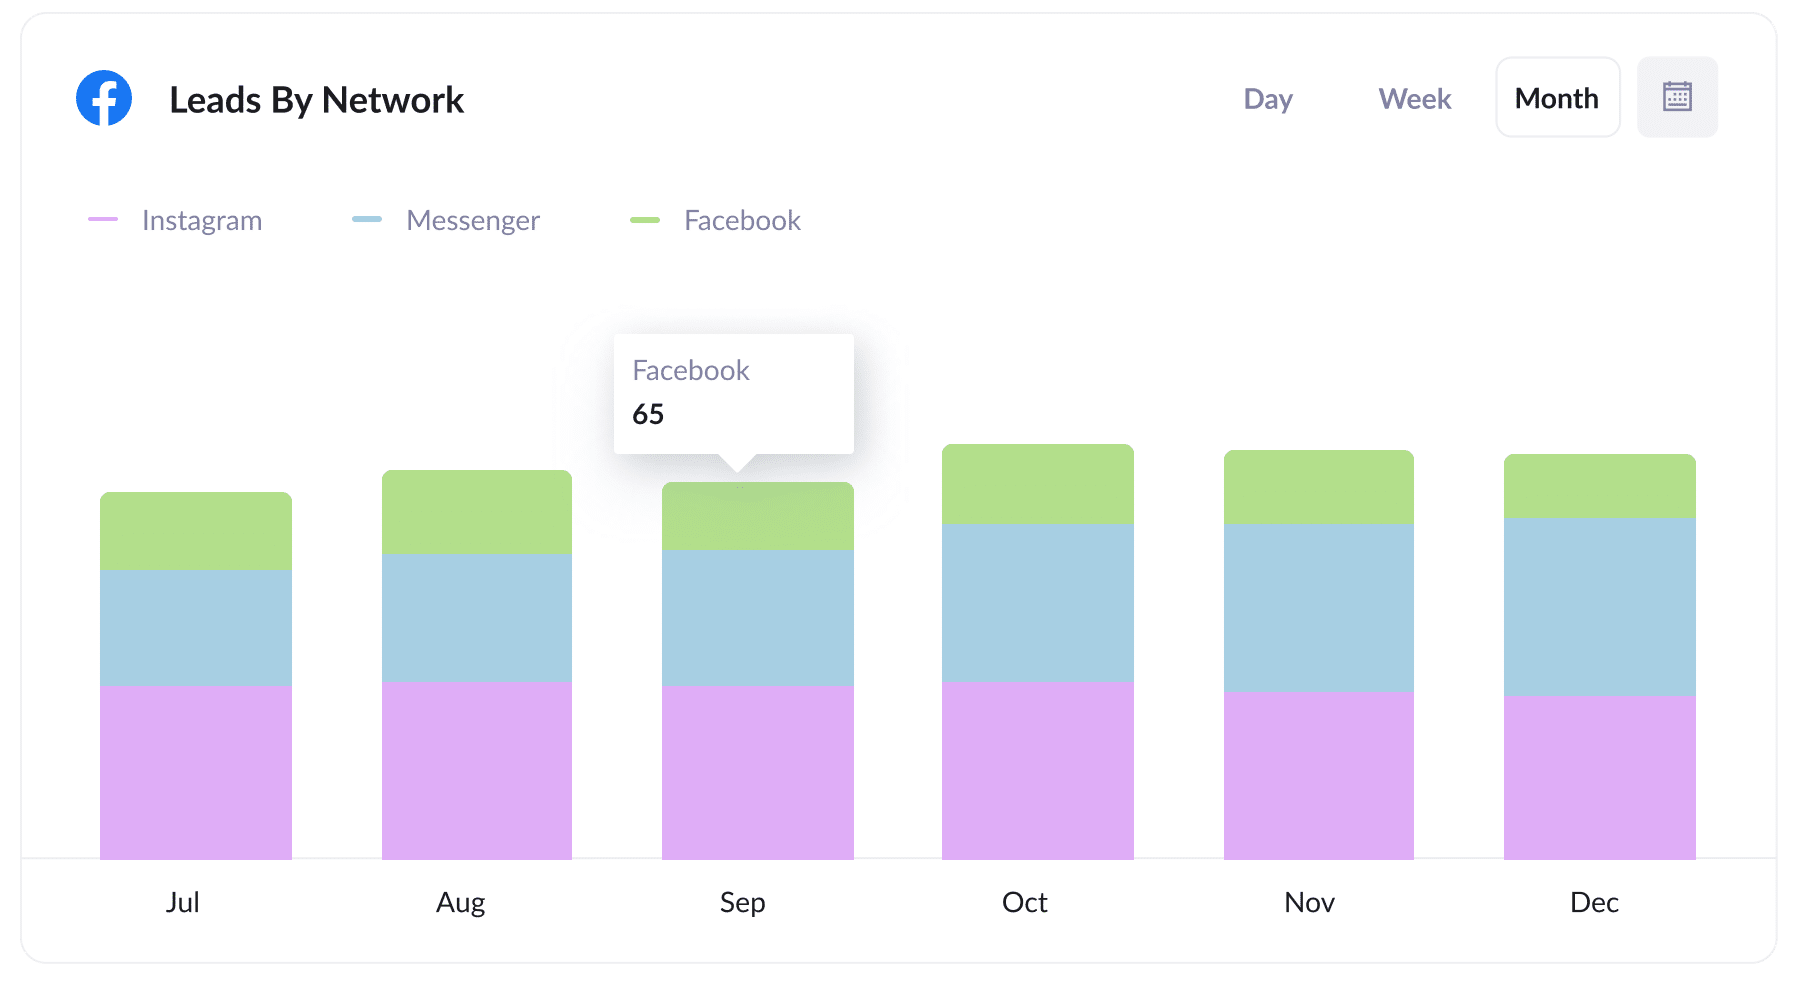
If you're running ads across Facebook’s various networks (such as Instagram, Facebook, Messenger, etc.), the report above can offer insights into which ones are generating the most leads for you.
By identifying the networks where your ads perform most effectively, you can know exactly where to focus your efforts to maximise results.
3. Leads by campaign
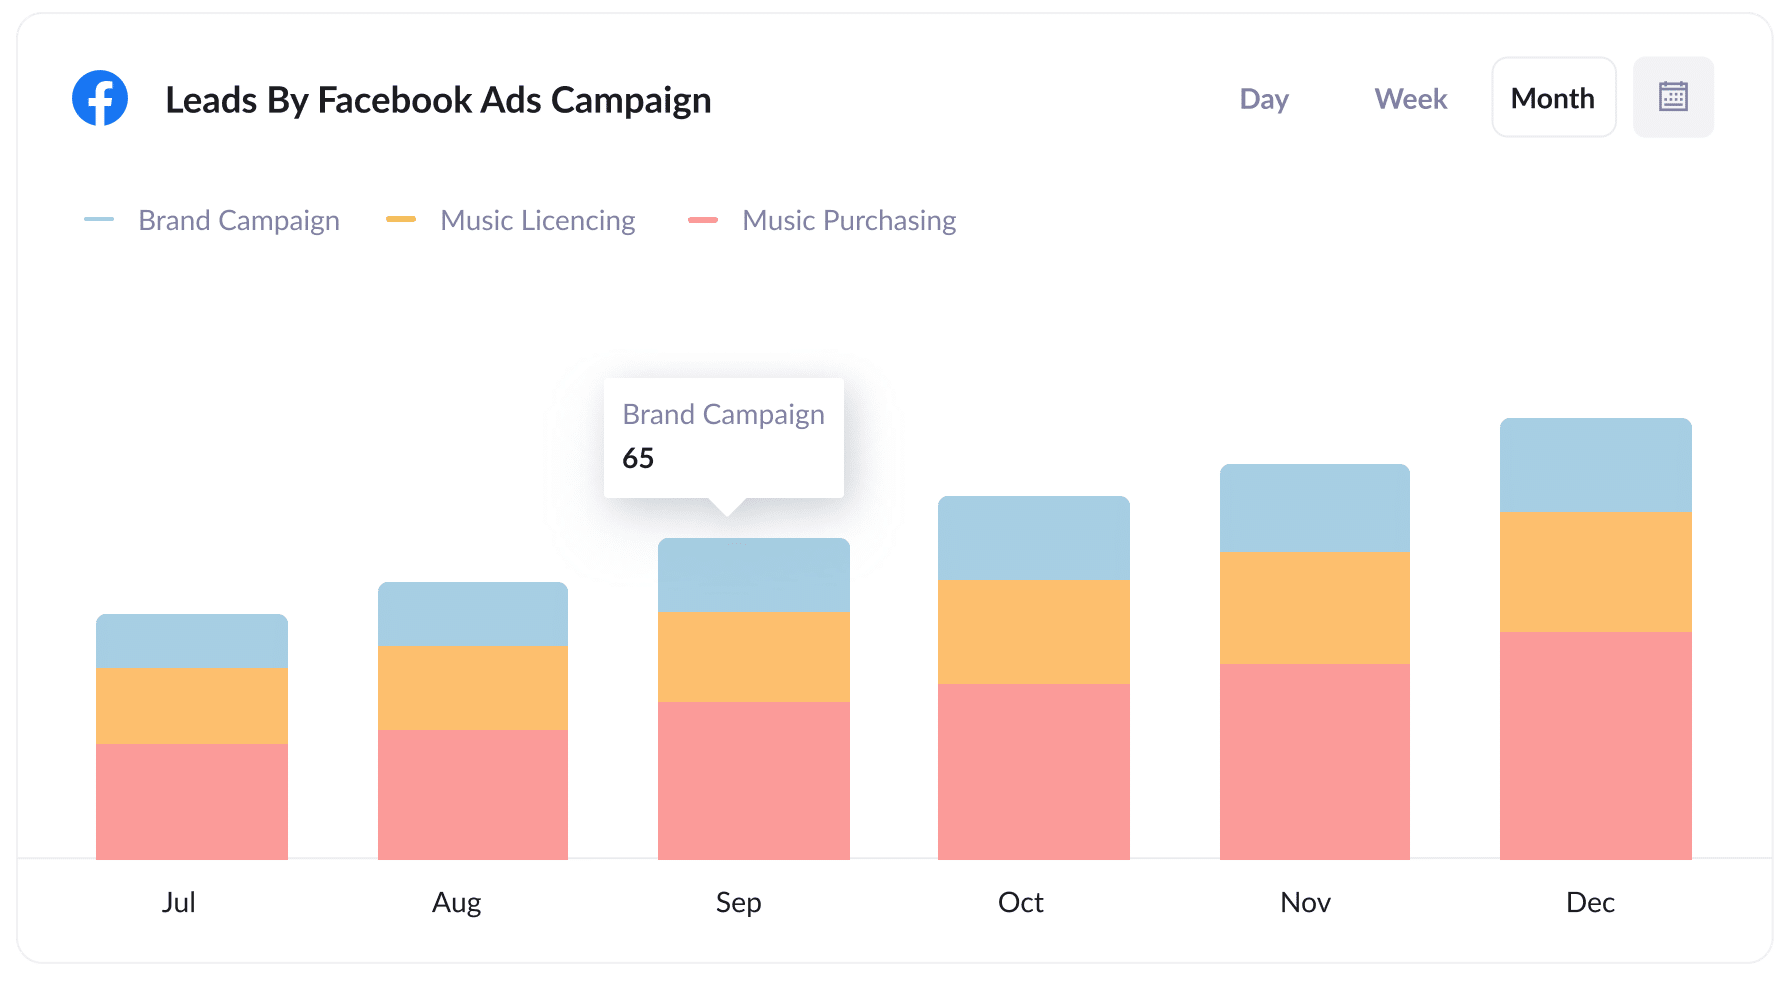
This report illustrates the number of leads generated from Facebook Ads on a monthly basis, broken down by the respective campaigns they came from.
By finding out which campaigns yield actual leads (as opposed to generating clicks and visitors but no conversions), you can refine your strategy and drive more leads.
Wrap up
Attributer is a great tool for tracking how many bookings, leads & customers you get from your Facebook Ads.
It will pass through Facebook Ads data (like the campaign, network, ad, etc. they came from) each time someone submits a booking widget on your website, and you can then use that data to run reports in your CRM or other tool.
Best of all, Attributer is free to try and usually takes less than 10 minutes to set up. Start your 14-day trial now to see how it can help your business!
Get Started For Free
Start your 14-day free trial of Attributer today!

About the Author
Aaron Beashel is the founder of Attributer and has over 15 years of experience in marketing & analytics. He is a recognized expert in the subject and has written articles for leading websites such as Hubspot, Zapier, Search Engine Journal, Buffer, Unbounce & more. Learn more about Aaron here.
