The best way to capture UTM Parameters in Calendly
Learn the best way to capture UTM parameters and other lead attribution information in Calendly so you can track where your leads & customers are coming from
Are you running ads on Google or Facebook and trying to understand how many leads/meetings you're getting from them?
Calendly does have a way of capturing UTM parameters out of the box, but it only works if people complete your Calendly booking widget on the exact same page they land on.
So if someone clicks one of your ads, lands on your homepage, and then navigates to your contact page to complete the Calendly widget, the UTM parameters would not be captured.
This ultimately means you're getting inaccurate information on how many meetings you're getting from your ads.
Not to worry though, because there is a solution.
In this article, we'll show a better way to capture UTM parameters in Calendly and send them to your CRM & other tools so you can get the kind of reporting you need.
4 steps for capturing UTM parameters in Calendly
Using Attributer to capture UTM parameters in Calendly is easy. Here's how to do it in 4 easy steps:
1. Add UTM parameters to your ads
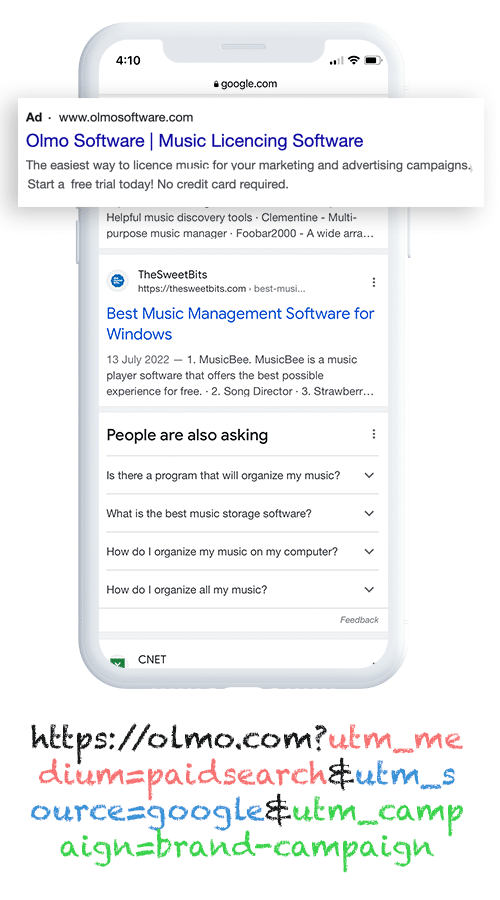
Not surprisingly, the first step towards capturing UTM parameters in Calendly is to ensure you've added them behind all your ads.
This could be on social media platforms like Facebook, LinkedIn, Instagram, and Twitter, or on search engines like Google and Bing.
It's even a good idea to use them on bespoke campaigns as well, such as advertisements you may have in trade publications, email campaigns, etc.
2. Install Attributer on your website
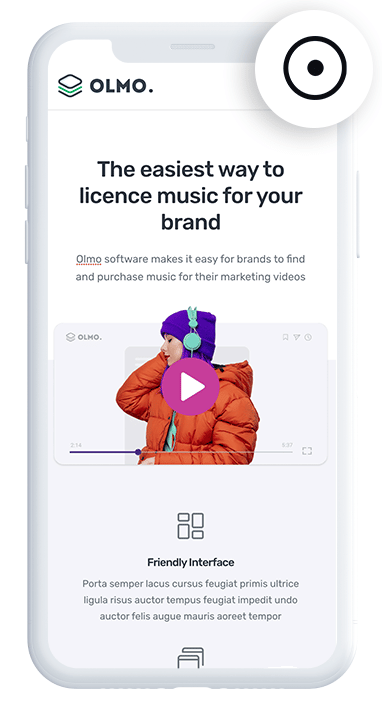
When you sign up for a 14 day free trial of Attributer, you'll get given a snippet of code to add to your website.
Depending on what website builder you are using, you can usually do this via the Settings section (or you can add it to tag management tools like Google Tag Manager). Step-by-step instructions can be seen here.
3. UTM parameters are captured by Calendly

With everything set up, Attributer will start to pass through the UTM parameters with each meeting that is booked via Calendly.
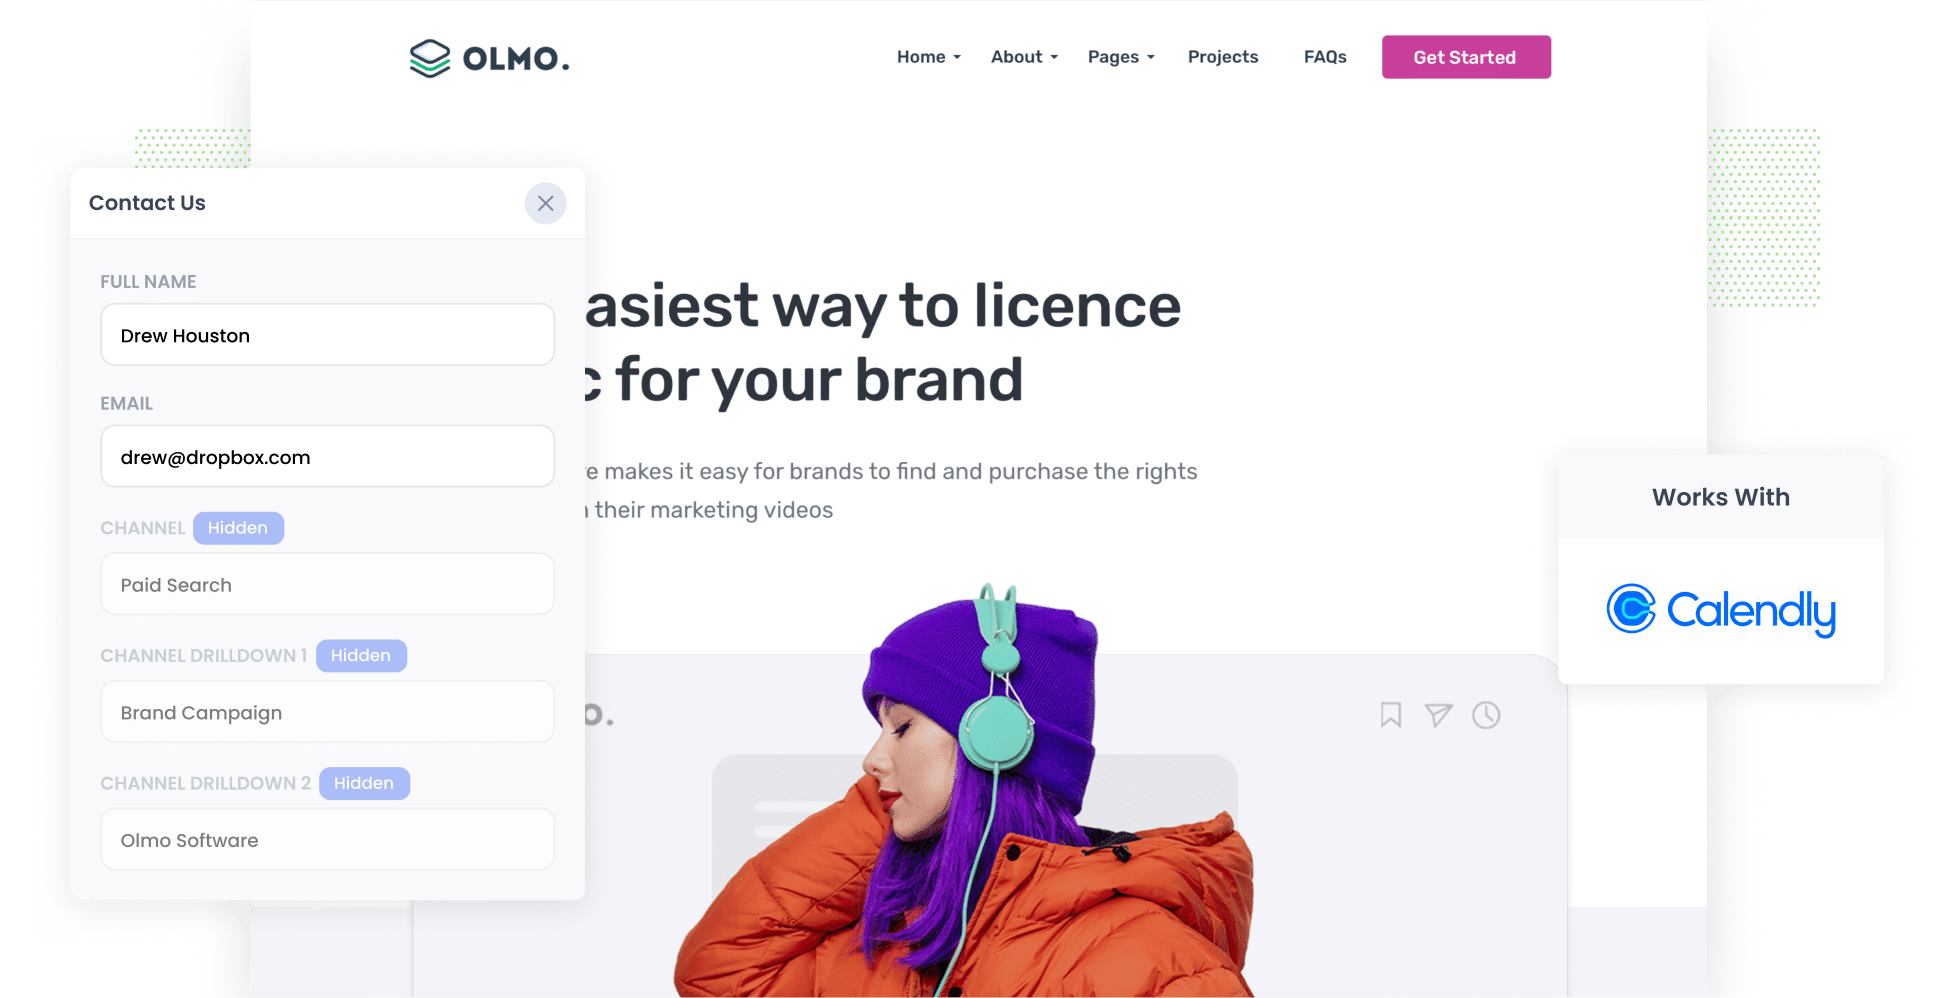
To better understand how Attributer works, let's imagine you're a marketer at Da company called Olmo Software..
A potential customer clicks one of your ad, lands on your homepage, clicks the 'Request A Demo' button and books a time to speak with your team through the Calendly widget embedded on the Book Demo page.
Depending on the UTM parameters embedded in the ad, Attributer would pass through the following information to Calendly:
- UTM_Medium = Paid Search
- UTM_Source = Google
- UTM_Campaign = Brand Campaign
- UTM_Term = Olmo Software
3. Send the data to your CRM and other tools

With the data successfully captured in Calendly, you do any a number of different things with it:
- See the data in the 'Scheduled Event's section in Calendly
- Send the data to CRM tools like Salesforce, Hubspot, Pipedrive, Zoho CRM and more where you can run reports to show which campaigns, sources, etc are generating your leads.
- Sync the data to Google Sheets or Microsoft Excel
- And much more!
What is Attributer?
Attributer is a little snippet of code that you place on your website.
When a visitor arrives at your site, it looks at a bunch of technical data about how they got there (the same things tools like Google Analytics look at) and then categorizes each visitor into a series of channels (like Paid Search, Organic Search, Paid Social, etc) before storing the data in the visitor's browser as a cookie.
Then when that visitor books a meeting through your Calendly widget, Attributer passes the information on where they came from through and it is captured in Calendly alongside the lead's details (like their name, email, phone, etc).
Attributer was built by a marketing consultant who needed a way to track which campaigns were generating leads & meetings for his clients. He originally built it just to use with his own clients, but later realised it could help many other businesses as well.
Today, Attributer is used on hundreds of websites and passes through UTM parameters and other data on over 8 million visitors to those websites each month.
Why using Attributer is better than capturing raw UTM parameters
We know that Calendly has an out-of-the-box way to capture UTM parameters with each booking, so why use Attributer?
Here's how it's better:
1. Captures all traffic
Calendly's default UTM capture feature can only track leads that come from your paid ads (where you have put UTM parameters).
It cannot track the source of leads that come from organic channels such as Organic Search, Organic Social, Referral, Direct Traffic, etc.
And if you're like most businesses, majority of your leads probably come from these organic channels, so you would be missing attribution information on majority of your leads.
Attributer is different though. It passes through information on ALL your leads (even those that come from organic channels Organic Social, Organic Search, Direct Traffic, Referral, etc.).
This ultimately means you'll be able to understand the source of all your leads, and will be able to make better decisions on how to grow your business.
2. Remembers the data as visitors browse your site
As mentioned earlier, Calendly's built-in UTM capturing feature will only capture them if the user completes the form on the same page they landed on.
To illustrate why this is a problem, imagine someone clicks one of your Google Ads and is taken to your homepage. They then click the ‘Talk to Us’ button and are taken to a different page where they book a meeting through your Calendly widget. This would mean that the page they complete a form on is not the same page they originally landed on, so the UTM parameters are lost.
Fortunately, Attributer works differently/ It stores the UTM parameters in a cookie in the user’s browser, meaning that regardless of what page the lead books a meeting on on the UTM parameters will always be passed through.
3. Provides cleaner data
Calendly's default UTM capturing feature will just pull in the UTM parameters exactly as they are in the URL.
Unfortunately though, this can often make for messy data as UTM parameters aren't always applied correctly.
As an example, imagine some of your Google Ad campaigns are tagged with UTM_Source=adwords, others with UTM_Source=google, and others with UTM_Source=google.com.
When you pass this data into your CRM and try to use it to see how many leads your Google Ads campaigns have brought you, you get three different sources that you would then have to stitch together.
With Attributer, you don't have to deal with this because it takes the possibility of capitalization and other inconsistencies into account, and will categorise these leads into the Paid Search channel regardless.
4 example reports you can run when you capture UTM parameters in Calendly
Before founding Attributer, I worked in marketing & analytics for over 15 years.
In that time I ran hundreds (maybe even thousands) of reports to understand which campaigns were working and which weren't.
In that time, I developed a few favourite reports which I found useful.
So if you are using Attributer to capture UTM parameters with each Calendly booking, and then sending that data into your CRM or a spreadsheet, here are a few reports you'll be able to run that I think you'll find super valuable:
1. Leads by Channel
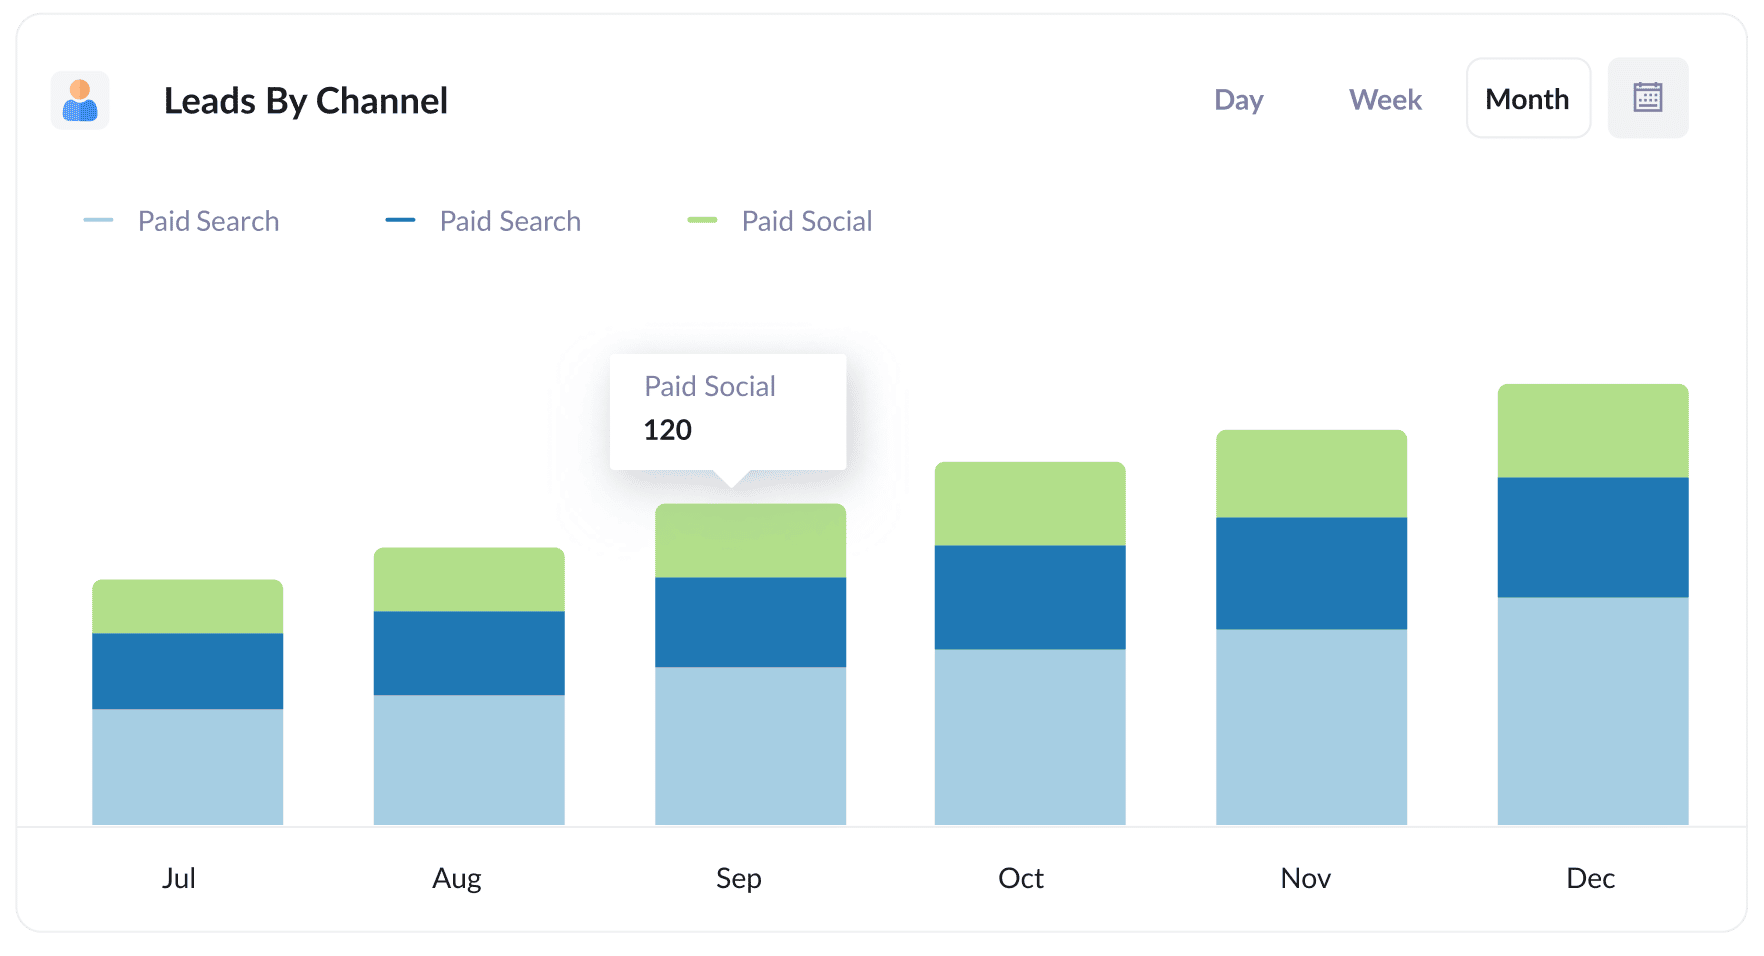
Because Attributer captures the source of ALL your leads (not just those from your paid ad campaigns), you can create reports like the one above to see how many leads you get each month by the channel they came from.
This can help you understand which channels are performing best and where you should allocate further resources.
For instance, if most of your leads come from Organic Search but you're investing most of your budget in paid ads, it may be advantageous to shift some of your budget to SEO.
2. Leads by Facebook Ads Network
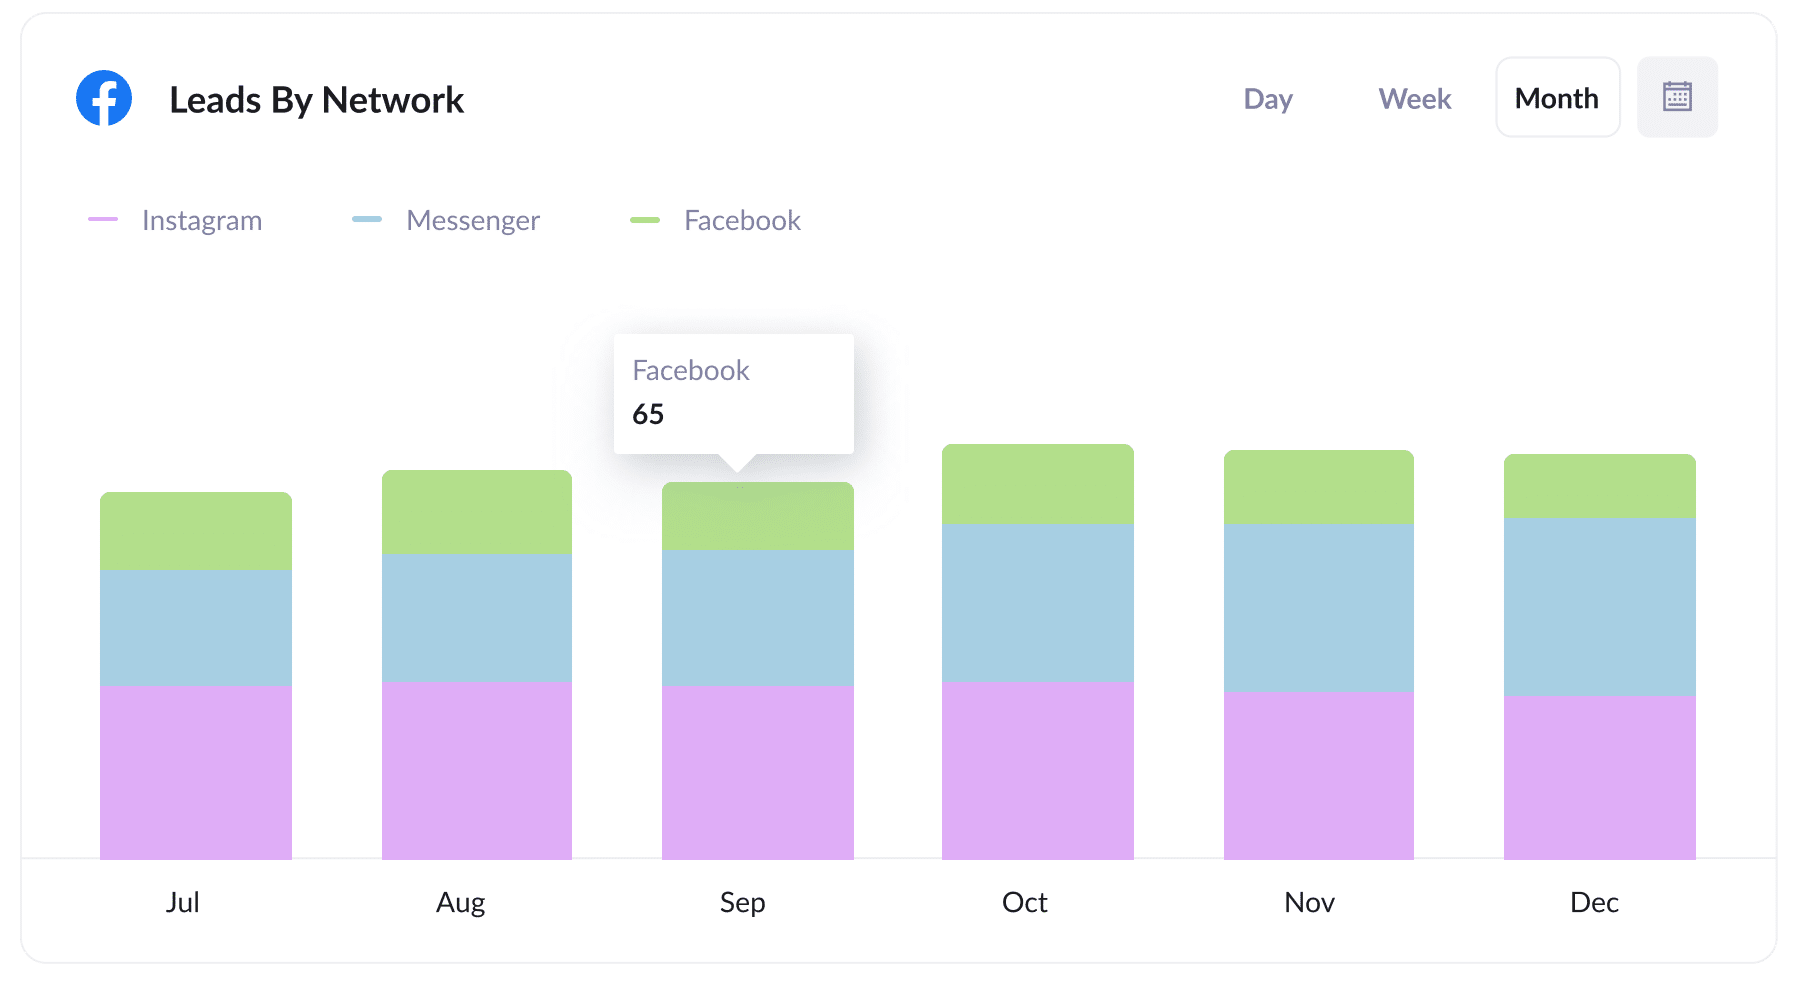
If you're like most businesses that are advertising on Facebook, you probably have ads running on the different networks Facebook offers (i.e., Facebook, Instagram, Messenger, etc.).
In that case, the above report is useful. It shows how many leads you're getting from each network your ads are running on and can help you optimise your ad spend by focusing on the networks that are working best.
3. Customers by Google Ads campaign
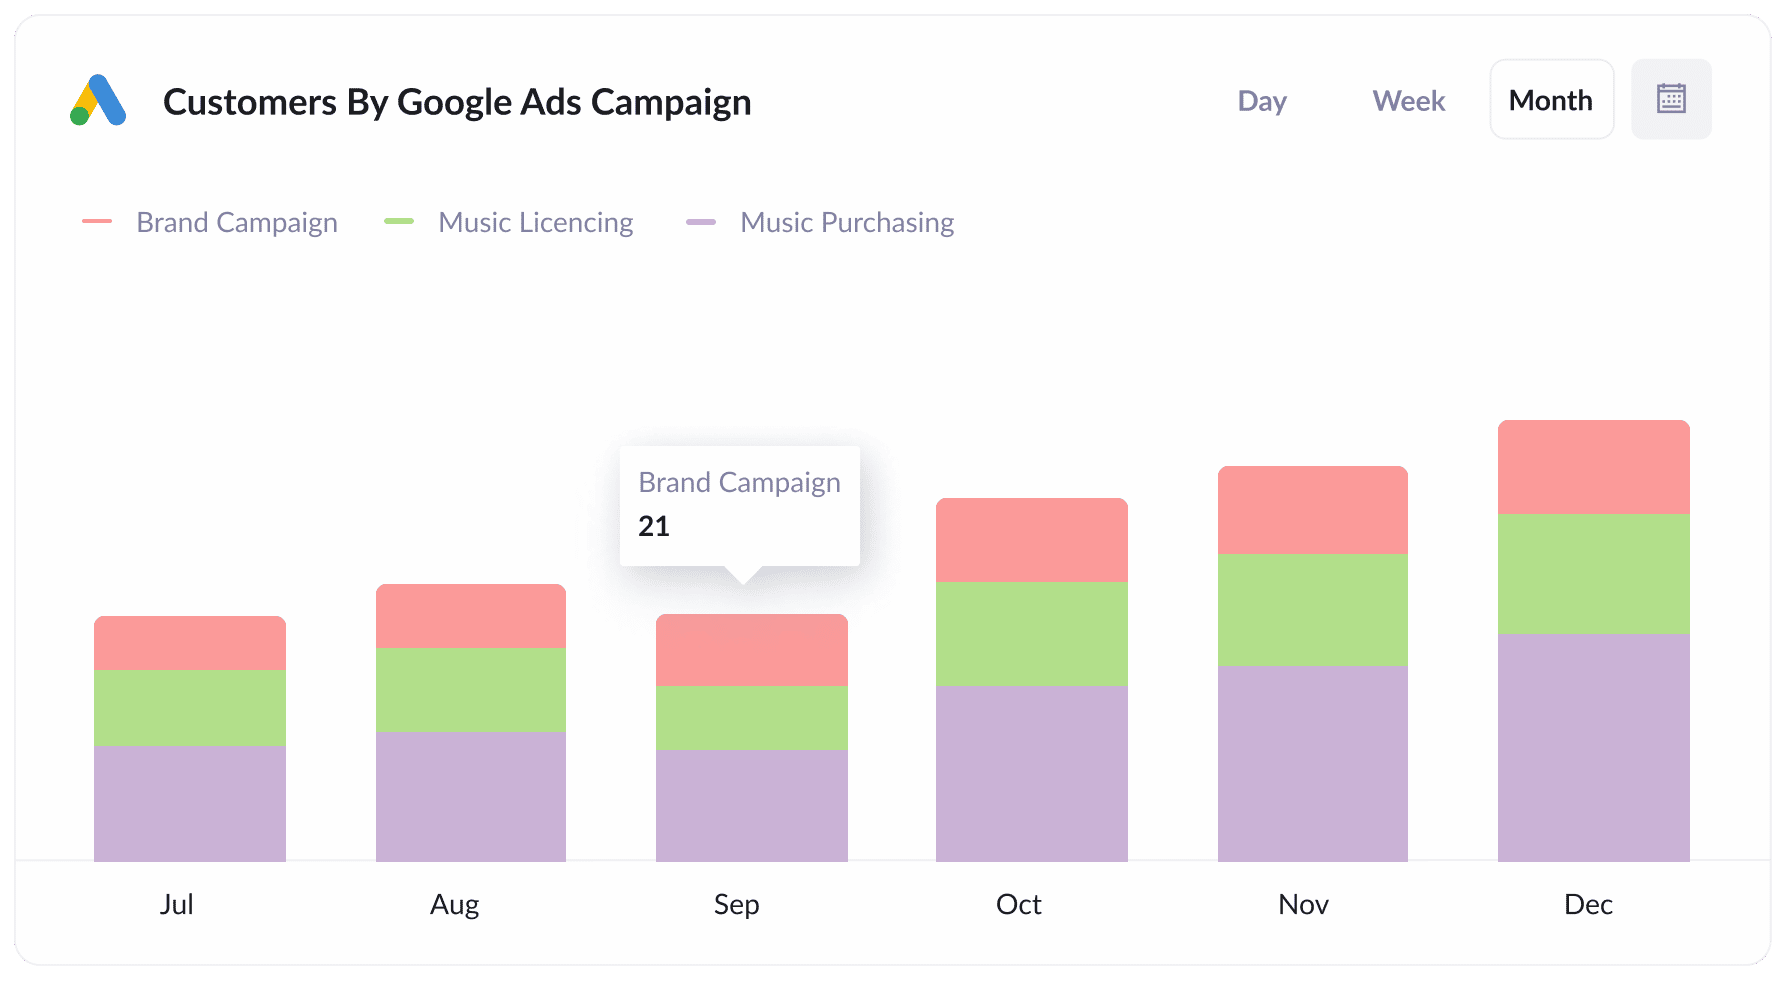
This report shows how many customers you've gotten each month from the different Google Ads campaigns you're running.
By running this report in your CRM or other tools, you can understand which campaigns are performing best and direct more of your budget and other optimization efforts towards those campaigns.
4. Revenue by Keyword
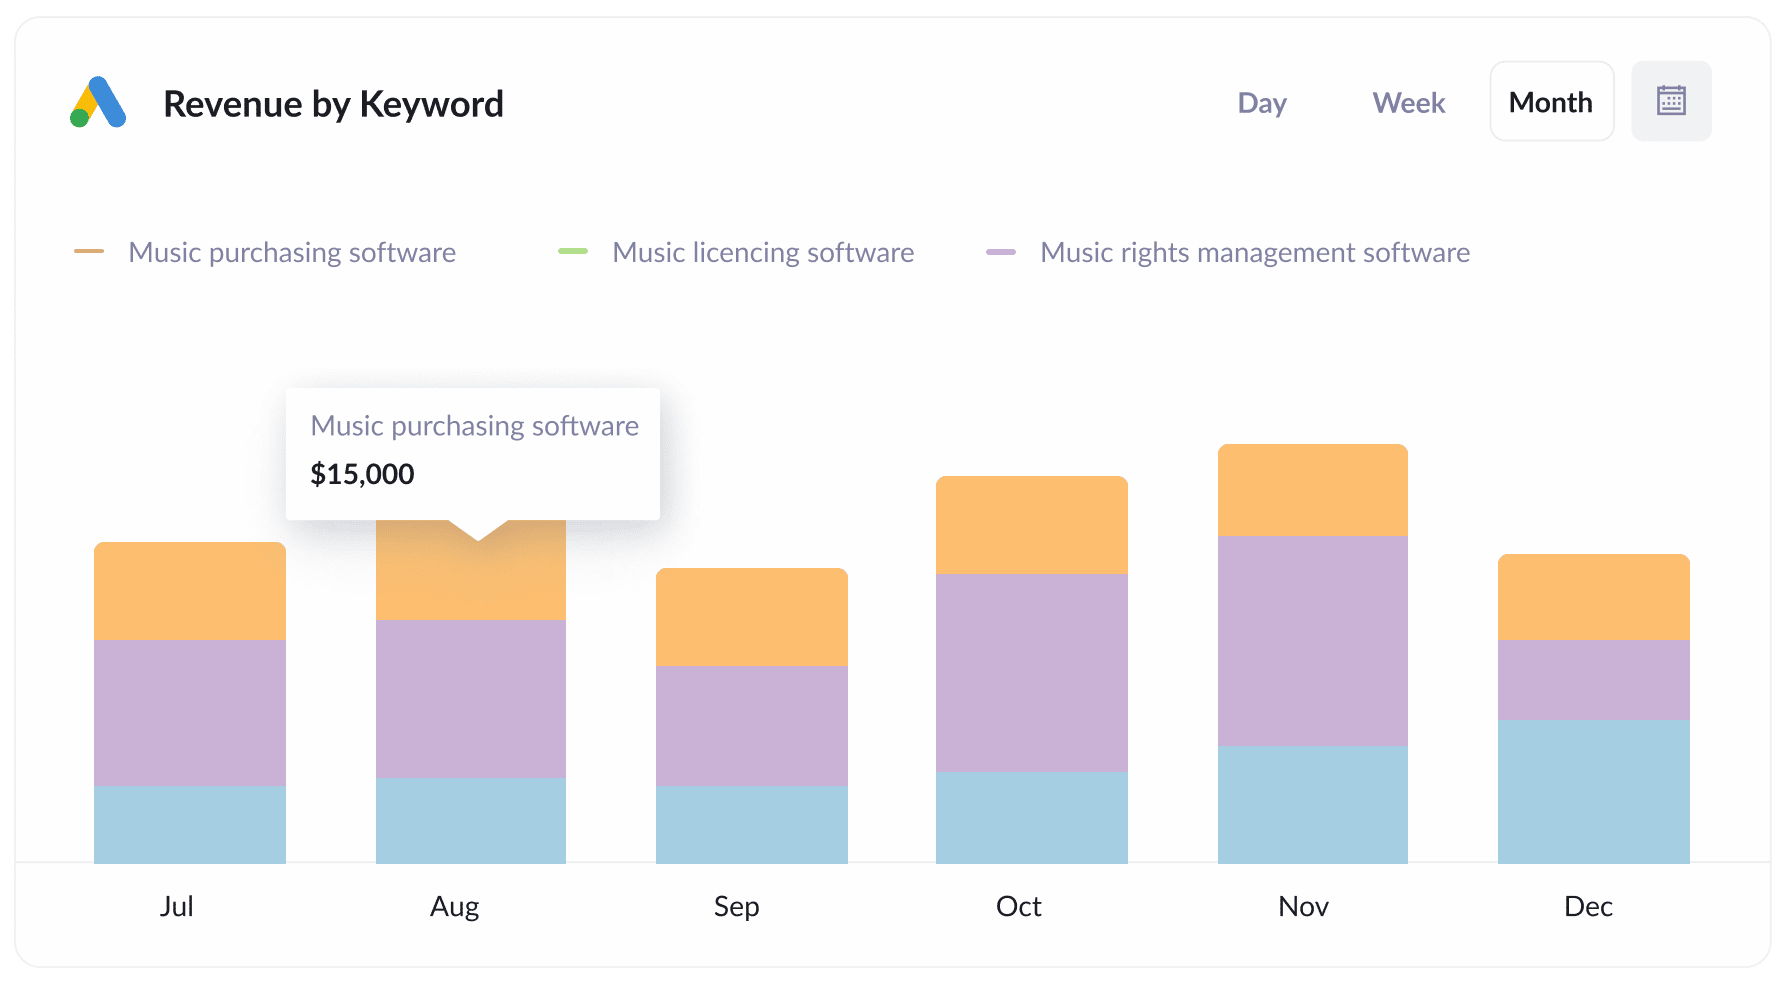
By including the keyword in the UTM parameters of your Google Ads (which can be easily achieved using tracking templates), you can capture the specific keywords used by your leads to find your business and build reports like the one above (which show how much revenue you've generated from each keyword you are bidding on).
This helps you determine which keywords to bid higher on in Google Ads and can ultimately help you grow revenue.
Wrap up
Calendly is a great tool for allowing potential customers to book a time to meet with you.
But it's default UTM capturing feature isn't great and will ultimately result in you undercounting how many leads you get from your paid ads. Plus, you won't know where all the other leads that don't come from your paid ads found you.
Fortunately though, Attributer solves these problems. It remembers the UTM parameters as people move around your site and will even pass through information on leads that some from organic sources.
Best of all, it's free to get started and only takes 10 minutes or so to set up. So get started using Attributer on your website today.
Get Started For Free
Start your 14-day free trial of Attributer today!

About the Author
Aaron Beashel is the founder of Attributer and has over 15 years of experience in marketing & analytics. He is a recognized expert in the subject and has written articles for leading websites such as Hubspot, Zapier, Search Engine Journal, Buffer, Unbounce & more. Learn more about Aaron here.
