How to capture the GCLID in Salesforce
Learn how to capture the GCLID with each new lead in Salesforce and send it back to Google Ads as an Offline Conversion

Use Attributer to capture the GCLID in Salesforce. Simply add hidden fields to your forms, Attributer writes the GCLID into them, and they are sent to Salesforce. It even captures other lead source information (like UTM parameters, leads from organic channels, etc)
Google Ads can be a powerful way to bring in new leads for your business.
But if you're not tracking which of those leads actually turn into paying customers, you could be pouring money into campaigns that aren't delivering real results.
The good news? There's a solution.
In this article, we'll show you how to use a tool called Attributer to capture the GCLID in Salesforce and send it back to Google Ads to record offline conversions.
4 steps for capturing the GCLID in Salesforce
It’s easy to capture the GCLID when you use Attributer. Here’s how it works:
1. Install Attributer on your website and add a hidden field
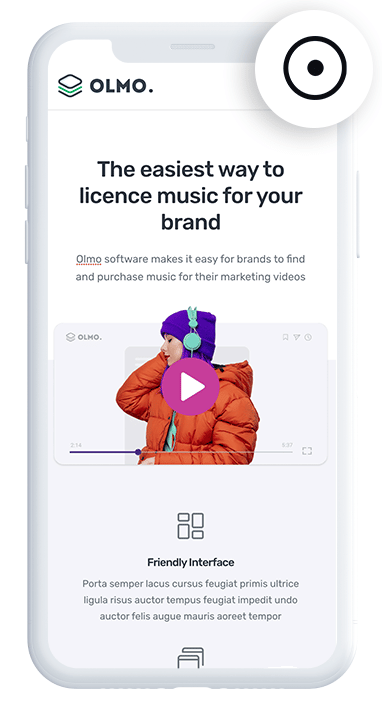
When you sign up for a 14-day free trial of Attributer, you'll receive a small snippet of code to place on your website.
Depending on what website builder you use (WordPress, Webflow, Squarespace, etc), the process will look a bit different, but generally you can add it through the settings section of your site. Adding it through Google Tag Manager works as well.
The last thing you'll need to do is add a 'GCLID' hidden field to your website forms. This gives Attributer a place to write the GCLID so that it gets captured each time a lead submits a form on your site.
2. Attributer captures the GCLID and writes it into the hidden field
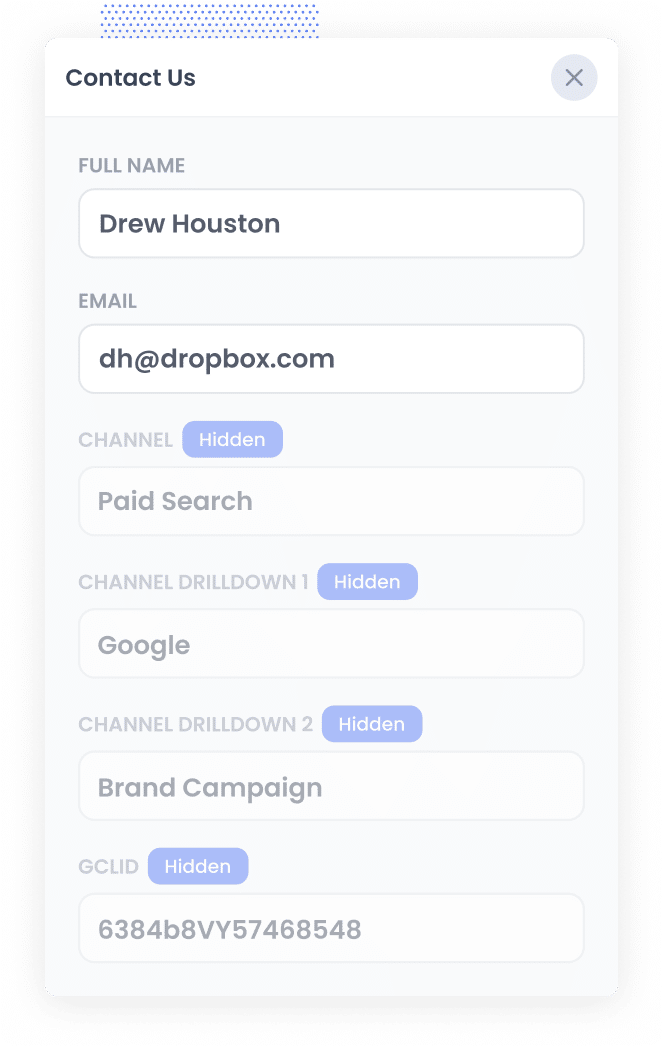
When someone arrives on your site after clicking one of your Google Ads, Attributer captures the GCLID from the URL and stores it in the visitor's browser. This means that even if they browse around your site before filling out a form (or leave and come back another day), the GCLID from their original visit is always preserved.
Then, when they complete a form on your site, Attributer automatically writes the GCLID into the hidden field you set up earlier.
3. GCLID is captured with each form submission
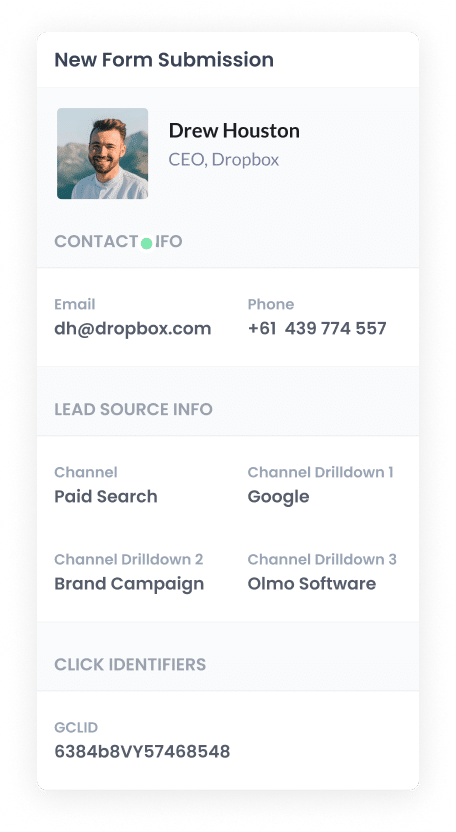
Then, when the form is submitted, the GCLID is captured by your form tool along with all the other information the lead entered into the form (like their name, email, etc.)
3. GCLID is passed to Salesforce with each new lead
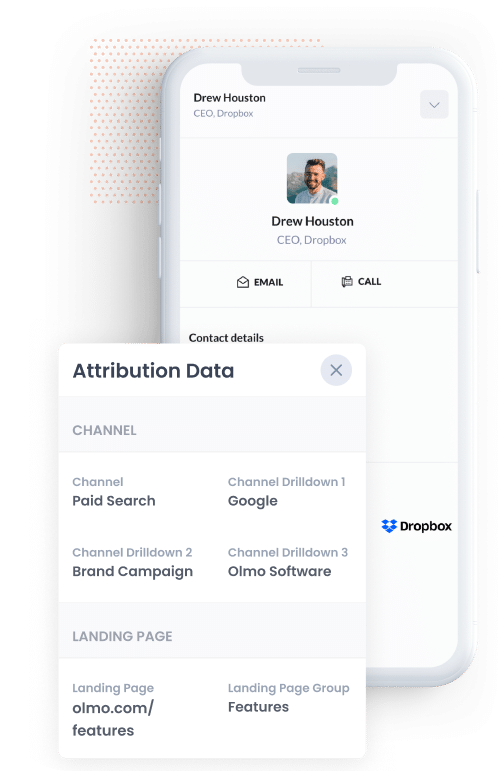
Finally, the GCLID can be passed to Salesforce alongside all the other information the lead entered into the form, like their name, email, phone, etc.
You can do this by using your form tools built-in integration with Salesforce (if it has one), or through third-party integration tools like Zapier or Make.
How to send the GCLID back to Google Ads and mark it as an offline conversion
Before you can send the GCLID back to Google Ads, you must first create a new conversion.
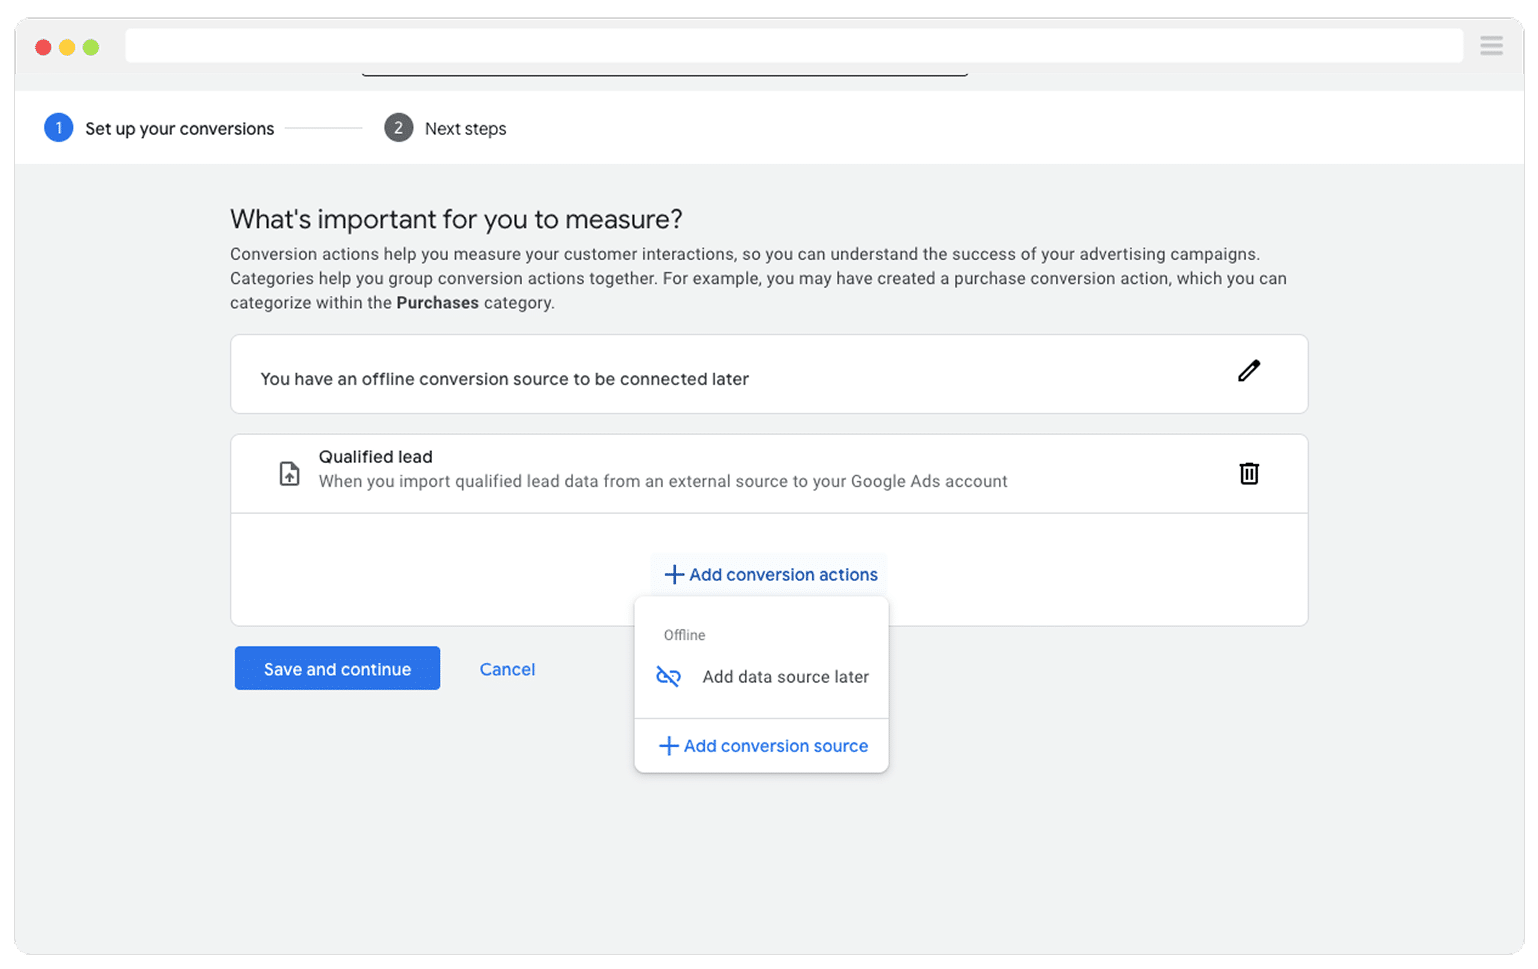
To do that, log in to your Google Ads account, select the Goals option in the sidebar, and then select Conversions. Once on the Conversions page, click the button to add a new Conversion and then select ‘Offline Conversion’.
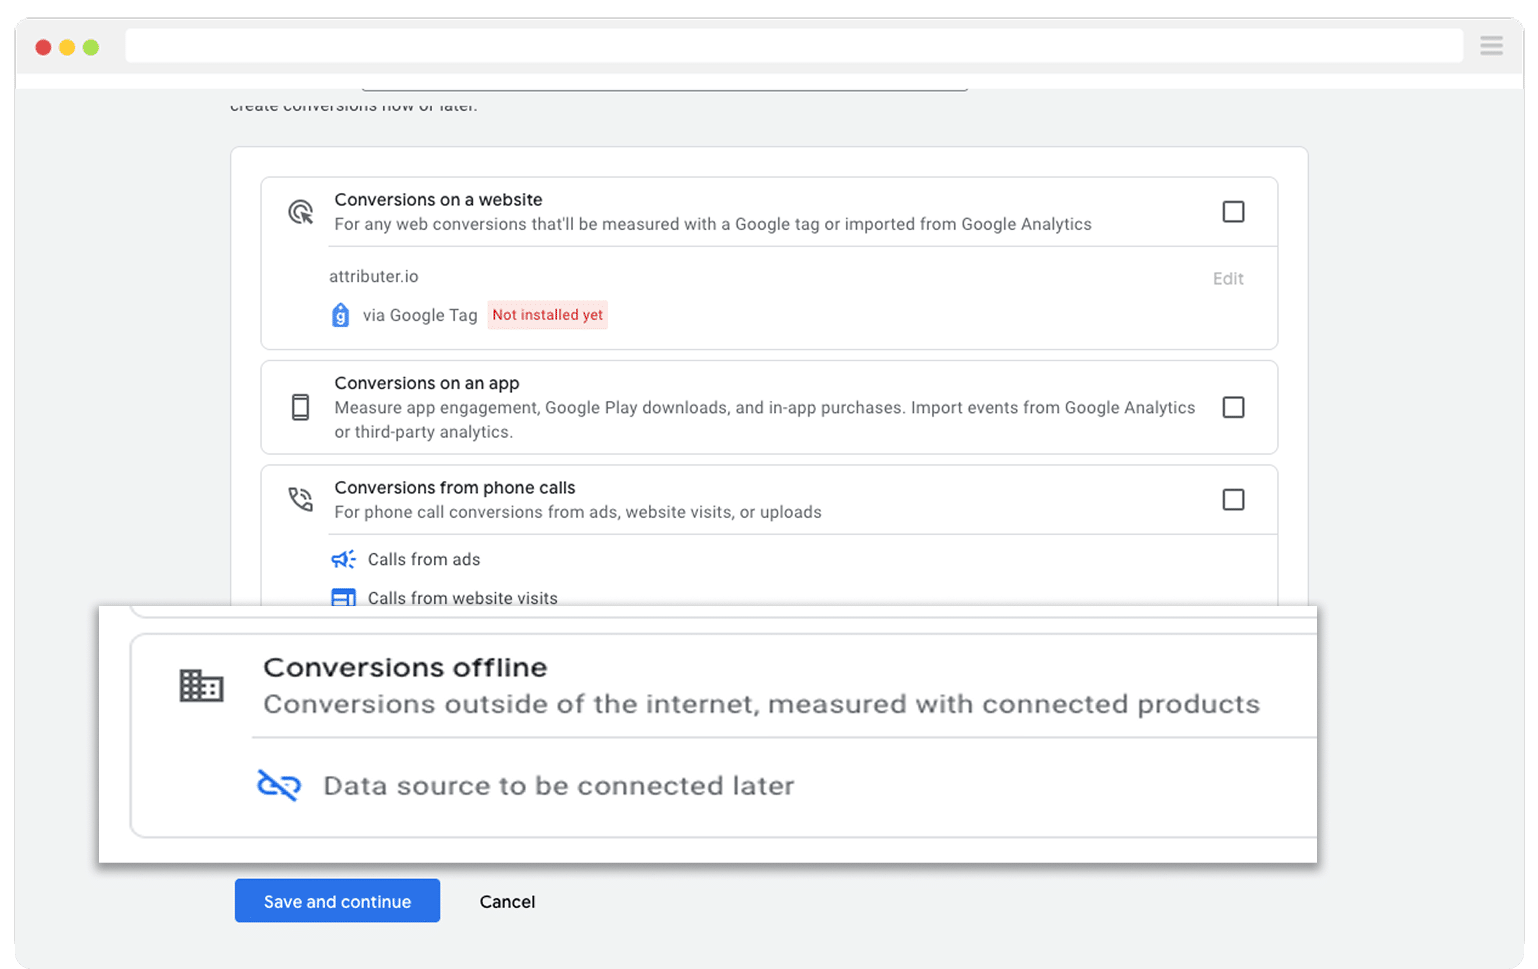
Then, in the final screen when it asks you to add a data source, select the option to ‘Add data source later’.
With your conversion set up in Google Ads, the next step is to start sending the GCLID back. But before you do that, you need to decide which point in your sales process should count as a conversion.
The natural instinct is to wait until a deal closes before sending the conversion to Google Ads. That makes sense in theory, but it can actually limit your campaign performance. Google's smart bidding strategies (like Maximise Conversions, Maximise Conversion Value, or Target CPA) need at least 50 conversions per month to work effectively. So if you're closing fewer than 50 deals a month, consider tracking an earlier stage in your pipeline (like when an Opportunity is created) to give Google enough data to optimise.
Once you've decided on your conversion point, log into your Zapier account and create a new Zap. Set the trigger to match whatever conversion point you chose. For example, if you decided to send the offline conversion when an Opportunity is created in Salesforce, you would set that as your trigger.

Next, select Google Ads as the Action and then select the ‘Send Offline Conversion’ as the event.

Finally, you just need to map the GCLID from your CRM (or wherever you are storing it) to the correct field in Zapier.

That’s it! You have now set up offline conversions in Google Ads. It’s a good idea to test it’s working before piling money into ads, and you can read more about how to do that here.
Why Attributer is the best way to capture the GCLID in Salesforce
There are other ways to capture the GCLID in Salesforce, so why choose Attributer?
Here's why it's the best approach:
1. Remembers the GCLID as visitors browse your site
Many form tools have built-in features for capturing URL parameters, but they simply pull whatever is in the URL when the form is submitted.
This means that if someone clicks one of your Google Ads, lands on your homepage, and then browses over to your Contact Us page to fill out a form, the GCLID is no longer in the URL at that point and won't be captured.
Attributer works differently, though. It stores the GCLID in the user’s browser, so if they browse multiple pages on your site before completing a form (or even if they leave and come back later), the GCLID will always be passed through.
2. Captures UTM parameters as well
Attributer isn't just a tool for capturing the GCLID. It can also capture any UTM parameters you put behind your ads.
For instance, if you're running marketing for an accounting firm and someone clicked one of your Google Ads and then completed a form on your site, it could pass through the following information (depending on what UTM parameters you put behind your ads):
- Channel = Paid Search
- Channel Drilldown 1 = Google
- Channel Drilldown 2 = Tax Advisory Campaign (or whatever the name of the campaign is)
- Channel Drilldown 3 = Small Business Tax Accountant (or whatever keyword you are bidding on)
- Channel Drilldown 4 = Free Consultation Ad (or whatever ad they clicked)
3. Captures information on users from organic channels
Attributer also captures information on leads who find your website through organic channels, like Organic Search, Organic Social, Referral, Direct Traffic, and more.
Continuing the accounting firm example above, if a lead found your site through an organic Google search, Attributer would pass through the following information:
- Channel = Organic Search
- Channel Drilldown 1 = Google
- Channel Drilldown 2 = www.google.com (or whatever the search engine domain was)
- Channel Drilldown 3 = Small Business Tax Accountant (or whatever keyword they searched for, when available)
Wrap Up
If you want to capture the GCLID in Salesforce (with the ultimate goal of sending it back to Google Ads as an offline conversion), then Attributer is a great way to do it.
It remembers the GCLID as visitors browse around your site (or even if they leave and come back later) and passes it through each time a lead submits a form. On top of that, you'll also get a wealth of extra data on your leads (UTM parameters, organic search data, and more), which means you'll be able to track where ALL your leads and customers are coming from.
Best of all, it's free to get started and usually takes less than 10 minutes to set up. Start your 14-day free trial today!
Get Started For Free
Start your 14-day free trial of Attributer today!

About the Author
Aaron Beashel is the founder of Attributer and has over 15 years of experience in marketing & analytics. He is a recognized expert in the subject and has written articles for leading websites such as Hubspot, Zapier, Search Engine Journal, Buffer, Unbounce & more. Learn more about Aaron here.