4 simple steps to track UTM parameters in Woopra
Know what's driving your signups, customers & revenue by tracking UTM parameters in Woopra
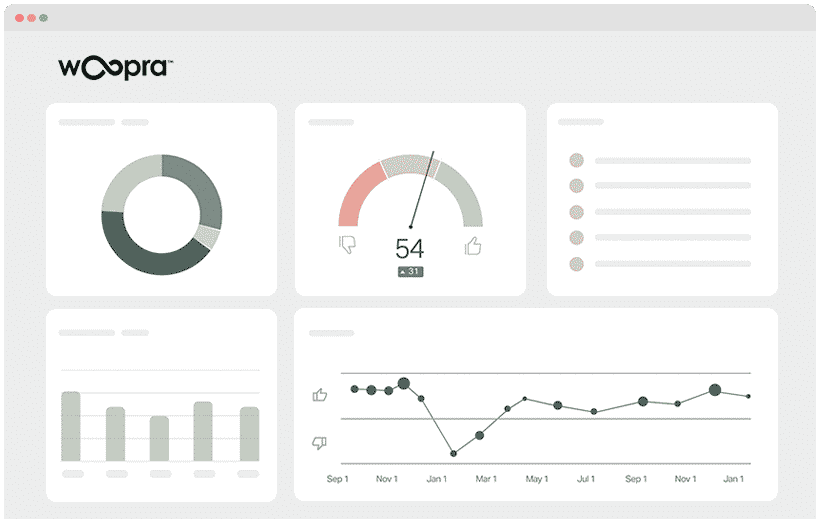
Woopra is one of the leading customer journey & product analytics tools on the market, and it makes it easy to run reports that show how people are using your product.
Unfortunately though, Woopra doesn't capture things like UTM parameters and other marketing attribution data out of the box, instead using its own URL tagging system (like 'woo_campaign'). Given most organizations already use UTM parameters behind their campaigns (and need to use them for other tools like Google Analytics), this makes things quite difficult.
So how can you capture UTM parameters in Woopra and use them in your reports and dashboard?
In this article, we're going to show you the 4 simple steps you can take to capture UTM parameters (and other marketing attribution data) in Woopra so you can use them to understand how people who come from different channels and campaigns interact with your product.
What is Attributer?
Attributer, like many marketing tools out there, is basically a piece of code that you add to your site.
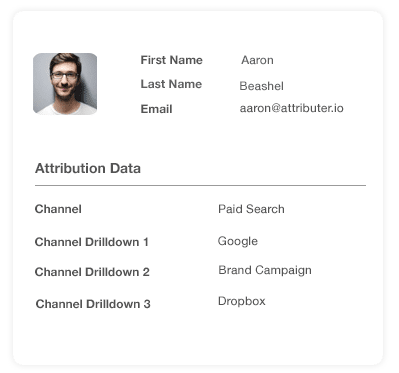
Once it's up and running, Attributer will start scanning some technical information about every visitor that arrives at your website to determine where they came from. Once their origin has been figured out, Attributer will then categorise each visitor into a series of channels (i.e., Paid Social, Organic Search, etc.). Attributer will then store this categorised data in a cookie in the visitor's browser.
When the visitor completes a form on your site, Attributer will pass the captured UTM parameters and other attribution data into your backend tools (such as Woopra analytics).
Once the data is inside Woopra, building reports on your marketing efforts is easy, and you can answer questions like:
- How many customers have I generated from my Facebook Ads?
- What's the retention rate of customers from my Facebook Ads vs. customers from my Google Ads?
- What's the total revenue generated from our Facebook Ad campaigns?
- What's the overall ROI of our ads?
4 steps for analysing UTM parameters in Woopra
Using Attributer to get UTM parameters into Woopra is easy. Here's how to do it in 4 easy steps:
1. Add UTM variables to your ads

The first task is to add UTM parameters to your every ad and campaign. This way, Attributer can know where your traffic is coming from.
You should tag all your ads on social networks like Facebook, Twitter & LinkedIn into account, as well as in search engines like Google & Bing, and in any bespoke campaigns you may have.
2. Add the Attributer code to your website

Adding the Attributer code to your website is up next.
Once you’re done signing up for the free trial, a small bit of code will be provided to you to be added to your site. This code is reminiscent of the Google Analytics code or other marketing tools’ codes you may have added before, and Attributer’s code should be added the same way as these other codes have been added.
Depending on the particular CMS system you use to run your website (i.e., Wix, WordPress, etc.), an option in the Settings area to add the code to the header is most likely available.
On the other hand, if you’re using a tag management service like Google Tag Manager, you can directly add the code through this tool.
Further instructions are provided on our help site should you need further assistance.
3. Send the data into Woopra
When the code is on your site, Attributer will start monitoring how people arrive at your site, categorise each visitor into different Channels (i.e., Paid Search, Organic Search, etc.), and store this data in the user’s browser as a cookie.
In order to send the data into Woopra, you need to take the data from the cookie first. You can do this in two ways:
- Add hidden fields to your forms - When you add hidden fields to your forms, Attributer will use them as a space to write the UTM parameters and other attribution data into. Once the user submits the form, this data will be passed to Woopra along with the user’s other information, such as their name, email, etc.
- Recapture data from the cookie - By adding a line of javascript to your website, you will be able to retrieve the UTM parameters and other attribution data from the Attributer cookie and send it into Woopra. This method is especially beneficial if you have the ‘Sign up with Google' or 'Sign up with Facebook’ buttons that let the user sign up for your product without actually filling out a form.
4. Run reports in Woopra
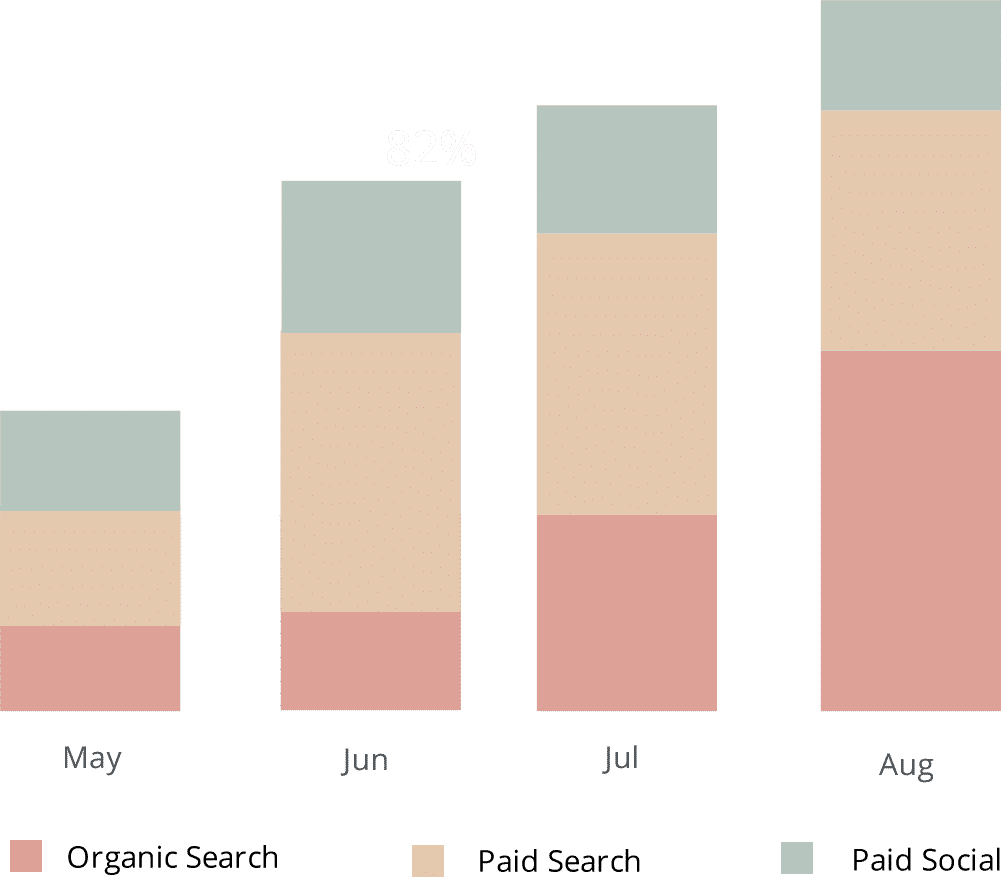
Now that you have the UTM parameters and other attribution data in Woopra, you can start creating reports that show your acquisition metrics (i.e., signups, activations, customers, etc.) by marketing channel and campaign.
This can help you answer questions such as:
- How many signups did I get from my Facebook Ads?
- Which Google Ad campaign drove the most signups?
- How many activated users came from our LinkedIn Ads?
- What's the retention rate of people who come form our Facebook ads vs our Google Ads?
- How many customers have we gotten from our blogging efforts?
- How many customers have come from our SEO efforts?
- And much more
Why using Attributer is better than capturing raw UTM parameters
There are several ways of getting UTM parameters into Woopra, so what makes Attributer a better choice for you?
Unlike other tools, Attributer does much more than just capturing raw UTM parameters. It also does the following:
1. Captures all traffic
"Besides capturing UTM parameters and passing them into your Woopra account, Attributer also collects visitors’ channel information even when they have arrived on your site through channels where UTM weren’t present (i.e., Organic Search, Organic Social, Referral, Direct, etc.)
With this data, you will be able to determine where ALL of your signups & customers come from, not just the ones that come from campaigns with UTM parameters.
2. Remembers the data
It's a common requirement for most other UTM capturing tools and methods to have the UTM parameters present on the page where your forms are completed. This is because most other tools simply pull them from the URL.
This requirement becomes a problem if users complete your signup form on a different page than the one they initially landed on.
For instance, imagine a user clicks on one of your Google Ads and is led to a landing page you created for this campaign.
After some reading and exploring, this user decides that they want your product so they click on the ‘Create an Account’ button and are led to a different page to complete your account creation form. This means that the page the user has submitted a form on isn’t the same page they arrived on your site, which means the UTM parameters are lost.
This won’t happen with Attributer though, as the UTM parameters are stored in a cookie in the user’s browser. So regardless of what page they complete your form on, the UTM parameters are secure and will always be passed into Woopra and other tools.
3. Provides cleaner data
Working with UTM parameters for quite some time can reveal how messy the data can get. This can be especially true if different individuals or agencies have managed your ads in the past.
For example, imagine some of your Facebook Ad campaigns are tagged with UTM_Source=Facebook (capitalized), others with UTM_Source=facebook (uncapitalized), and others with UTM_Source=fb.
If you use other UTM capturing tools and send the raw UTM parameters into Woopra for report-building, these users would appear to have come from 3 different sources and you'd get the wrong information.
It’s different with Attributer though, as it was designed to anticipate these types of inconsistencies and would assign these users to the correct channel (Paid Social) no matter what.
4. Captures landing page data as well
If you’ve ever wondered how your blog is performing in terms of driving signups & customers, then Attributer has got you.
Apart from capturing UTM parameters and other channel data, Attributer also collects the landing page (i.e., attributer.io/blog/capture-utm-parameters) and the landing page category (i.e., /blog).
With this information, you will be able to see how each section on your site is performing (I.e. your blog) as well as zero in on each piece of content (I.e. individual blog posts).
Wrap up
As discussed above, Attributer can do a lot more than your average UTM parameter capturing tool, and it does a lot of work to ensure that you have the best, cleanest data to analyse.
Apart from capturing UTM parameters, it also collects attribution information on organic visitors, prevents data from being lost due to your visitors’ navigation activity, and organises data to ensure the easy building of reports.
Want to see if Attributer works for you? Start a 14-day free trial today to find out.
Get Started For Free
Start your 14-day free trial of Attributer today!

About the Author
Aaron Beashel is the founder of Attributer and has over 15 years of experience in marketing & analytics. He is a recognized expert in the subject and has written articles for leading websites such as Hubspot, Zapier, Search Engine Journal, Buffer, Unbounce & more. Learn more about Aaron here.