The best way to track Unbounce form submissions as conversions in Google Ads
Set up conversion tracking properly for your Unbounce forms and you could record up to 23% more conversions in Google Ads. Here's how to do it.

Whenever a visitor fills in one of your Unbounce forms, Attributer passes through the GCLID and the other signals Google Ads needs, ready to be sent back as a conversion. That can happen when the form is submitted, or later on once the lead becomes a customer in your CRM.
Unbounce landing pages are a great place to send people who click your Google Ads. You can give them targeted messages that directly speak to the ad they clicked and the keyword they searched for.
The tricky part is setting up proper conversion tracking.
Unbounce has guides for setting up events in Google Tag Manager, but they're complicated and require a lot of custom code and tricky GTM configuration.
Worse still, it doesn't work with Enhanced Conversions for Google Ads. It just sends a single conversion event through the visitor's browser without any of the lead's details, resulting in a poor match rate (i.e., Google will struggle to match the conversion back to the initial ad click).
So where does that leave you?
This guide walks through how to track conversions in Google Ads properly every time a visitor submits a form on one of your Unbounce landing pages, using a method called server-side tracking.
Why you need to be doing server-side tracking in Google Ads
The standard ways of tracking conversions in Google Ads, whether that's watching for thank you page visits or firing events through Google Tag Manager, have some real weaknesses. Studies have found these methods can miss as much as 30% of your conversions.
A few things cause this:
- Ad blockers. If a visitor to your Unbounce landing page is using an abblocker, then it will block the Google Tag or Google Tag Manager from loading, so it never gets the chance to record what a visitor does.
- Browser privacy features. Browsers such as Safari ship with technology that stops the Google Tag from tracking a visitor beyond a day or so. So if they click your ad today but don't convert until three days later, then that conversion won't be tied back to the ad click.
- Switching devices. Someone might click your ad on their phone but only fill in a form later from their laptop, which severs the link between the original click and the conversion.
That is the whole case for server-side tracking. Instead of pinning your hopes on something happening in the browser and trusting the Google Tag to catch it, you send a direct, private message to Google's servers carrying the lead's details, where ad blockers and privacy settings can't get in the way.
And the payoff is real. Google's own numbers show server-side tracking tends to bring a 23% average increase in total recorded conversions and a 10% reduction in cost per conversion, since cleaner data gives Google's algorithms more to learn from and helps them serve your ads better.
How to track Unbounce form submissions in Google Ads using server-side conversion tracking
Which path you take really depends on the moment you want that conversion to reach Google Ads. There are two ways to set it up.
Option 1: When a lead submits the form
If you want a server-side conversion to be sent to Google Ads when someone submits a form on your Unbounce page, a tool like Converly makes it easy.

Converly gives you a simple builder that makes it easy to set up conversion flows. You begin by selecting a trigger (e.g. an Unbounce form is submitted) and then select the actions you want to follow (such as sending a conversion to Google Ads).
Converly then gives you a snippet of code to place on your website and takes care of everything else for you.
It listens for form submissions, extracts the lead's name, email and phone, secures it with SHA-256, and forwards it to Google Ads. It also picks up a pile of extra detail about the visitor and their session (GCLID, GBRAID, WBRAID, User Agent and more) and sends that along with the conversion, which massively increases Google's ability to tie the conversion back to the exact campaign, ad and keyword the lead first clicked.
You end up with everything server-side tracking offers (the 23% average lift in recorded conversions, the 10% lower cost per conversion) but with none of the hassle (i.e. no custom code, no learning what SHA-256 is, and no figuring out Google's API, etc).
Option 2: When a lead becomes a customer
Already sending your Unbounce leads into a CRM like Salesforce or Pipedrive? Then there's a second option, which is to wait and send the conversion to Google Ads later in the sales cycle, for example once the lead actually becomes a paying customer.
It works by capturing a little extra information when the form is submitted and carrying it through to your CRM. Here's how:
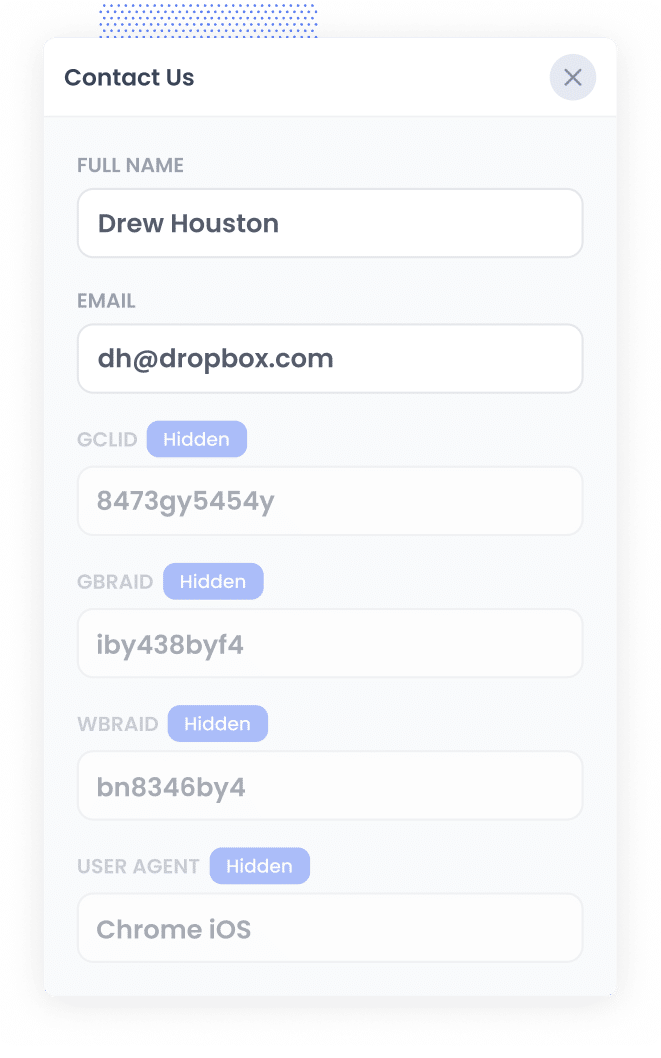
1. Install Attributer on your Unbounce page and add a hidden field
To get started, sign up for a 14-day free trial of Attributer. You'll be handed a small snippet of code to add to your pages, which you can drop straight into Unbounce using the Script Manager (found under Settings).
After that, add a few hidden fields to your Unbounce form:
- GCLID
- WBRAID
- GBRAID
- User Agent
Unbounce makes this straightforward. In the form builder, add a new field, set its type to Hidden, and give it the right name. The exact names to use are listed on the Attributer Help site.
2. Attributer writes data into the hidden fields
Once the Attributer snippet is live on your Unbounce pages, it quietly does its job in the background.
When a visitor arrives from one of your Google Ads, Attributer grabs everything Google Ads needs for a server-side conversion (the GCLID, GBRAID, WBRAID, User Agent and so on) and stores it in the visitor's browser.
Then, as soon as they submit a form on your landing page, Attributer writes that data into the hidden fields you added, and it travels along with the rest of the submission.
3. Data is sent to your CRM
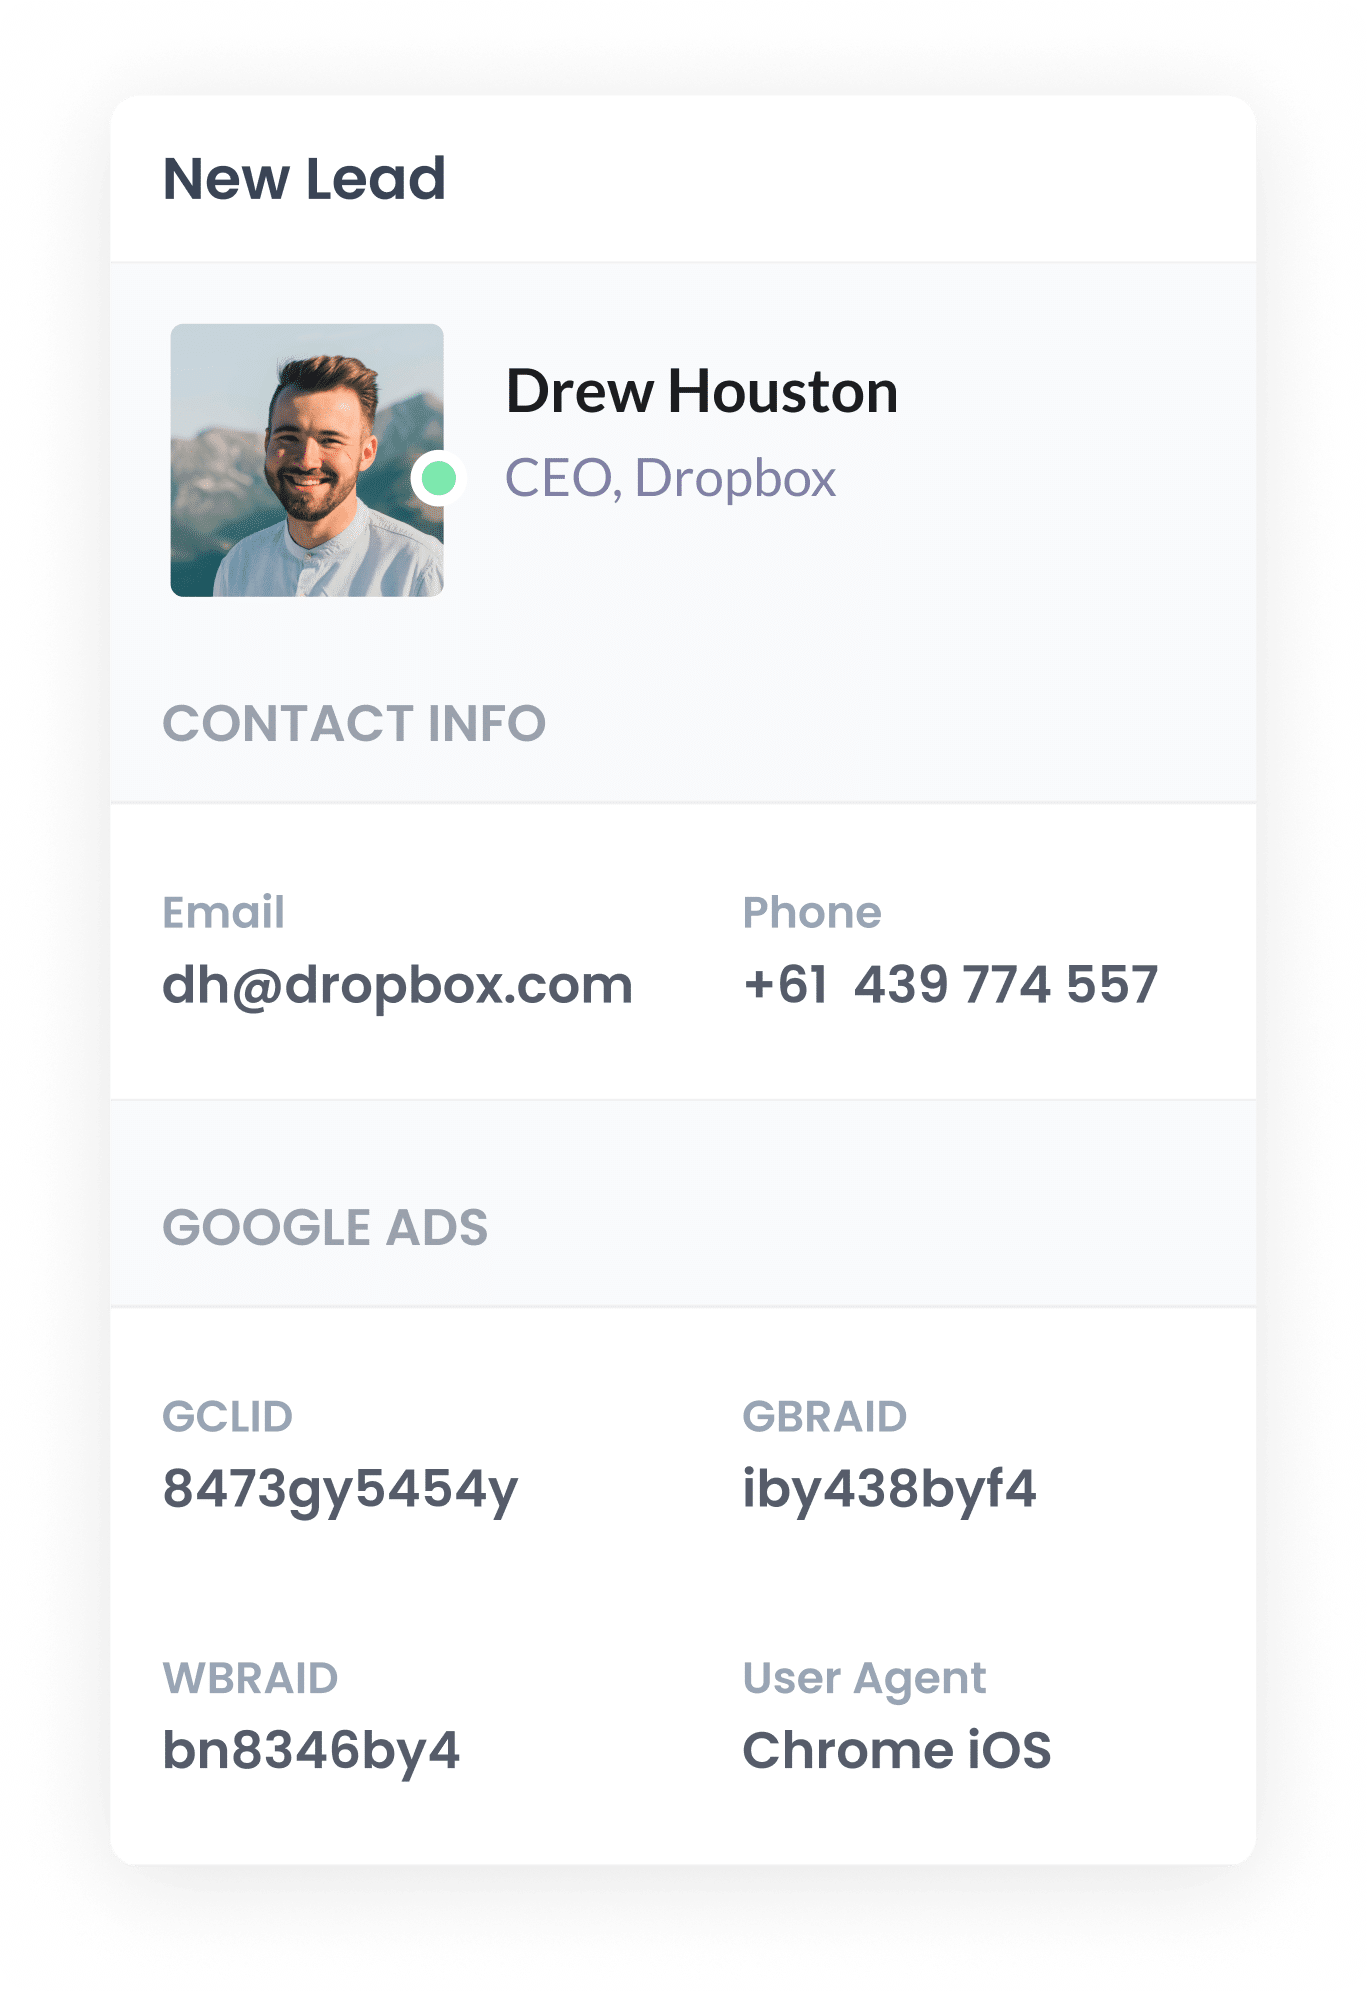
Once it's captured with the submission, the data can move into your CRM alongside the lead's name, email, phone number and anything else they entered on the form. You can send it across using Unbounce's built-in integrations, a webhook, or a connector like Zapier or Make.
From there it lives on the contact or lead record in your CRM, waiting until you need it.
4. Send the data to Google Ads
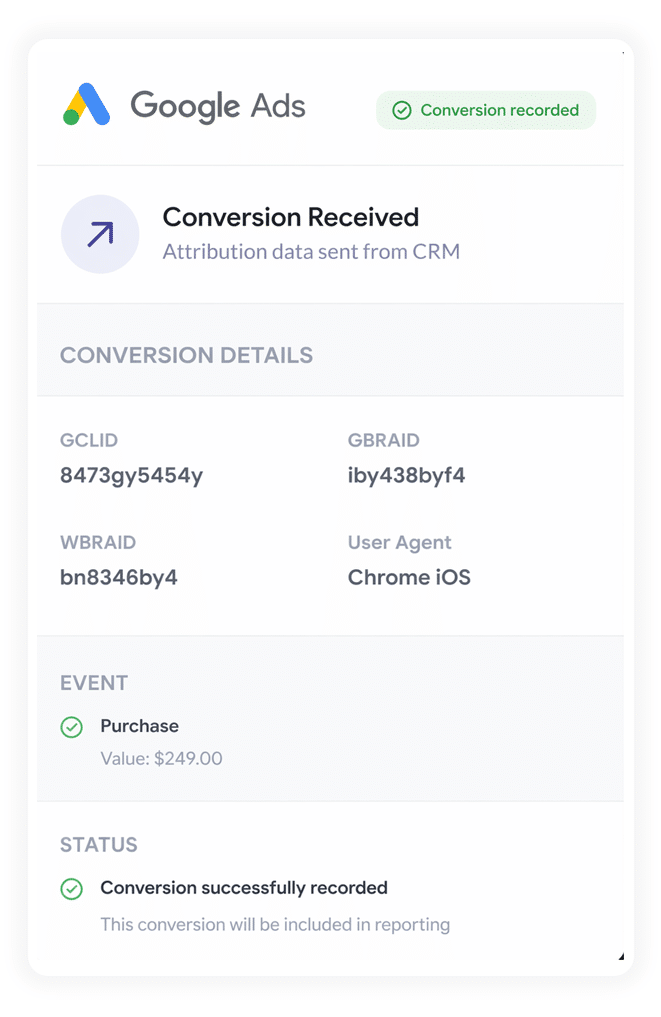
When the lead reaches a milestone you care about (a deal being created, or them turning into a customer), you can send everything back to Google Ads to record a conversion.
This is where Zapier and Make shine. They hook into almost any CRM and can be told to trigger the conversion in Google Ads at exactly the right moment (e.g., when a new deal is created or a deal is marked Closed).
These tools also give you a nice, clean interface for matching the values Attributer captured (GCLID, GBRAID, WBRAID, User Agent and the rest) to the corresponding fields in Google Ads.
Why sending server-side conversions to Google Ads is the best approach
So why is server-side tracking so much more accurate? It all comes down to where the tracking takes place.
Client-side tracking happens entirely inside the visitor's browser, and a browser is a noisy, unpredictable place you have no say over. Server-side tracking takes a different route, sending the conversion data through a controlled, private channel that ad blockers and privacy settings can't reach.
Four things in particular make it the most dependable way to track conversions:
1. Overcomes Ad Blockers
The traditional setup leans entirely on a tracking script (i.e. the Google Tag) loading in the visitor's browser, and that's its Achilles heel. Loads of people now browse with privacy protections turned on or an ad blocker installed, and either can quietly block that script before it runs.
In fact, some research suggests more than 30% of internet users are running an ad blocker of some sort.
Server-side tracking steps around the issue completely by sending the conversion data straight to Google's servers, well out of an ad blocker's reach, so none of your leads go uncounted.
2. Bypasses Safari & iOS Privacy Limitations
Apple's Intelligent Tracking Prevention (ITP) usually clears tracking cookies within a day or two. So if a visitor doesn't convert on the same day they click, the thread connecting that click to the conversion is lost.
Server-side tracking gets around it by sending the lead's name, email, phone, etc. to Google and telling it to use those to match the conversion back to the original ad click instead.
3. Works across devices
A lead might stumble across your landing page on one device, say their phone, and then wait until they're at a computer before actually filling in the form.
Browser tracking can't join those two visits up, because they happen on different devices.
But passing identity data, such as their name and email, lets Google "stitch" the sessions back together, so your ads get the credit they're due for sparking the journey.
4. Eliminates duplicate and messy data
On top of all that, browser-based tracking trips over other errors too, like counting the same conversion twice when a page is refreshed, or losing data entirely to slow loads and dropped connections.
Server-side tracking is far tidier because it only logs a conversion when a form is actually submitted, not when a thank you page happens to load. That keeps the conversion totals in Google Ads much closer to the real number of leads coming in.
3 reports you can run when you properly send conversions to Google Ads from your Unbounce forms
Over 15 years of running marketing for all kinds of businesses, I've poured millions into Google Ads and built more reports than I can count to see what was working.
These are the 3 I found myself reaching for again and again:
1. Conversions by Keyword
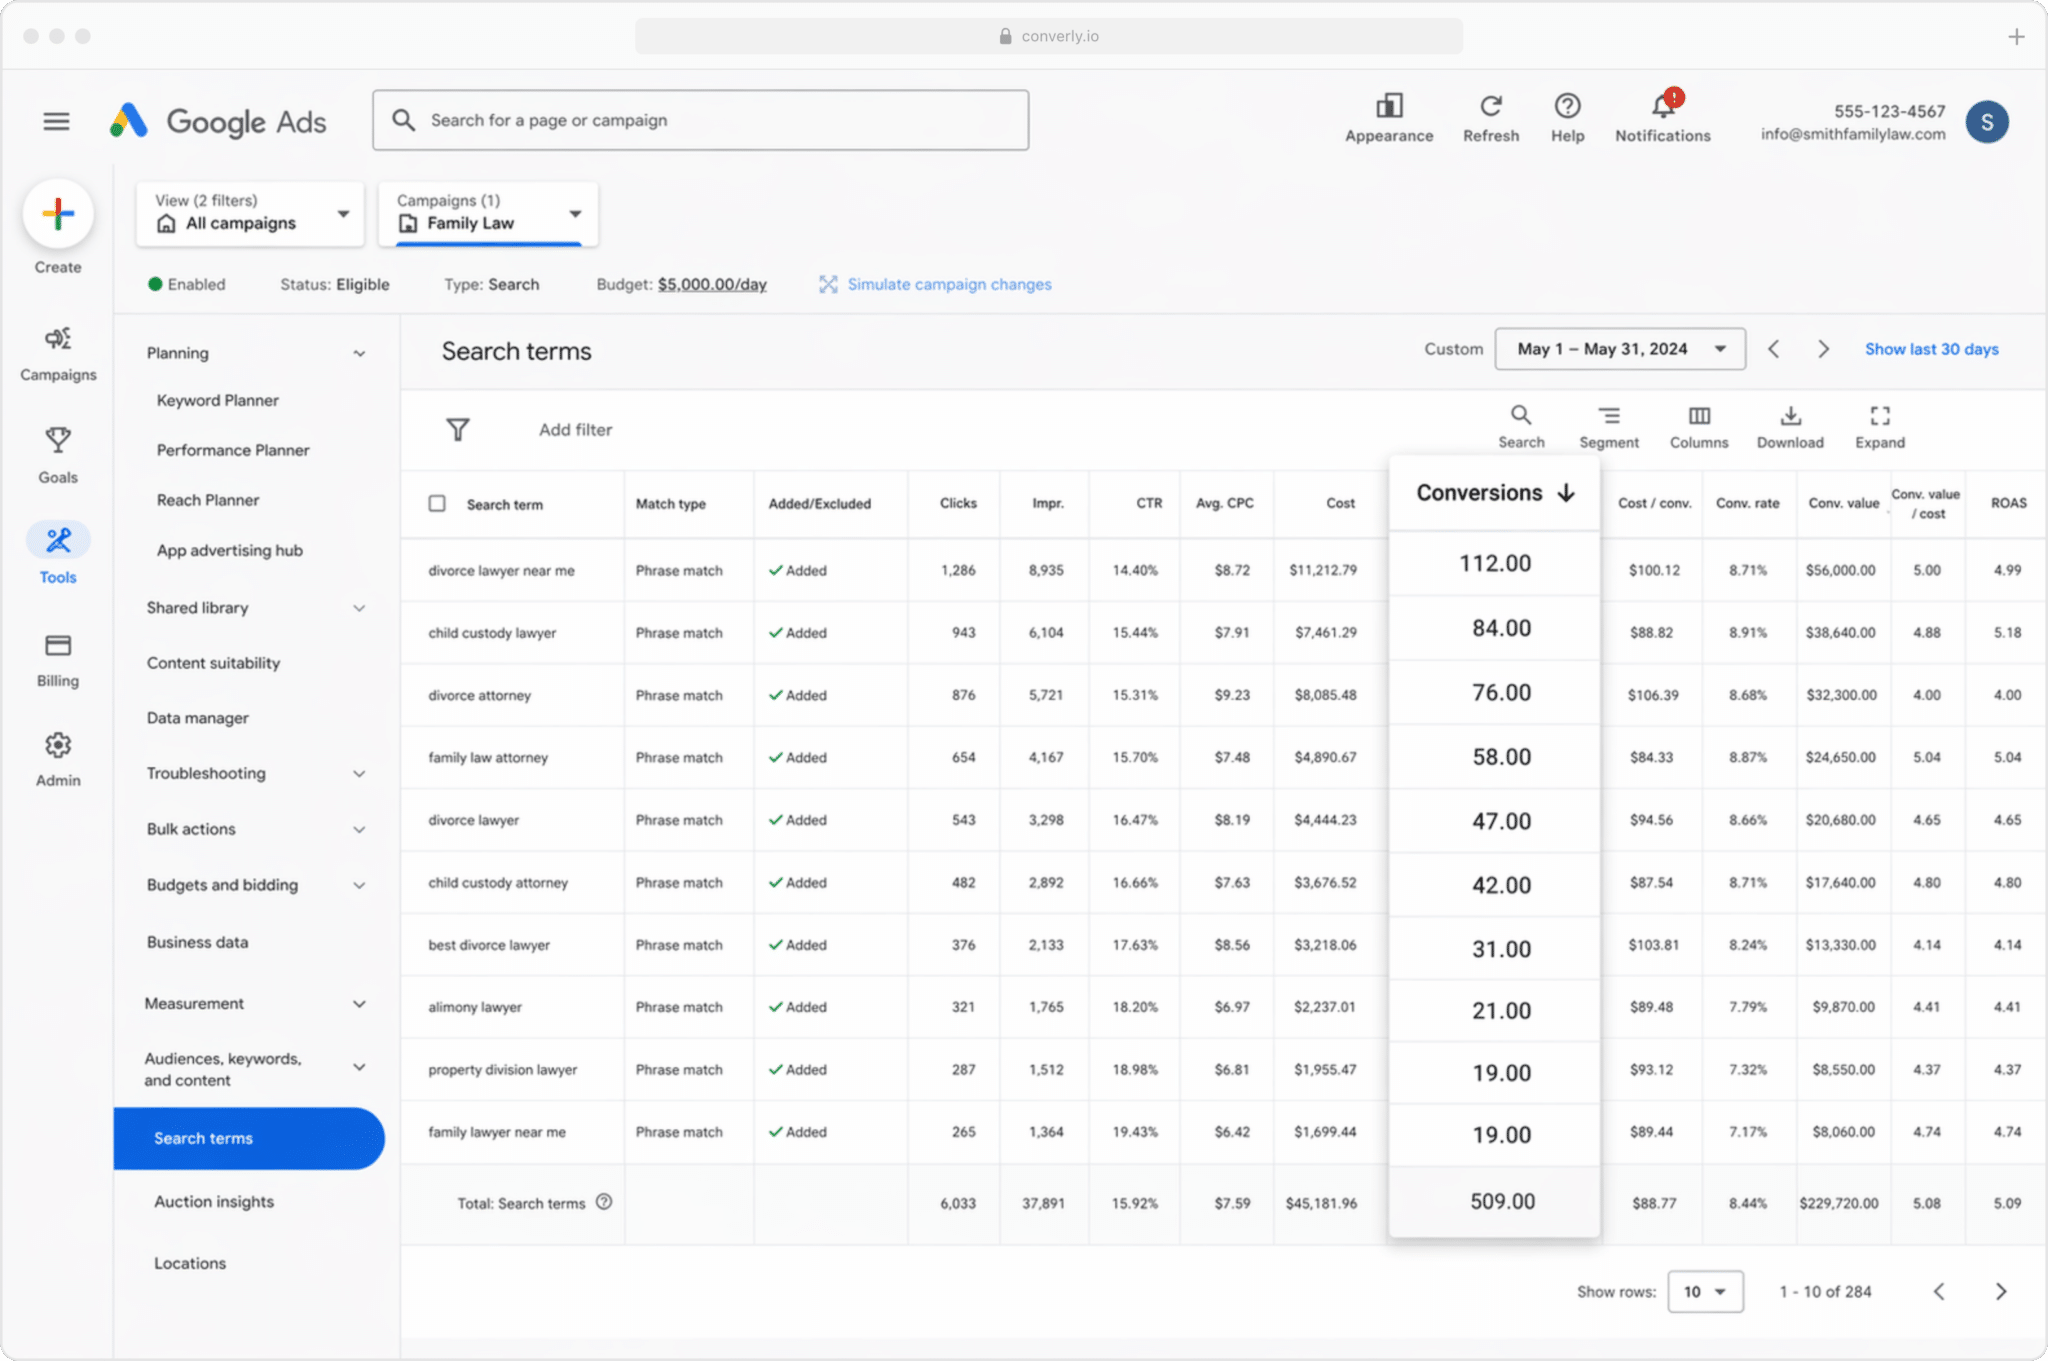
Like most advertisers, you're probably bidding on a bunch of different keywords across several campaigns, maybe for the different services you sell (a marketing agency, for instance, might bid on both 'SEO services' and 'PPC management').
If that's you, this report reveals which keywords are genuinely driving conversions, rather than simply piling up impressions and clicks that never become real leads.
It shows you which keywords are earning their keep and which aren't, so you know precisely where extra budget will bring in more of the right clicks.
2. Conversion Value by Campaign
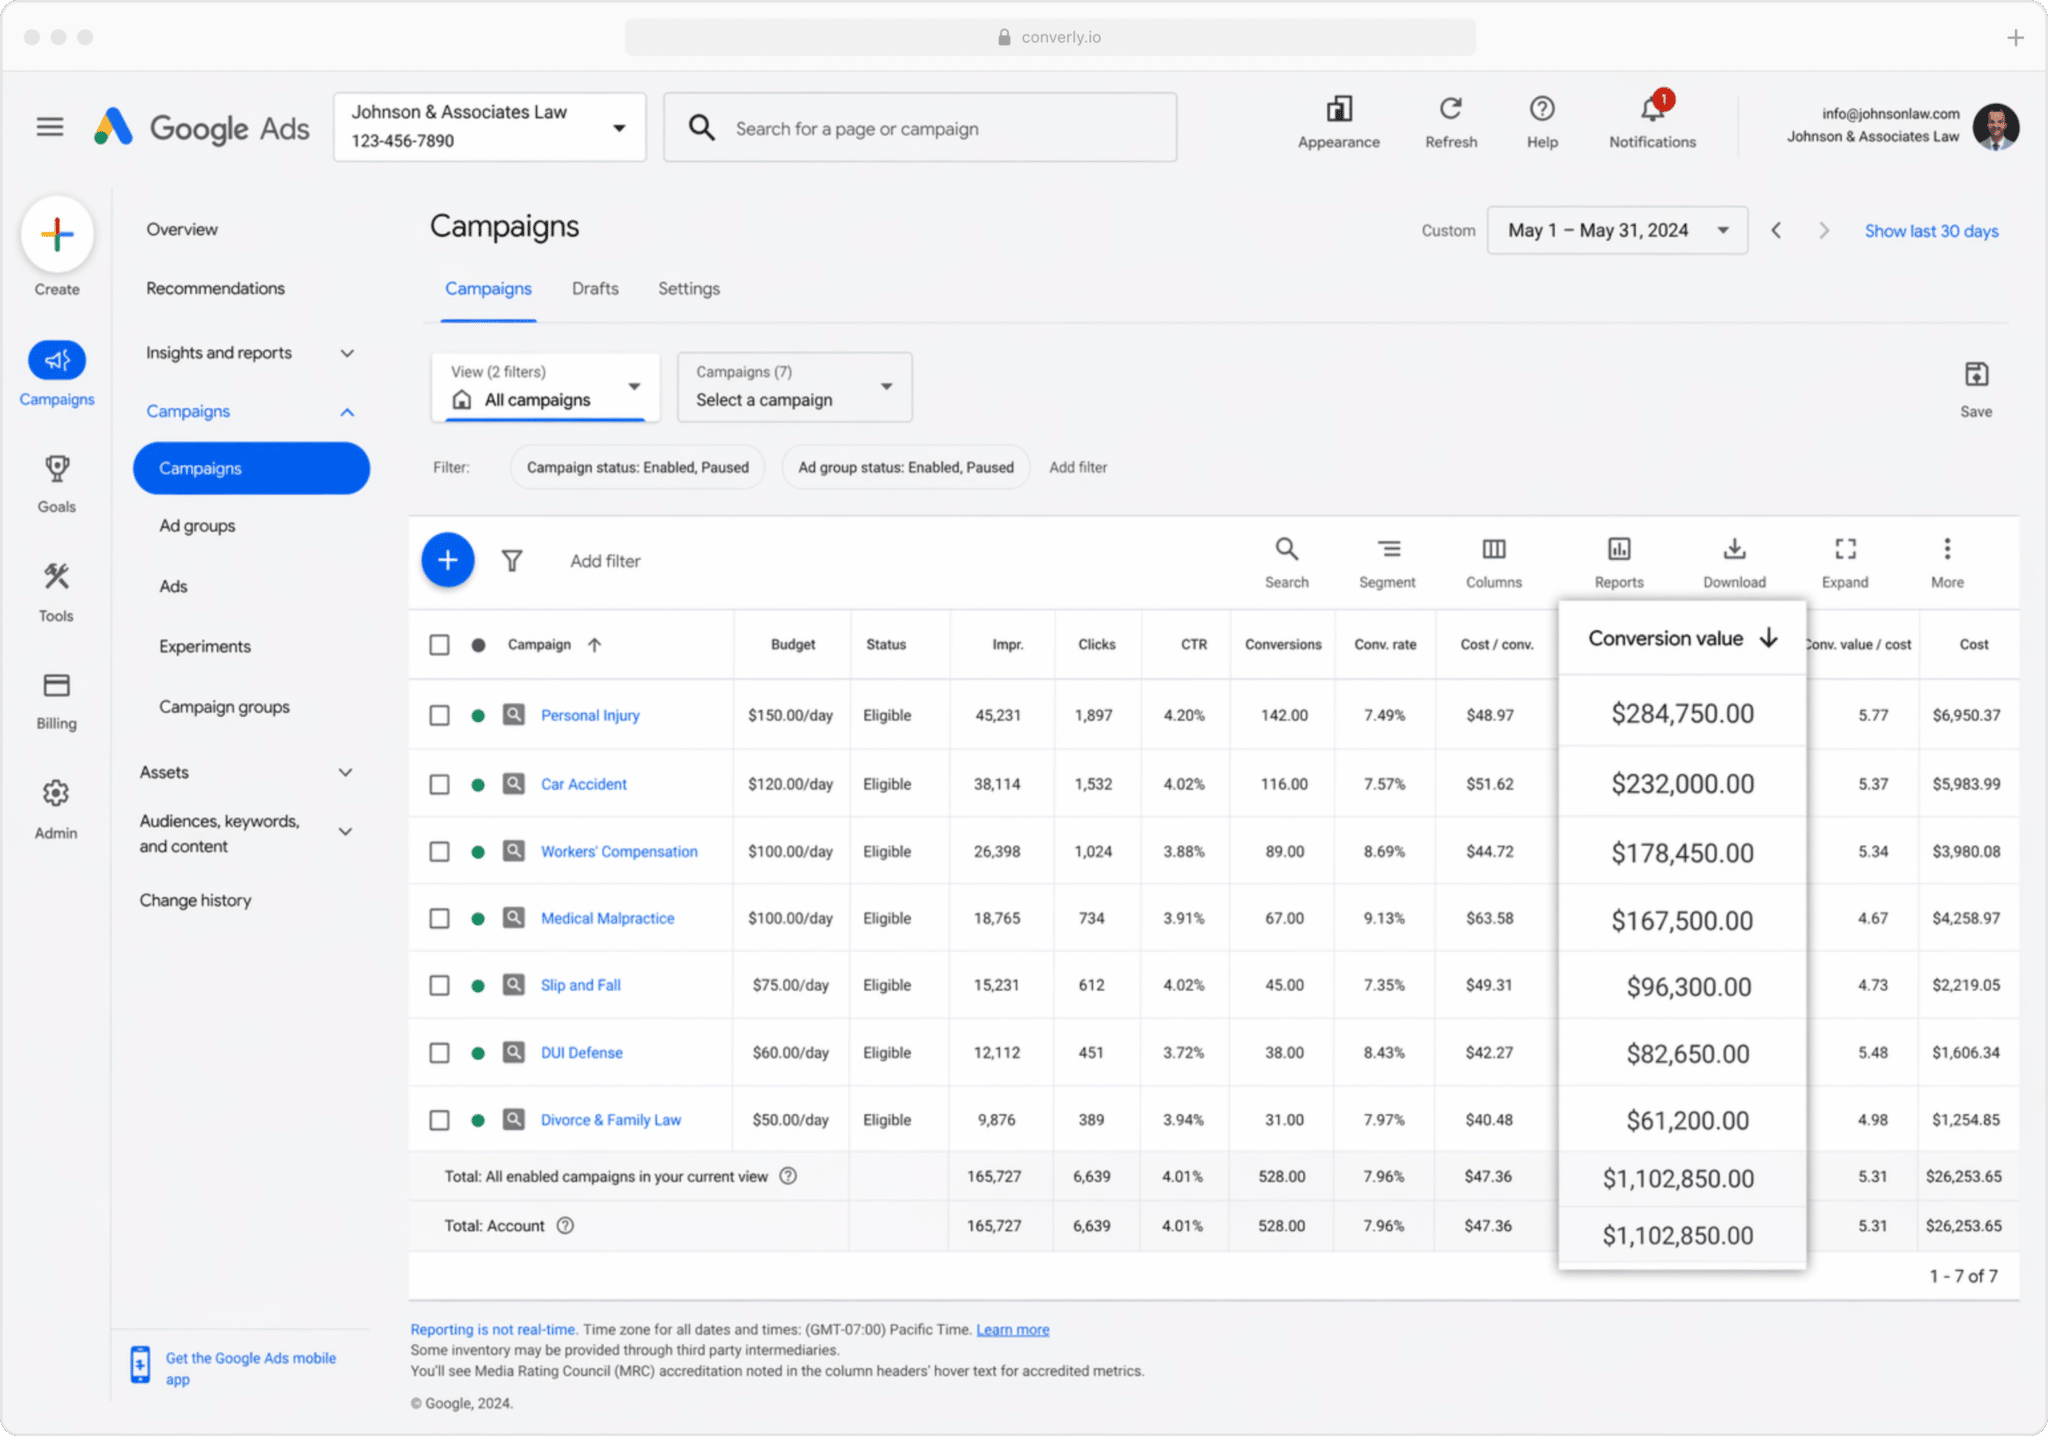
If you're feeding conversions back to Google Ads from your CRM, you can attach a value to each one, drawn from the size of the deal or opportunity in your CRM.
That's useful because customers aren't all worth the same. Take a mortgage broker. A lead from the 'first home buyer' campaign is usually a far smaller deal than one from the 'commercial property loan' campaign, so it makes little sense to score them equally.
Send a conversion value from your CRM into Google Ads, though, and you can run reports that show exactly how much revenue each campaign brought in. Seeing that laid out makes it far easier to decide where your budget genuinely belongs.
3. Conversions by Geography
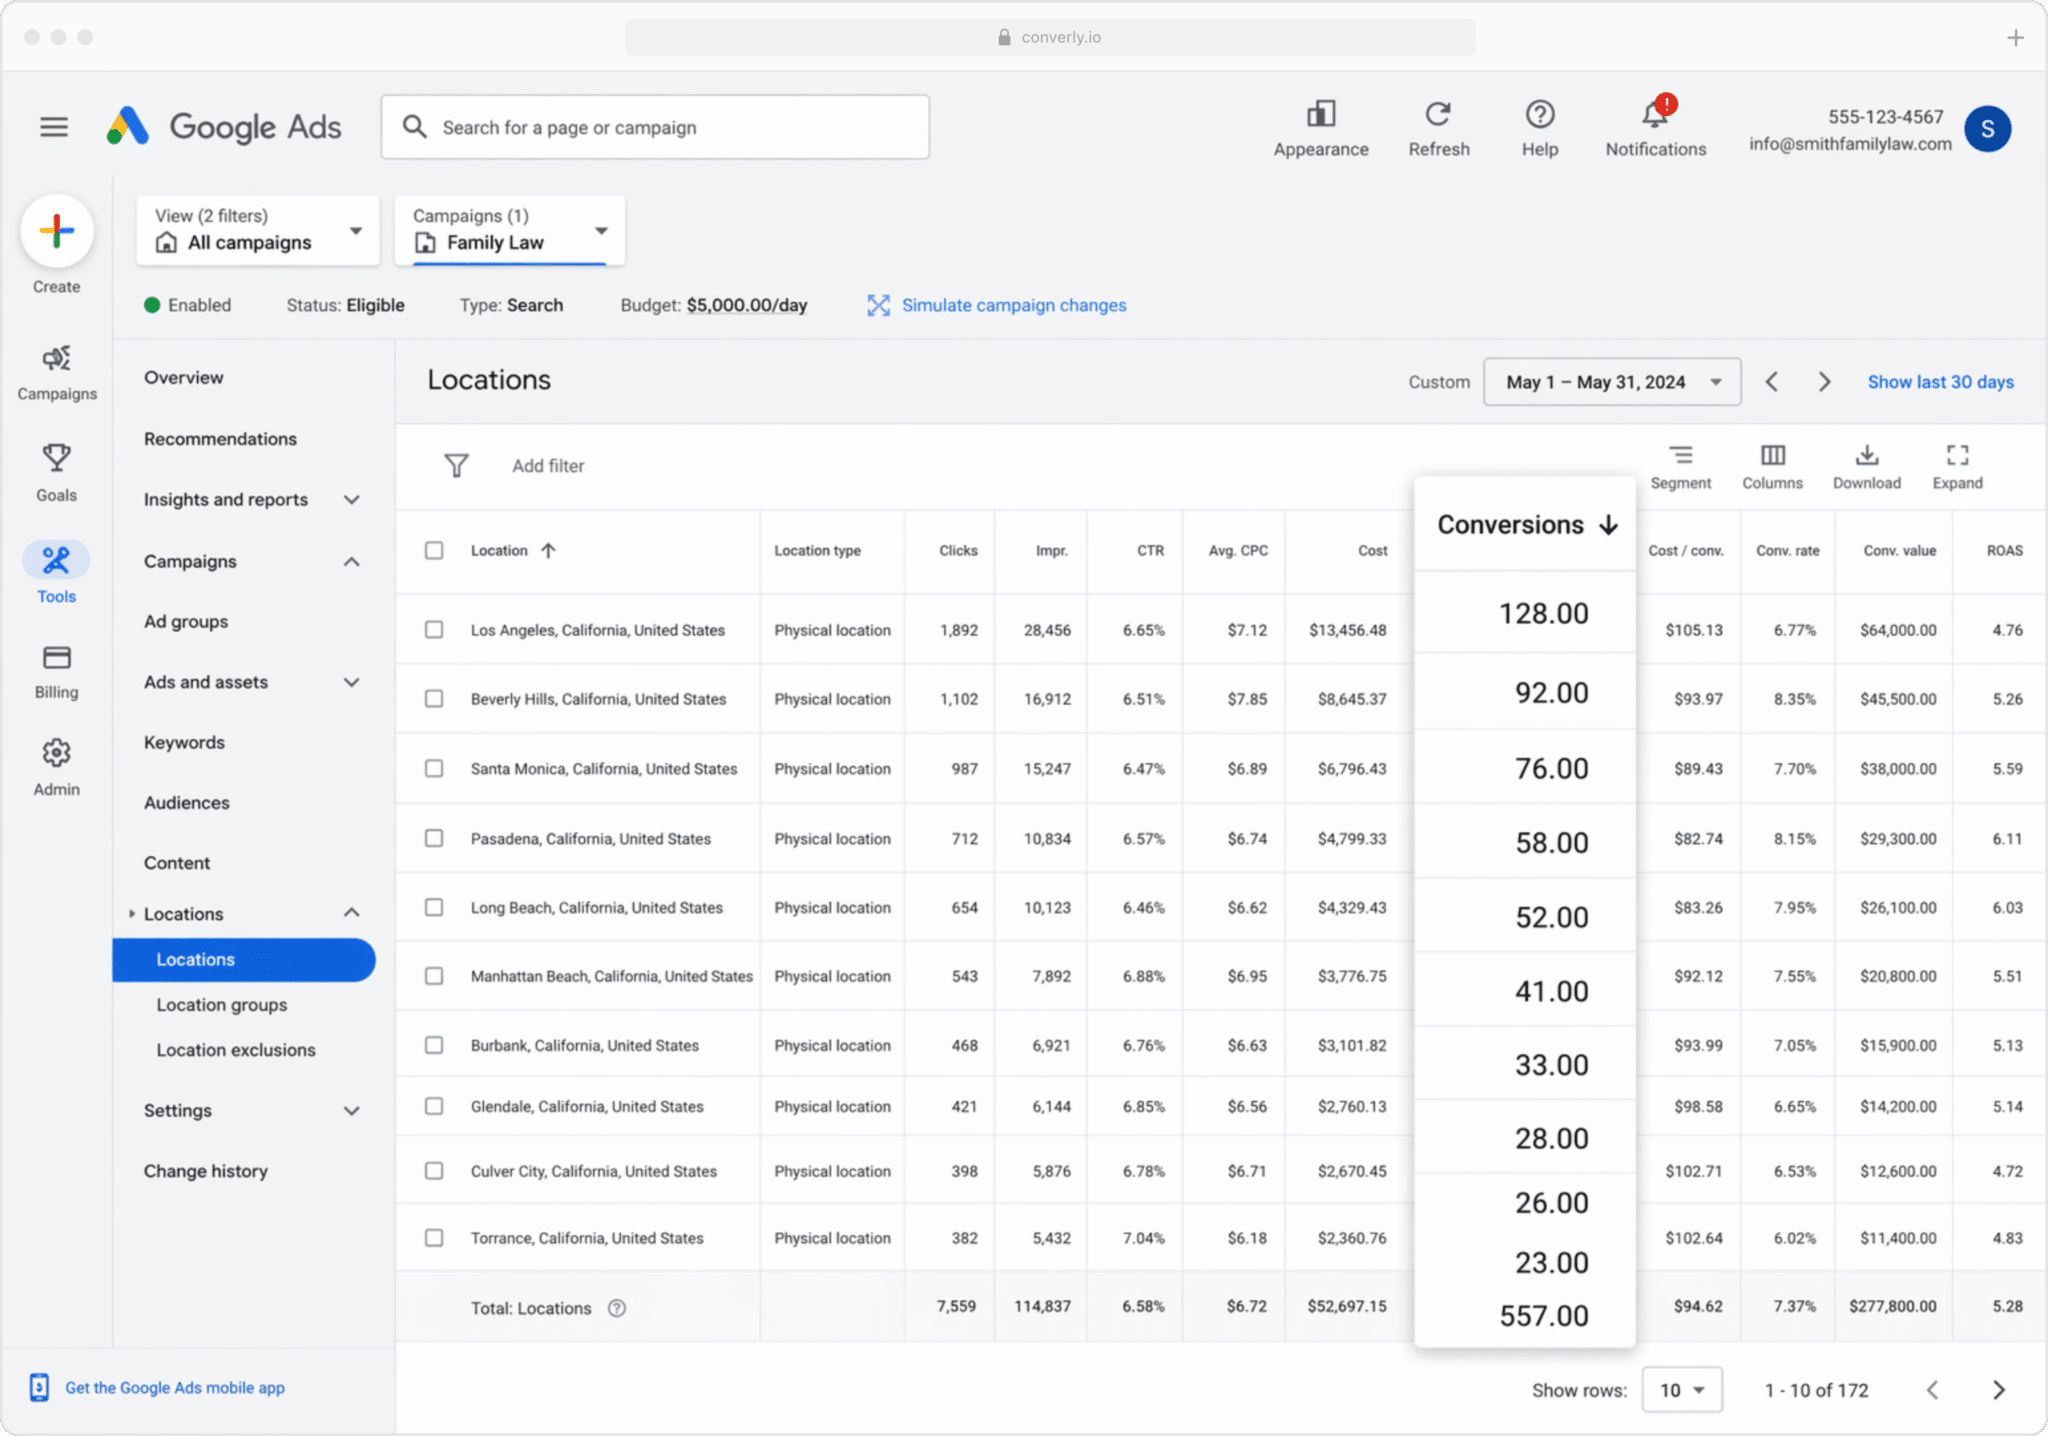
This one really shines for businesses that win most of their customers locally (think dentists, med spas, or real estate agents), since it breaks your conversions down by geographic region.
You can stay high level (country, state or city) or zoom right in to a single postcode. Either way, you get to see whether your leads are genuinely coming from the areas you serve, or whether spend is bleeding into suburbs too far away to be worth it.
With that knowledge, Location Bid Adjustments become your friend. You can tell Google to bid harder in the postcodes that pay off best, and pull back (or stop entirely) in the areas that rack up clicks but never a completed form.
Wrap Up
Sending conversions to Google Ads genuinely moves the needle on your results. It hands you the data to make manual calls (like bidding up on the keywords or locations that perform), and it gives Google's automated bidding accurate signals to work from.
The catch is that it all hinges on the data being accurate. Keep tracking thank you page visits or firing browser events through Google Tag Manager, and what you're sending Google isn't trustworthy, so your results slide.
So whichever route you pick, and whenever you send the conversion (on submission, once the lead becomes a customer, or somewhere in between), make sure it goes server-side. That's how you get the most out of your Unbounce forms and Google Ads.
Get Started For Free
Start your 14-day free trial of Attributer today!

About the Author
Aaron Beashel is the founder of Attributer and has over 15 years of experience in marketing & analytics. He is a recognized expert in the subject and has written articles for leading websites such as Hubspot, Zapier, Search Engine Journal, Buffer, Unbounce & more. Learn more about Aaron here.