
The best way to track Avada Forms submissions as conversions in Google Ads
Learn how to set up proper conversion tracking in Google Ads when someone submits a form built with Avada Forms on your site.
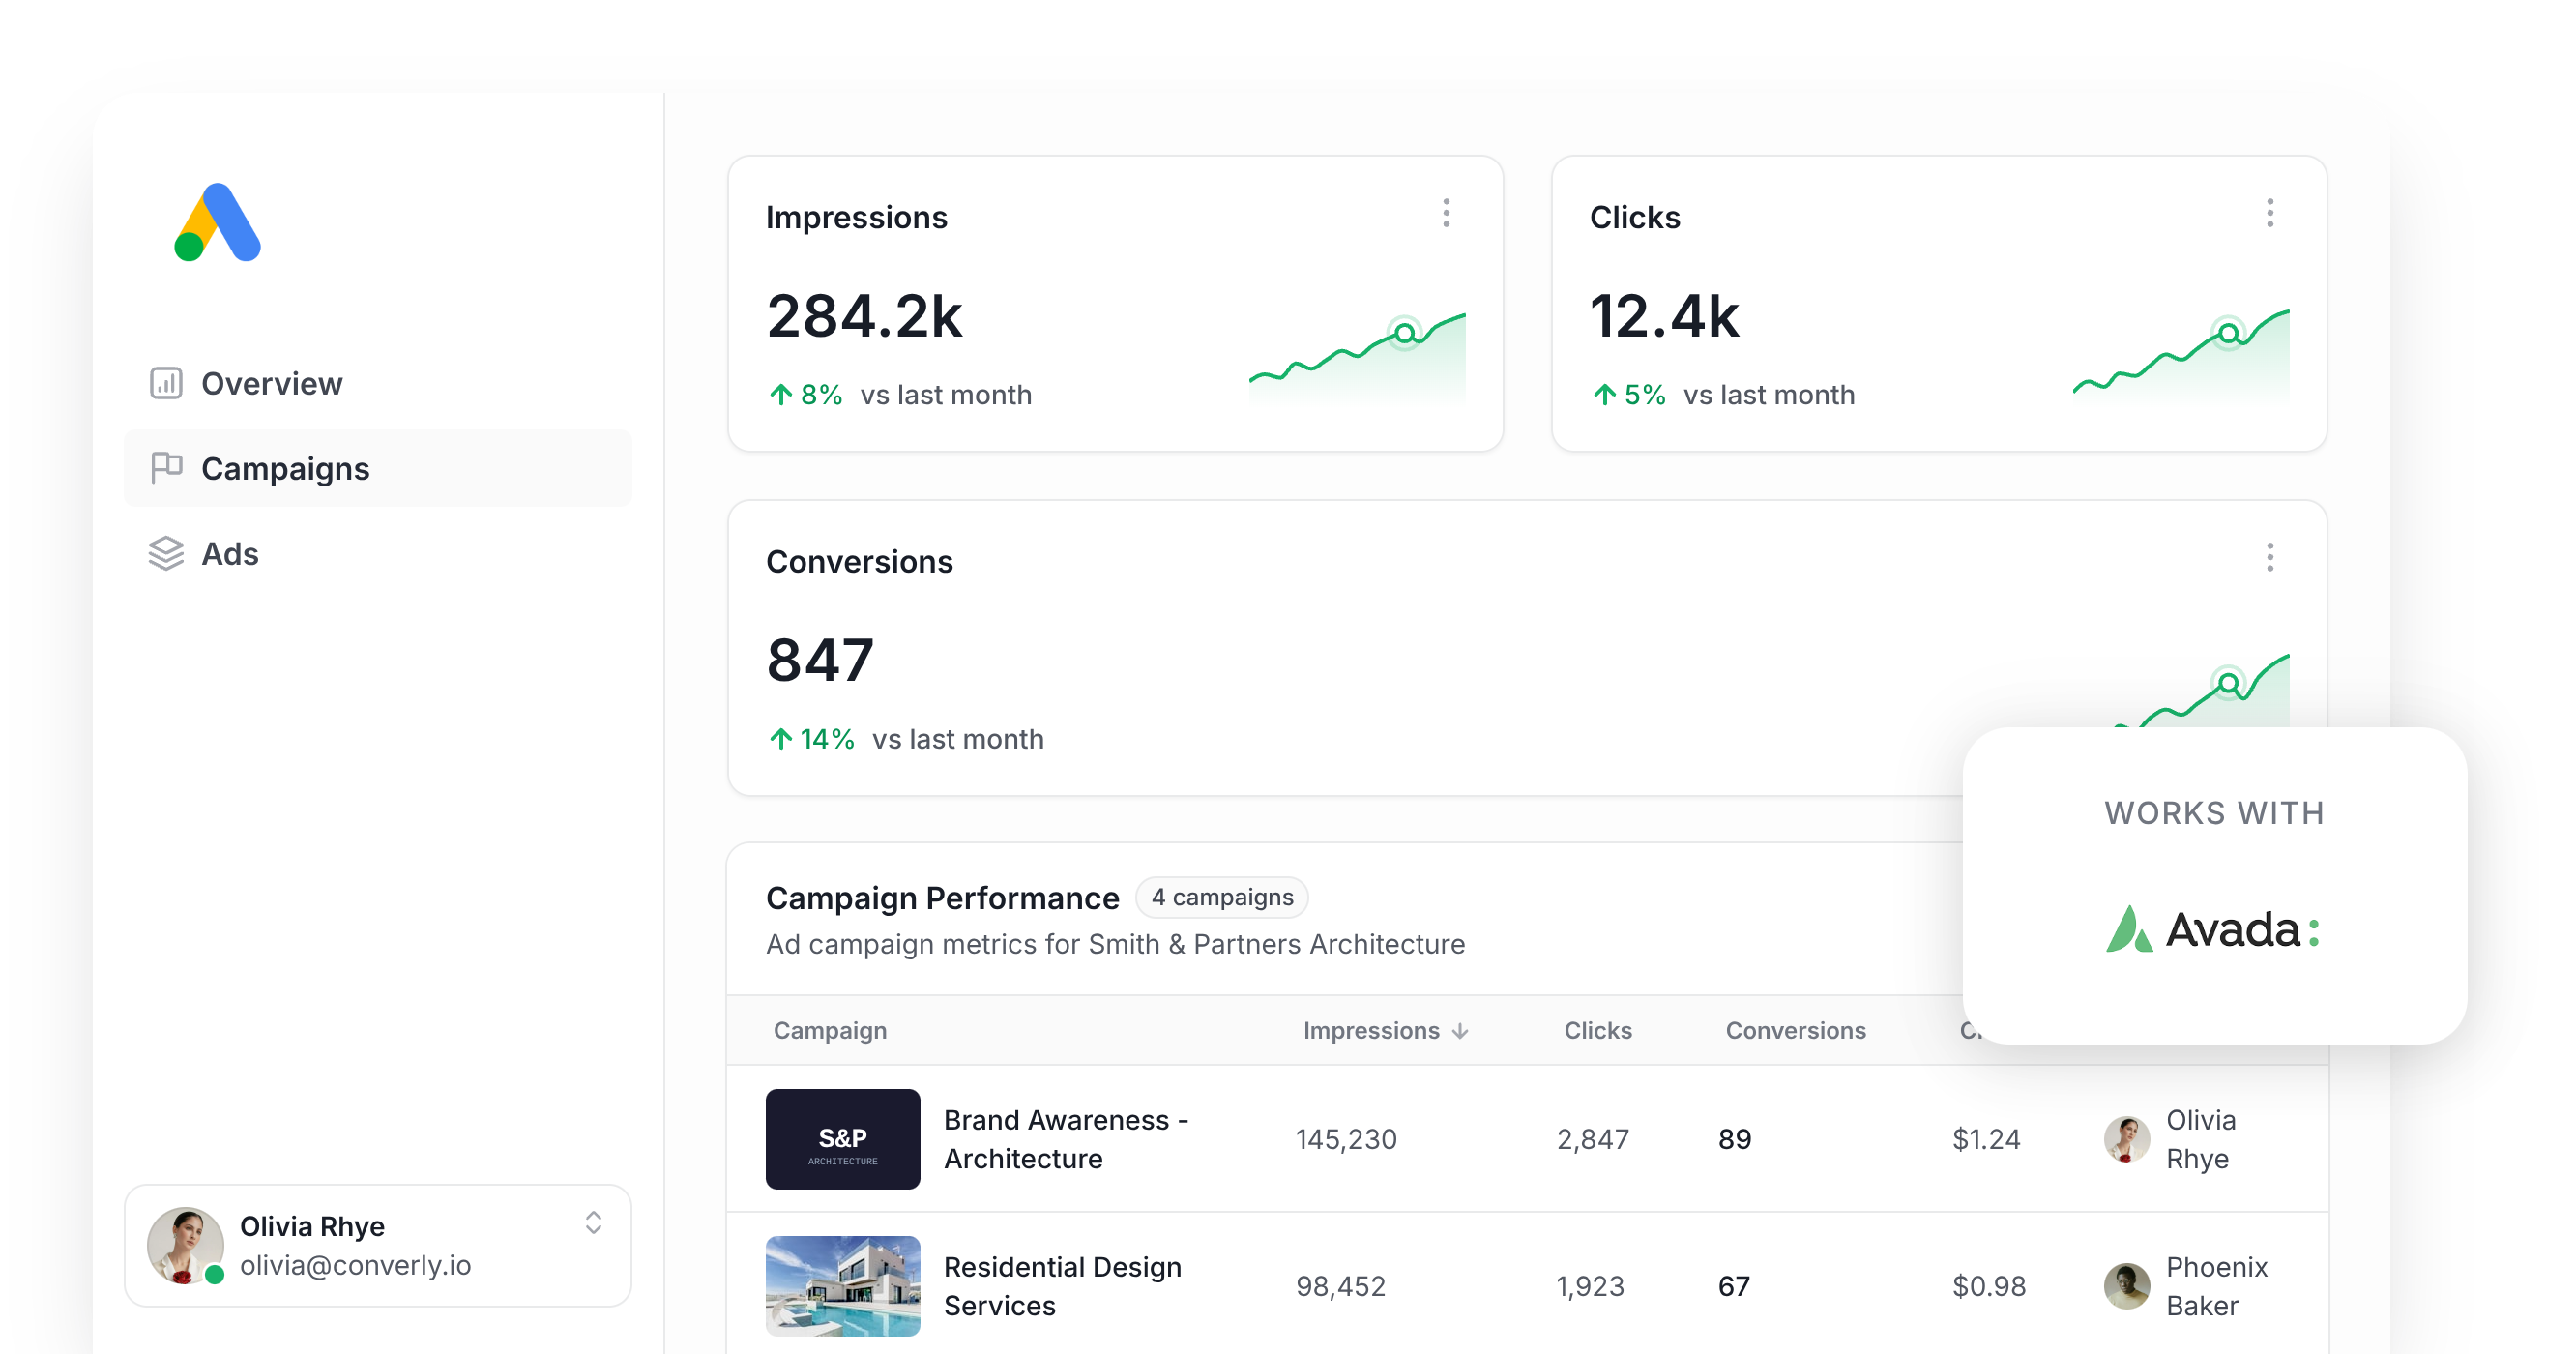
Use Attributer to capture the GCLID when someone fills out your Avada form, then send it back to Google Ads as a conversion (either right away, or once that lead becomes a customer).
Google Ads can drive genuinely good leads and customers for your business, but setting up conversion tracking properly is a lot harder than it ought to be.
Try to do it through Google Tag Manager and you're stuck writing custom code to listen for the form submission, then piecing together triggers, tags, and variables just to get one accurate number on your dashboard. It's a lot of work for something that should be simple.
And unfortunately, the simpler-looking options don't really work very well. Counting visits to a thank you page can miss up to 30% of your real conversions once you factor in ad blockers and the privacy features built into browsers like Firefox and Safari. And a thank you page URL doesn't carry the lead's name, email, or phone number, which is exactly what Google Ads now wants attached to every conversion you send it.
So what's the better approach?
This article walks through a better way to track conversions in Google Ads when someone fills out an Avada form on your website, using server-side tracking.
Why server-side tracking matters for Google Ads
The usual approaches to tracking Google Ads conversions, whether that's counting thank you page views or firing events through Google Tag Manager, all run into the same wall. Studies suggest these methods miss up to 30% of the conversions that actually happen.
Here's why:
- Ad Blockers. They stop the Google Tag from ever loading when the person lands on your site, so nothing that they do on your site gets tracked (including submitting a form).
- Browser privacy features. Browsers like Safari cut the Google Tag off from tracking a visitor after roughly a day, so if someone clicks your ad today and converts 4 days later, there's no way to connect that conversion back to the click.
- Device switching. A lead might click your ad on their phone during lunch, then come back that evening and fill out your form from a laptop. Browser-based tracking has no way to link those two sessions together because they happened on different devices.
Fortiunately, server-side tracking solves these issues. Instead of waiting on something to happen in the browser (like a visitor landing on a thank you page) and hoping the Google Tag is still there to see it, you send a direct message to Google with the lead's details (which means ad blockers and browser privacy settings can't interfere at all).
Google's own figures show server-side tracking typically brings a 23% average increase in total recorded conversions and a 10% cut in cost per conversion, mostly because Google's bidding algorithms have more data to understand what your ideal customer looks like and can serve your ads more prominently to people like them.
How to track Avada Forms submissions in Google Ads with server-side conversion tracking
There are two main routes here, and which one is best depends on when you want to send the conversion back to Google Ads.
Option 1: When the lead submits your form
A tool like Converly can send a server-side conversion straight to Google Ads as soon as someone submits an Avada form on your site.
Rather than building custom code in Google Tag Manager to listen for the form submission, pull the lead's details out, hash them with SHA-256, and post them to Google's API yourself, Converly gives you a visual builder to put the whole flow together instead.
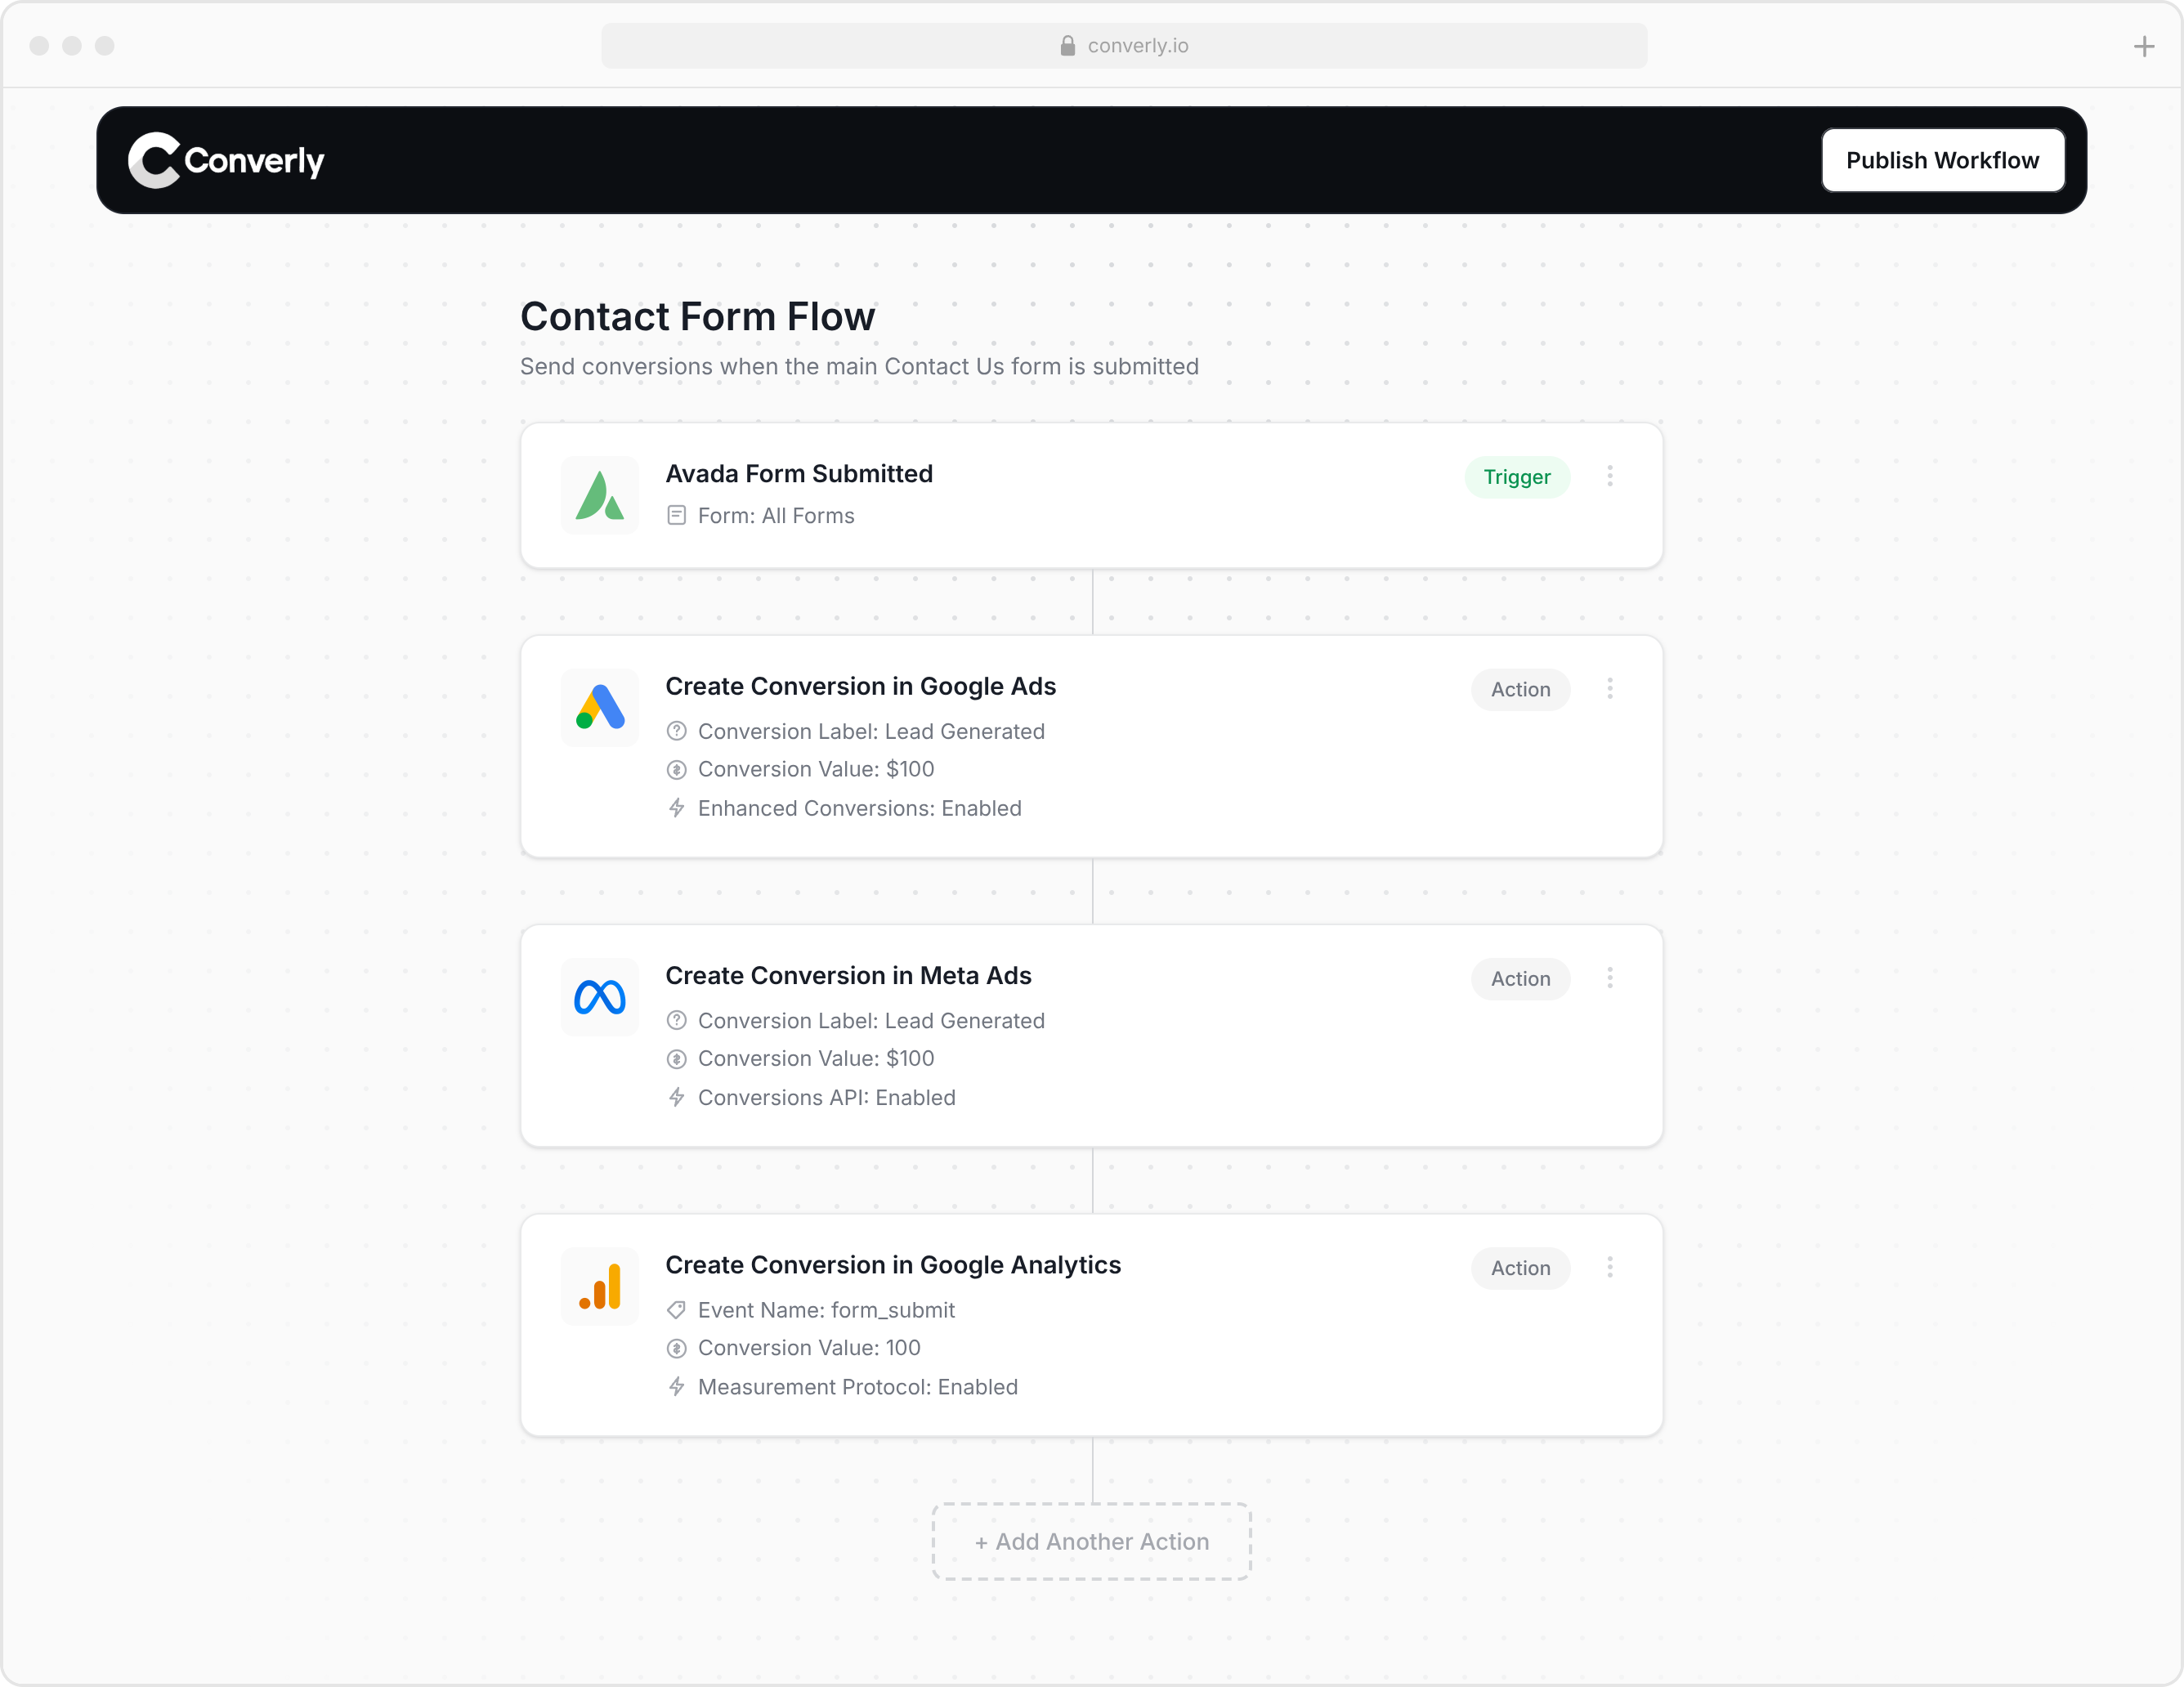
You simply pick a trigger (like an Avada form being submitted) and choose the actions that should happen after (like sending a conversion to Google Ads, in this case).
From there, Converly handles everything for you. It watches for new submissions, pulls the lead's name, email, and phone number off the form, hashes each one with SHA-256 (a requirement on Google's end), and sends the whole package to Google Ads. It also captures the GCLID, IP address, User agent, and other signals that give Google a much better chance at matching the conversion back to a real person and exact campaign, ad, and keyword they clicked through on.
The end result is every advantage of server-side tracking (that 23% average lift in recorded conversions, and the 10% drop in cost per conversion) without writing a line of custom code, learning what SHA-256 is, or dealing with Google's API directly.
Option 2: Once the lead becomes a customer
You can also wait and send the conversion back to Google Ads later on (like once a lead actually turns into a paying customer).
To do that, you need to capture a little extra data when they submit the form and carry it through to the contact record in your CRM. Here's the process:
1. Install Attributer and add a hidden field to your Avada form

When you start a 14-day free trial of Attributer, you'll get given a bit of code that you need to add to your website.
Once that's done, open the page in Avada's Fusion Builder and edit the form with the Avada Form Builder. Add a Hidden Field element to the form, and under its options give it a Field Name like gclid. That field name is what Attributer looks for to write the actual Google Click ID into the form when it's submitted. FA full step-by-step guide for setting this up is available on the Attributer Help site.
2. Attributer writes the GCLID into the hidden field
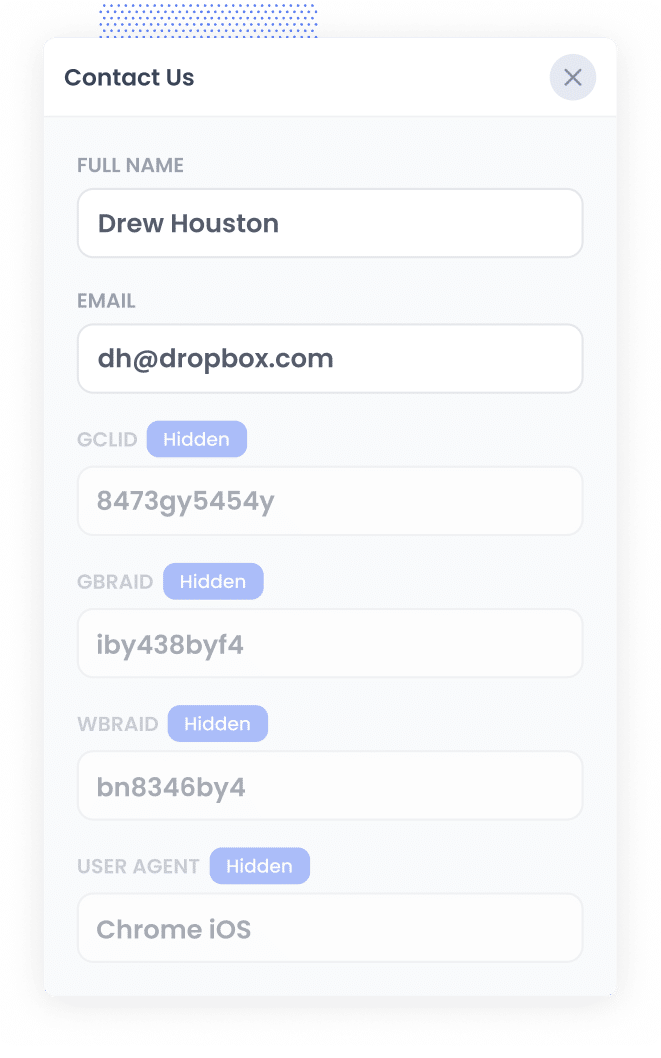
When someone clicks through from one of your Google Ads and lands on your site, Attributer grabs the GCLID from the URL and stores it in the visitor's browser, so it survives even if they browse around for a while before submitting your form (or even if they leave and come back another day).
Once that visitor submits your Avada form, Attributer writes the stored GCLID into the hidden field you set up.
3. GCLID is captured with each new lead
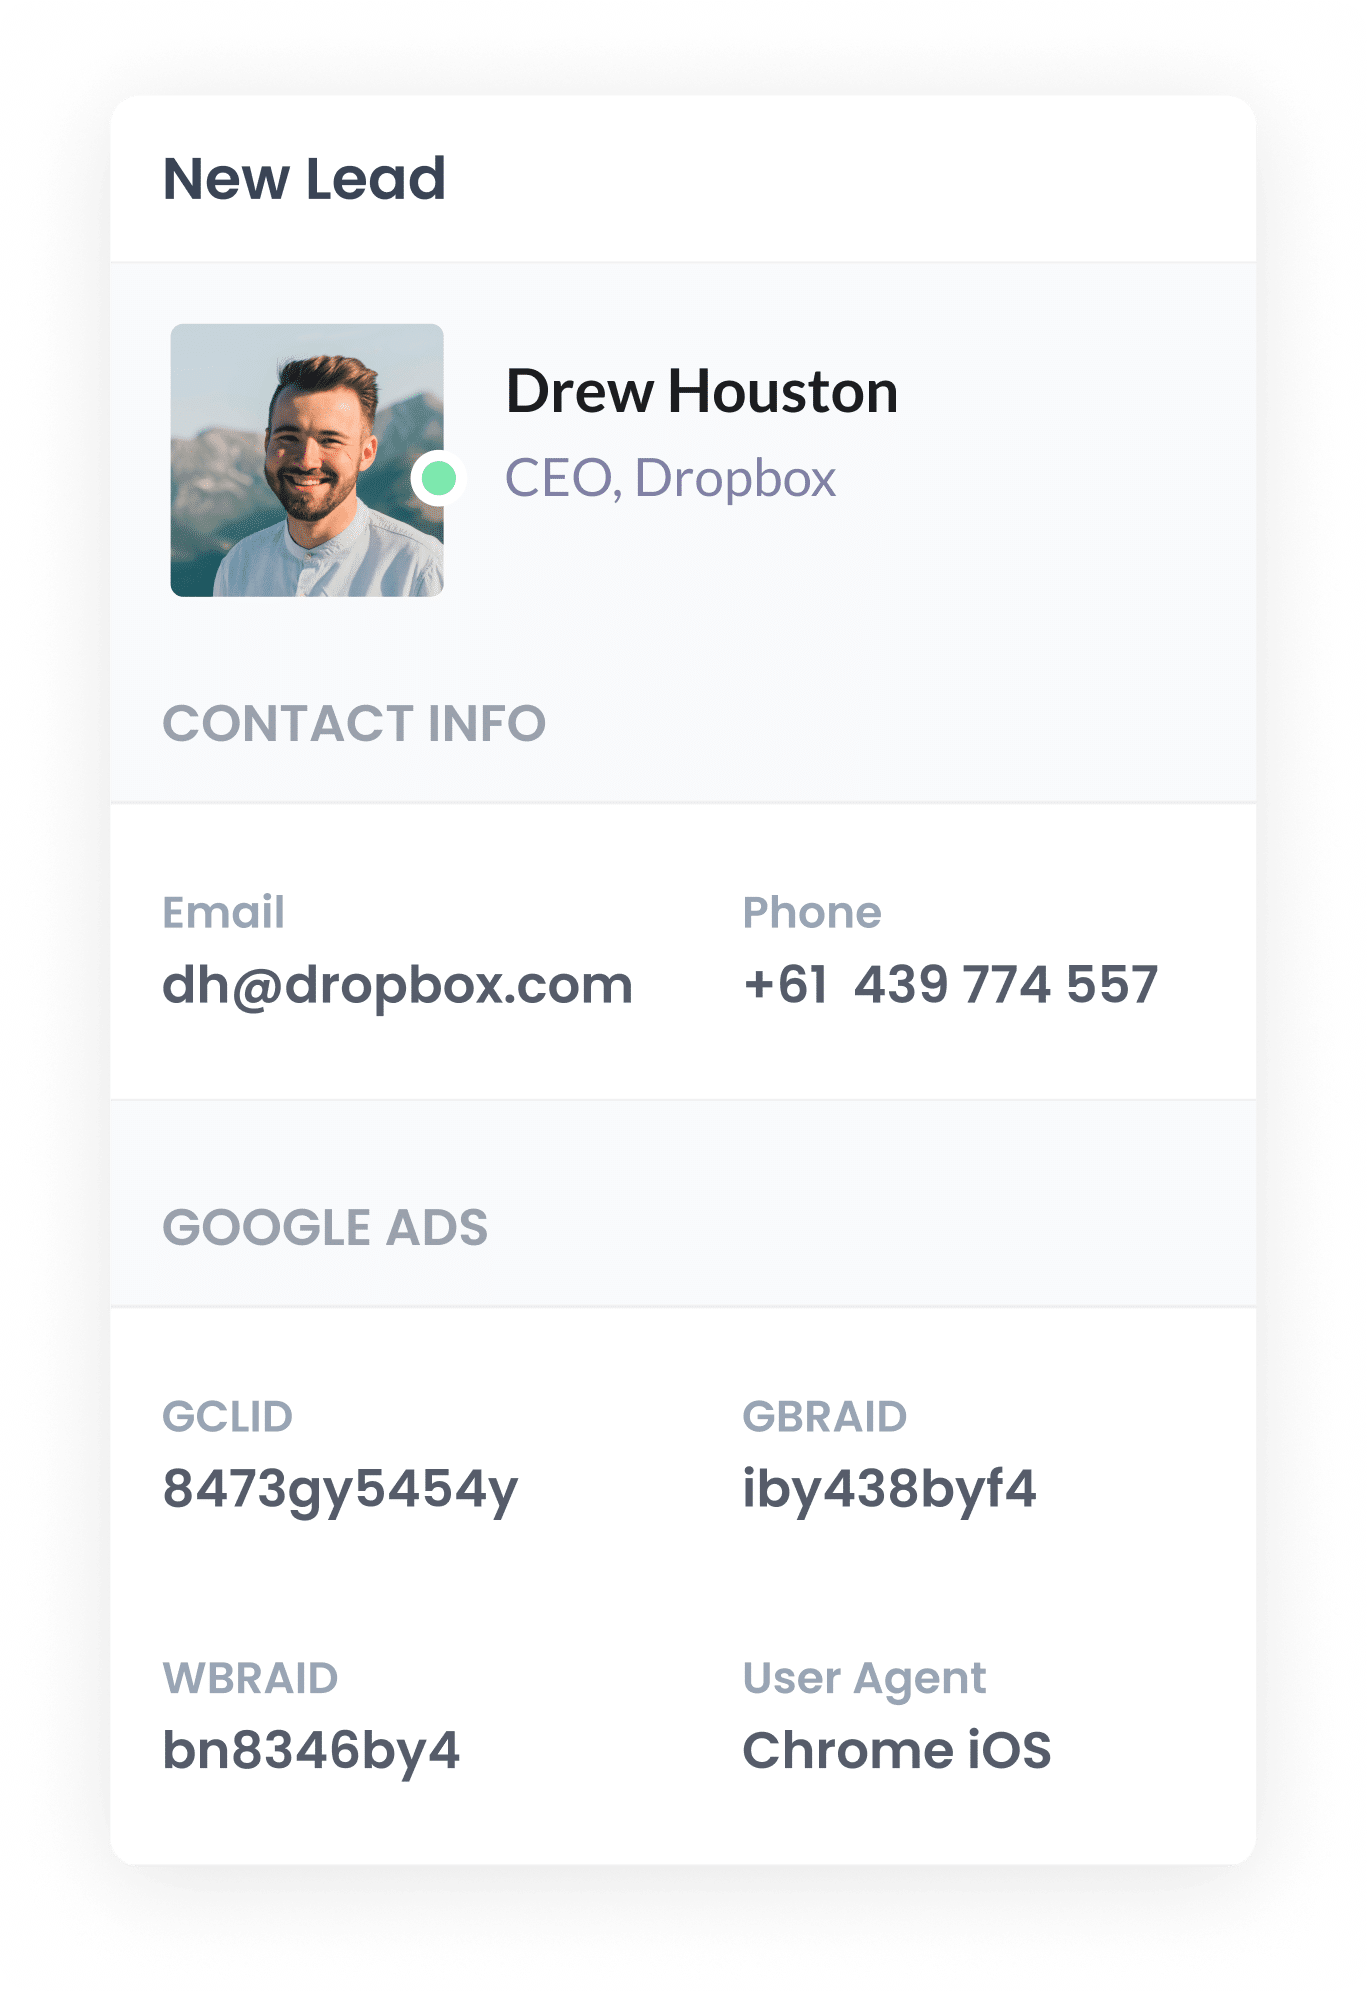
When the form submits, the GCLID that Attributer wrote into the hidden field gets captured along with everything else the person entered into the form (like their name, email, phone, and so on).
Avada stores every submission under Forms > Form Entries in the WordPress admin, and from there you can connect a tool like Zapier or Make to push the lead's details (GCLID included) into your CRM, where it sits on the contact record until you need it.
4. Send the data to Google Ads
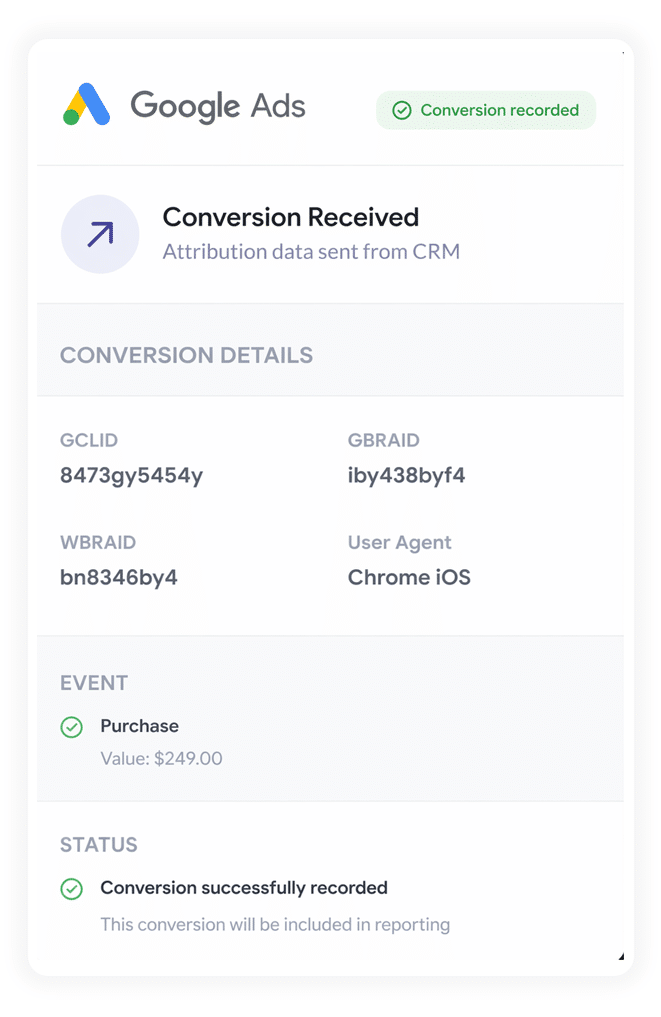
Once the lead hits a meaningful point in your sales process (a deal gets created, or they become a paying customer), you can push everything back to Google Ads to log the conversion.
Since most CRMs don't talk to Google Ads on their own, you'll need Zapier or Make in between. Connect it to your CRM and it can send the conversion over to Google Ads at whatever stage makes sense for your business (like when a lead is qualified, or when a deal is created, or when they become a paying customer).
3 reports you can run once you're properly sending conversions to Google Ads from Avada Forms
Across 15 years running marketing teams, I've spent millions of dollars on Google Ads and built more reports than I can count trying to figure out what was actually working.
These are the 3 I kept coming back to:
1. Conversions by Keyword
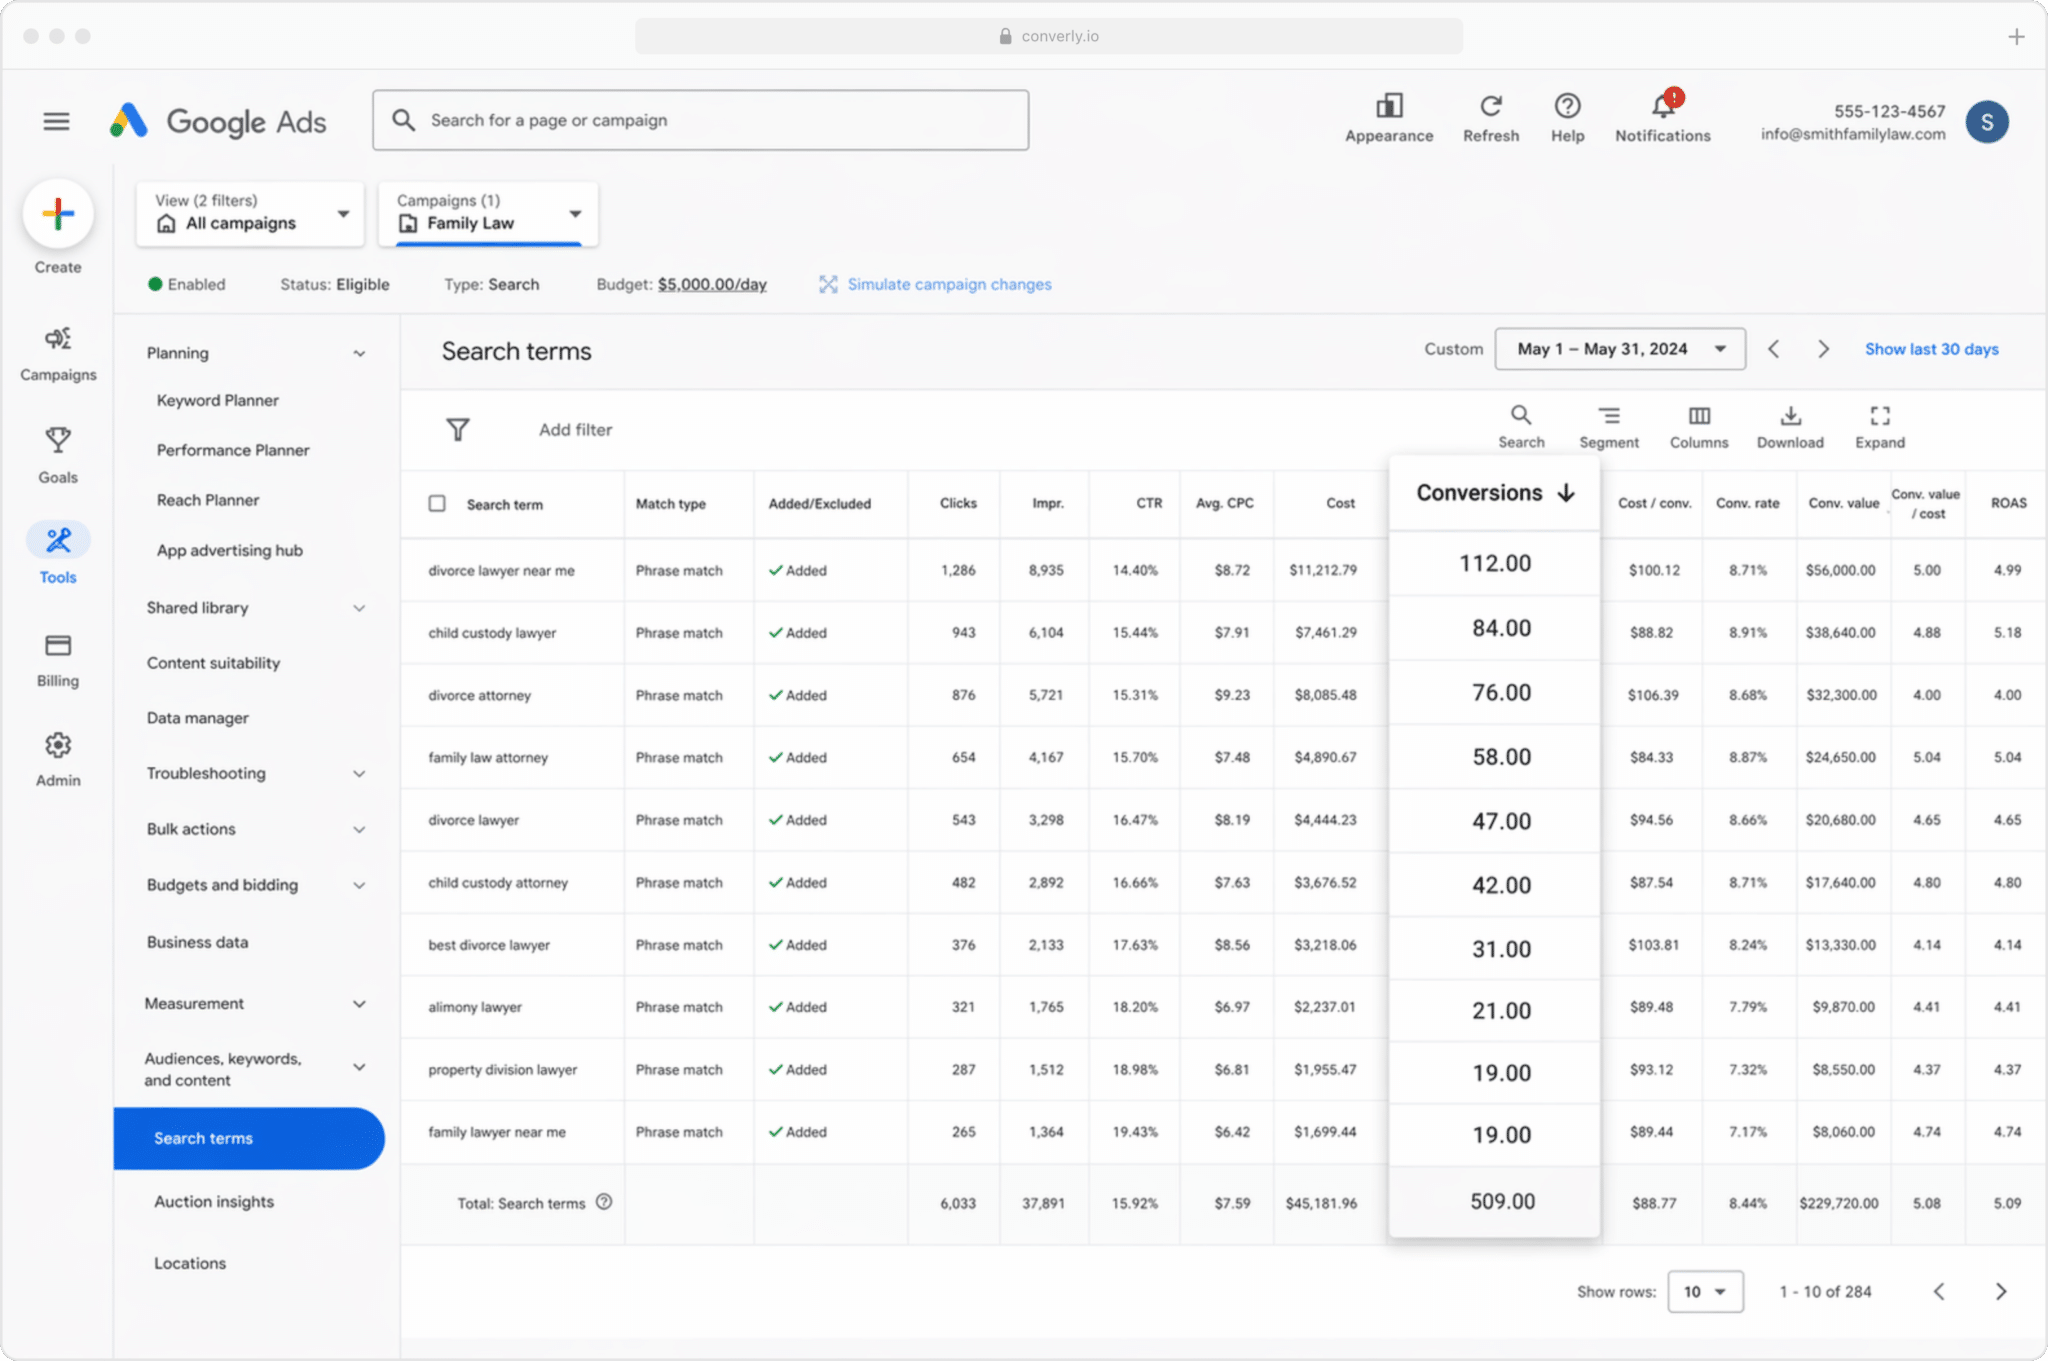
Most businesses run several campaigns at once, often split out by service line. A recruitment agency, for example, might bid on "executive search firm" in one campaign and "temporary staffing agency" in another.
This report shows which of those keywords are actually converting, rather than just piling up vanity metrics like impressions and clicks that don't translate into real leads and customers. It makes it obvious which keywords are earning their spot in your budget and which ones are just burning through spend.
2. Conversion Value by Campaign
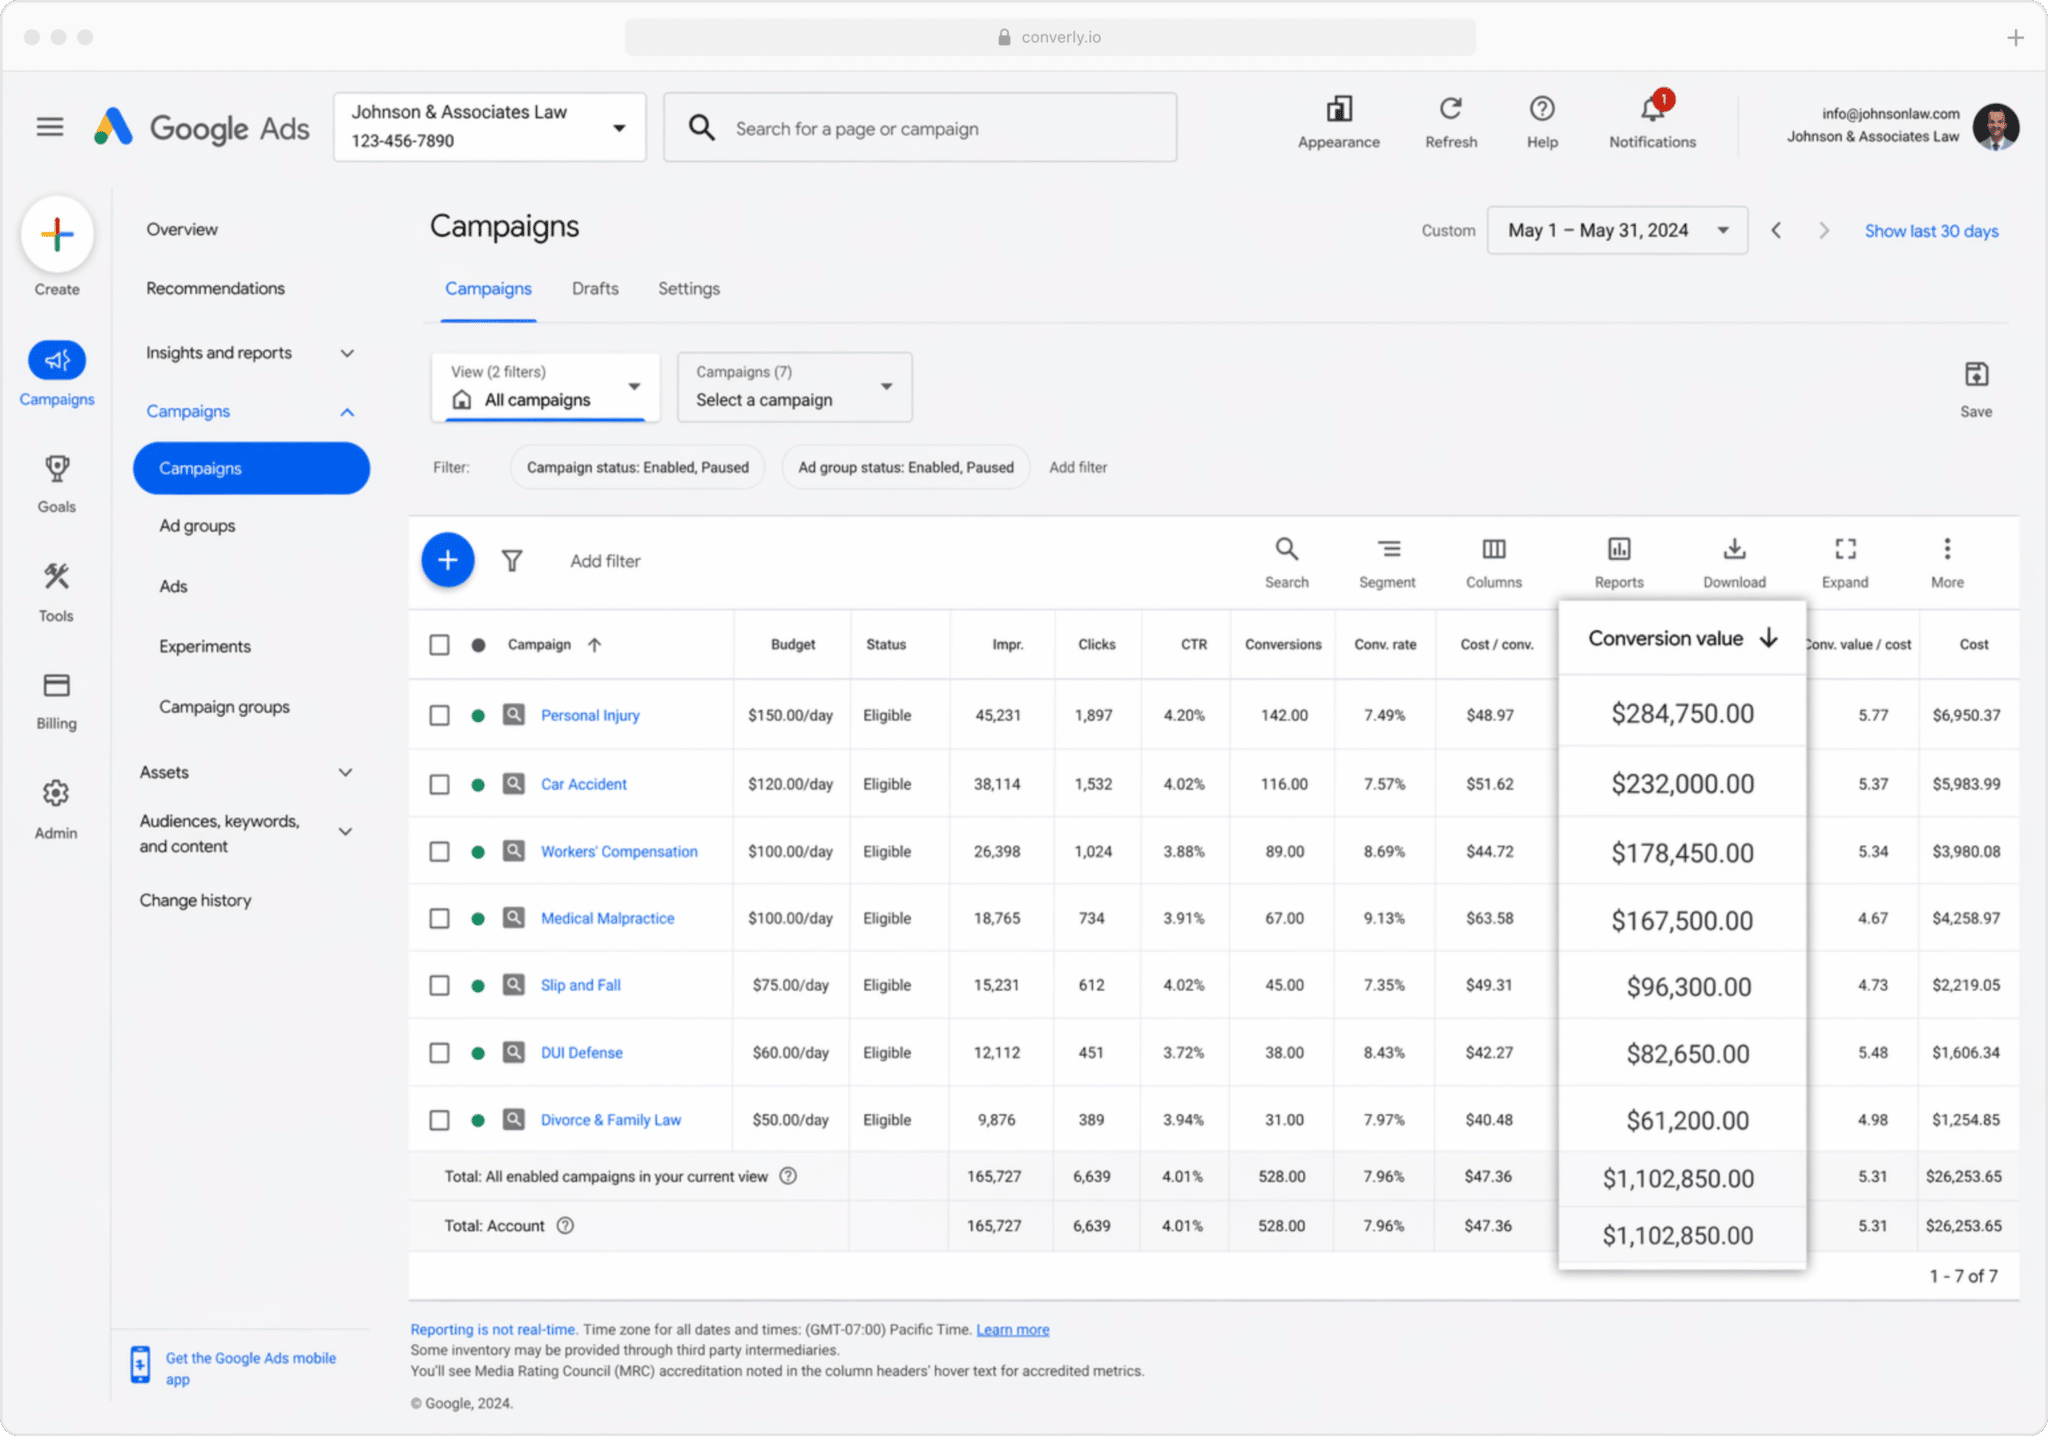
Once you're sending conversions back to Google Ads from your CRM, you can attach a value to each one (usually pulled straight from the deal or opportunity record in your CRM).
This matters because not every new client is worth the same. For a recruitment agency, a new client acquired through an "executive search" campaign is worth a lot more than one who came in through general "temp staffing" ads.
Sending that value along with the conversion means you end up with reports showing you earned $2,000 in revenue from one campaign and $20,000 from another. Once you can see that split, deciding where to shift budget stops being a guessing game.
3. Conversions by Geography
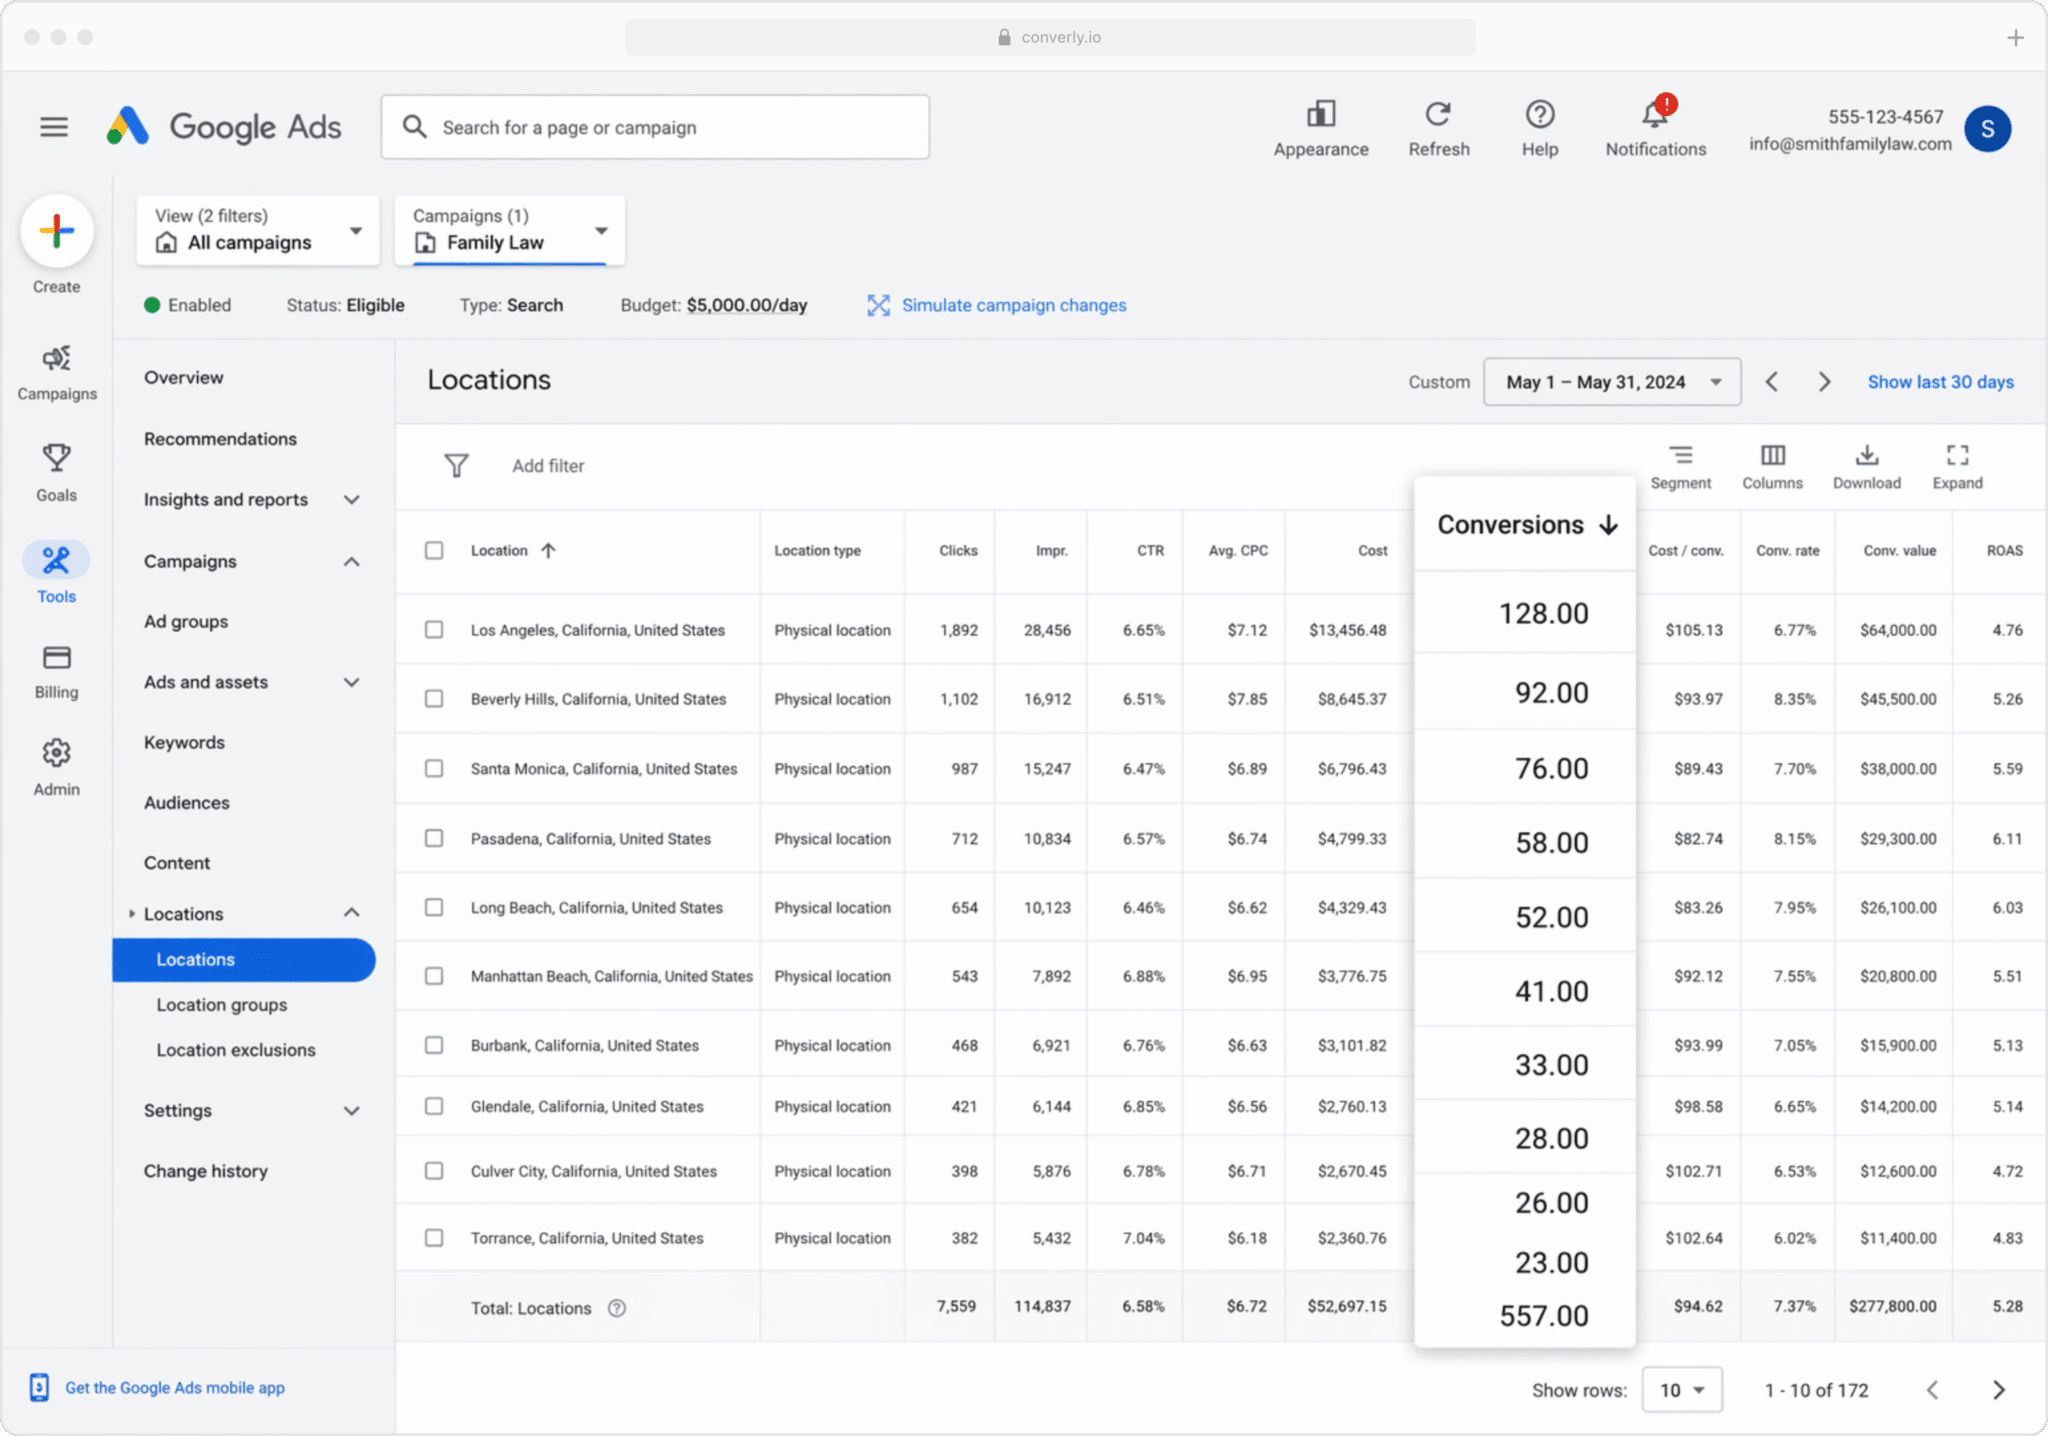
This one is especially useful for businesses that win most of their work locally (recruitment agencies, law practices, accounting firms, and similar). It breaks conversions down by geographic region.
You can zoom out to country or state level, or drill all the way down to an individual postcode. Either way, you get a clear picture of whether your leads are actually coming from the areas you want to serve, or whether some of your budget is going toward clicks from outside your service area.
Once you have that picture, Google Ads' Location Bid Adjustments feature lets you act on it directly. Bid harder in the postcodes performing well, and pull back (or stop bidding entirely) in the ones that aren't.
Wrap Up
Accurate conversion data is what lets you make real calls on how to run your ad campaigns, like which keywords deserve more spend and which locations need less.
It also feeds Google's automated bidding algorithms the data they need to understand what your ideal lead looks like, so they can put your ads in front of more people like them (and ultimately get you more leads at a lower cost per lead).
So go ahead and get real server-side conversion tracking running in Google Ads. Your ad campaigns will perform noticeably better for it.
Get Started For Free
Start your 14-day free trial of Attributer today!

About the Author
Aaron Beashel is the founder of Attributer and has over 15 years of experience in marketing & analytics. He is a recognized expert in the subject and has written articles for leading websites such as Hubspot, Zapier, Search Engine Journal, Buffer, Unbounce & more. Learn more about Aaron here.