4 simple steps to track UTM parameters in Chartmogul
Know what's driving your signups, customers & revenue by tracking UTM parameters in Chartmogul

Chartmogul is one of the best subscription analytics tools on the market, and it makes it easy to run reports that show your business's key revenue metrics.
Unfortunately though, Chartmogul doesn't capture UTM parameters and other marketing attribution data out of the box, which makes it hard to segment your reports and see which campaigns and channels are driving the most customers & revenue.
Fortunately, Attributer can help. In this article, we're going to show you the 4 simple steps you can take to capture UTM parameters (and other marketing attribution data) in Chartmogul so you can use them to understand what's driving your growth.
What is Attributer?
Attributer is essentially a small snippet of code you insert into your website and application.
When a visitor lands on your site, Attributer will scan several bits of technical information to figure out where the visitor has come from (i.e., the UTM parameters in the URL, the referrer, their device, etc).
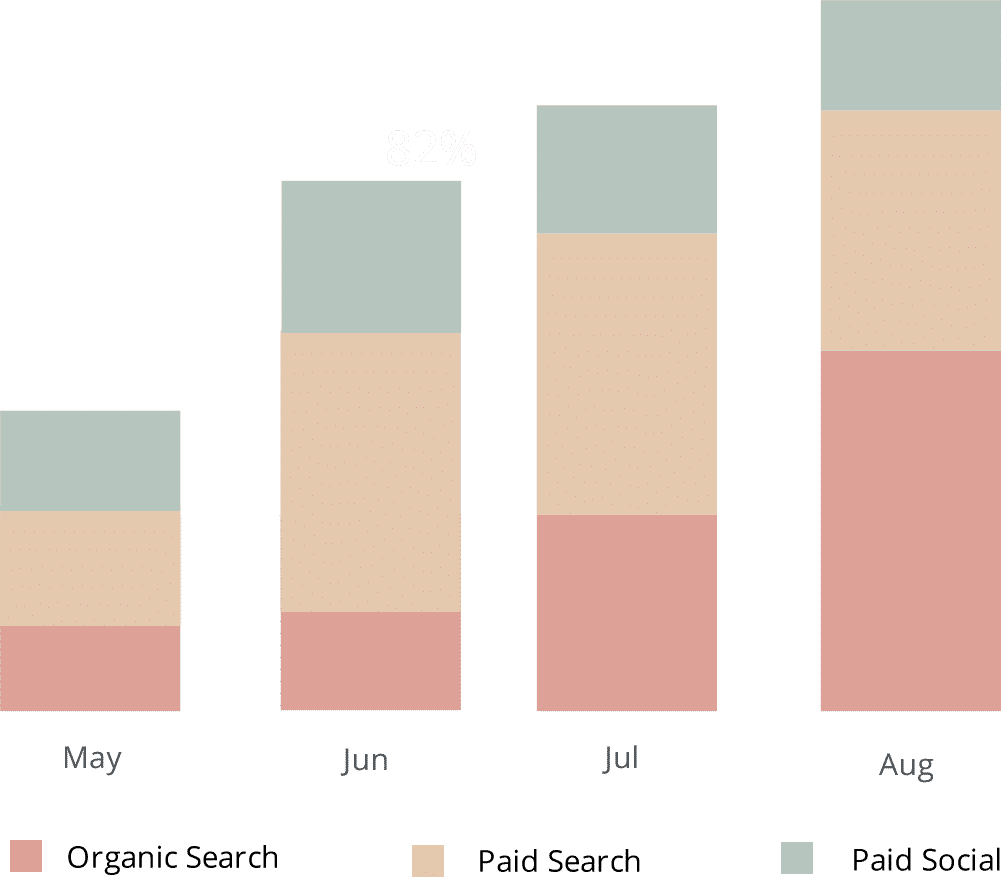
After determining where a visitor has come from, Attributer will then group each visitor into different channels (i.e., Organic Search, Paid Search, Paid Social, etc.). Once Attributer has done this, it stores the grouped data in a cookie in the visitor's browser.
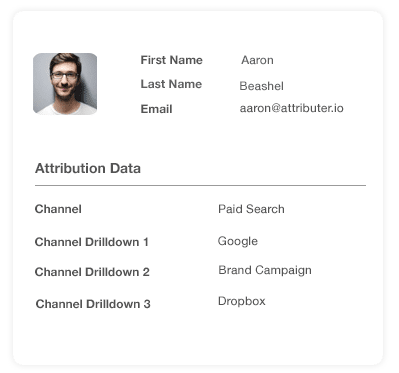
Then, whenever someone signs up for your subscription service or completes a form on your website, Attributer passes the UTM parameters and other marketing attribution data through with the form submission and into Chartmogul.
Once the data has reached Chartmogul, you can now start building reports that provide insights to questions like:
- How many customers have I generated from my Google Ads?
- What's the ARPU of customers from my LinkedIn Ads vs. customers from my Facebook Ads?
- What's the total MRR generated from our organic social media efforts?
- What's the churn rate of customers who come through our SEO efforts vs customers who come through our LinkedIn Ads?
- What's the LTV of customers from our Twitter ads?
- What's the average sale price of customers who have come from our affiliates?
4 steps for analysing UTM parameters in Chartmogul
Using Attributer to get UTM parameters into Chartmogul is easy. Here's how to do it in 4 easy steps:
1. Add UTM variables to your ads

To help Attributer understand where your traffic is coming from, you should add UTM parameters to every ad and campaign you're currently running.
This includes ads on social networks like Facebook, LinkedIn & Twitter, in search engines like Bing & Google, and in any bespoke campaigns you have in places like trade publications, email newsletters, community sites, etc.
2. Add the Attributer code to your website

Placing the Attributer code on your website is the next step.
After signing up for your 14-day free trial, a small snippet of code will be provided to you. This code should be added to your site the same way you’ve added Google Analytics code or other marketing tools’ codes in the past.
Usually there's option to add the code in the Settings area of the CMS system you use (i.e., WordPress, Squarespace, etc.), or if you’re using a tag management service like Google Tag Manager or Tealium, then you can simply add the code through this tool.
If you require further assistance on adding the Attributer code to your site, there are step-by-step instructions on our help site.
3. Send the data into Chartmogul

When the code has been successfully added to your site, Attributer will start to monitor how your visitors arrive on your site and will categorise each visitor according to a series of Channels (i.e., Organic Search, Paid Search, etc.) and store this data in a cookie in the user’s browser.
In order to send the data into Chartmogul, you need to take the data out of the cookie first.
There are two ways you can go about this:
- Add hidden fields in your forms - By adding hidden fields to your forms, you will give Attributer a place to write the UTM parameters and other marketing attribution information into. Then, when the form is submitted the data placed in the hidden fields by Attributer is passed to Chartmogul along with the other information the user entered into the form (like their name, email, company etc.)
- Retrieve the data from the cookie - By using a simple line of javascript on your website, you will be able to retrieve the UTM parameters from the Attributer cookie and pass them into Chartmogul. This method is particularly useful if you have the ‘Sign up with Google’ or ‘Sign up with Facebook’ buttons on your signup page that allow the user to sign up for your product without actually filling out a form.
4. Run reports in Chartmogul

Now that you have the UTM parameters and other attribution data in Chartmogul, you can start segmenting your reports and getting answers to key marketing questions such as:
- How many new trials did I get from my Facebook Ads?
- Which Google Ad campaign drove the most trials?
- How many customers came from our LinkedIn Ads?
- What's the revenue retention rate of people who come from our Facebook ads vs our Google Ads?
- How many customers have we gotten from our blogging efforts?
- How many customers have come from our SEO efforts?
- And much more
Why using Attributer is better than capturing raw UTM parameters
There are other ways of getting UTM parameters into Chartmogul, so what makes Attributer a better choice?
Unlike other tools, Attributer does much more than just capturing raw UTM parameters. It also does the following:
1. Captures all traffic
Apart from capturing and sending UTM parameters into Chartmogul, Attributer can also capture attribution information on users who arrive on your site through organic channels with no UTM parameters (I.e. Organic Search, Organic Social, Direct, Referral, etc.)
With this data, you will be able to run reports in Chartmogul that show you the source of ALL your trials & customers, and not just the ones that came from your paid campaigns with UTM parameters attached.
2. Remembers the data
It is common for most other UTM capturing tools and methods to require the UTM parameters to be present on the page where the form is usually completed, and this becomes a problem when the visitor's landing page is different from the page where they sign up for your product or service.
For instance, imagine a user clicks on one of your LinkedIn Ads and is brought to a landing page you created for this campaign.
After some reading and exploring, the user decides they want to start a trial of your product and clicks the 'Start Free Trial' button. After clicking, they are led to a your signup page where they complete a form and signup for a free trial. This means that the UTM parameters are lost because the user went to another page (other than the landing page) to complete the form.
It works differently with Attributer though, as it keeps the UTM parameters safe in a cookie in the user’s browser. This means that no matter how many pages the user visits before submitting the form, the UTM parameters are secure and will always be passed to Chartmogul.
3. Provides cleaner data
If you have been working with UTM parameters for a while, you're likely familiar with how messy the data can get, especially if different people or agencies handled your ads over time.
For example, imagine some of your LinkedIn Ad campaigns are tagged with UTM_Source=LinkedIn (capitalized), others with UTM_Source=linkedin (uncapitalized), and others with UTM_Source=LI.
If this data had been captured and sent to Chartmogul by other UTM capturing tools, your reports would these as 3 different sources and it would be quite difficult to get the real numbers.
It’s a different story with Attributer though, as it was built to expect these types of inconsistencies and can assign the users above to the correct channel regardless (Paid Social in this case).
4. Captures landing page data as well
If you're like most SaaS and/or subscription companies, you likely run a blog as part of your overall customer acquisition efforts.
Have you ever wondered how many signups & customers you get from your blog? Or whether those people have a better ARPU and LTV than people come from other efforts like Facebook Ads?
Apart from capturing UTM parameters and other channel data, Attributer also collects the landing page (i.e., attributer.io/blog/capture-utm-parameters) and the landing page category (i.e., /blog) and sends it into Chartmogul.
With this information, you will be able to see how certain sections of your site are performing as a whole (I.e. your blog) as well as zero in and see how each individual piece of content (I.e. individual blog posts) is performing.
Wrap up
On top of capturing UTM parameters and sending them through to Chartmogul, Attributer does a lot of work to ensure you have the most complete and accurate marketing attribution available to run reports.
Want to see if Attributer fits your requirements? Start a free 14-day trial today to test it out.
Get Started For Free
Start your 14-day free trial of Attributer today!

About the Author
Aaron Beashel is the founder of Attributer and has over 15 years of experience in marketing & analytics. He is a recognized expert in the subject and has written articles for leading websites such as Hubspot, Zapier, Search Engine Journal, Buffer, Unbounce & more. Learn more about Aaron here.
